Any car existing in the world is necessarily equipped with a special system designed to measure vehicle speed and transmitting this information on the ECU. The carburetor vehicles use a cable (mechanical) Speedometer system, as a result of which the speed sensor is not required here. Therefore, on VAZ 2110, 2111 and 2112, it is mounted only on injection cars - this system is electronic and is responsible for managing the work of the power unit. Replacing the speed sensor - the event is quite time consuming, but not at all difficult. About this further in the article.
Content
- Where is the speed sensor and why it is needed
- Signs Speed \u200b\u200bSensor Fault
- Diagnostics Speed \u200b\u200bSensor
- Sensor controller, how to purchase a new controller to pay attention to when buying
- Tools, appliances and consumables
- Preparatory work, how to get to the controller and replace it with a new
- Wiring pinout, to pay special attention to using the multimeter
- Tips Prof.
Where is the speed sensor and why it is needed
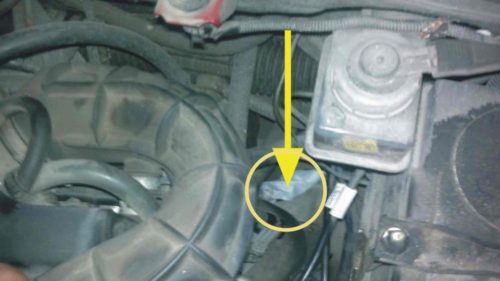
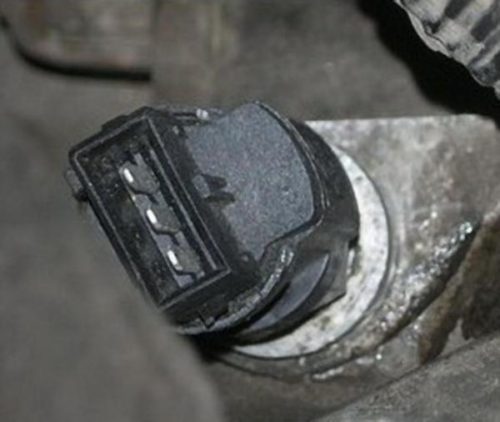
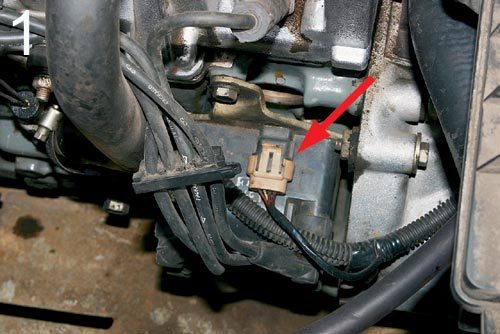
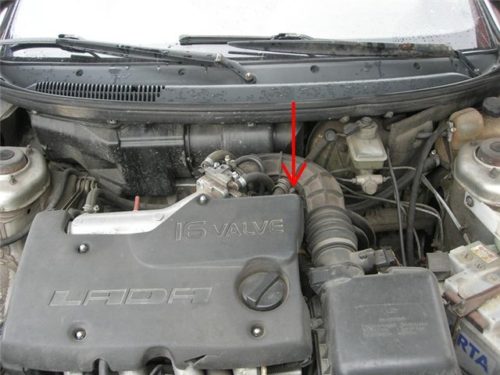
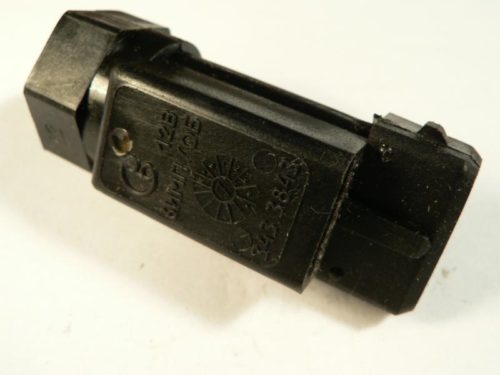
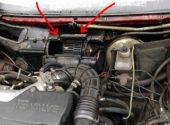
Purpose of this device - "Removing the angle of ahead of the ignition, control over the quality of the fuel mixture and the correct fuel supply. The sensor collects a mass of information for the injection motor, such as motor turnover, detonation level, speed and so on, and transmits digital signals to the electronic unit. In turn, this data is checked here and appropriate adjustments are made to the operation of the injector. As a rule, the speed sensor is located under the hood, in the motor compartment, near the exhaust manifold.
Signs Speed \u200b\u200bSensor Fault
If the odometer suddenly refuses to work, and the speedometer "lying" relative to kilometer and speed or works by jerks - this indicates the incorrect operation of the speed sensor or drive. Also possible problems in electrocopy, the pinout is confused, brings the connector and so on. In addition, the speed sensor malfunction can also be the fact that the vehicle stalls at idle, but this may be the mass of other reasons. Of course, if the speedometer gives obviously false testimony, and the "Check Engine" lamp burns on the instrument panel, then the reason is the failed speed sensor.
Diagnostics Speed \u200b\u200bSensor
The first method of diagnosing speed sensor:
- Remove the sensor.
- We determine which sensor terminal for what is responsible (a speed sensor is only three terminals - a pulse signal, voltage, ground).
- The pulse signal terminal is connected to the incoming contact of the voltmeter, and the second voltmeter contact is ground to the metal part of the motor or the vehicle body.
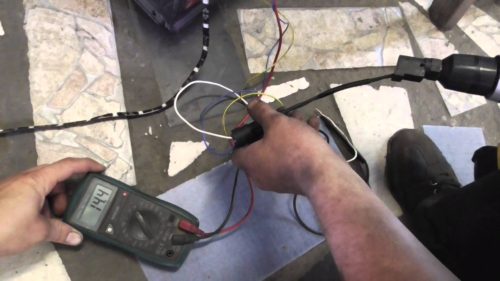
- When the speed sensor is rotated (for this, throw a piece of tube on the sensor axis), the voltage in the voltmeter should rise.
The second method of diagnosing speed sensor:
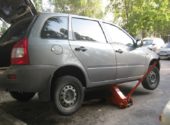
- We subdominate the car - one wheel, while, should not touch the Earth.
- Connect with the sensor the contacts of the voltmeter in the same way as described above.
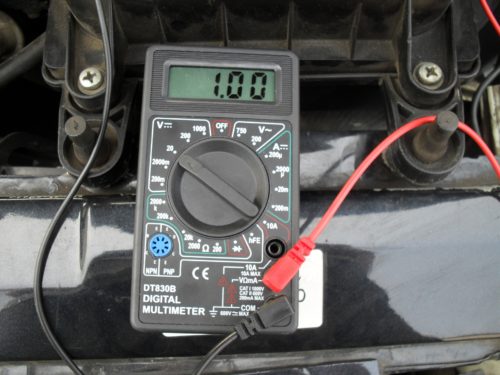
- Cool the raised wheel and follow the change in voltage.
Please note that these verification methods are suitable only for speed sensors using the Hall effect in their work.
Sensor controller, how to purchase a new controller to pay attention to when buying
When choosing a new speed sensor, pay attention to the following points: It is desirable that the connectors inside the blocks have notation - "-", "a", "+", instead of the standard "1," 2 "," 3 ". In fact, it has no fundamental importance, but the pinout will be carried out faster and, most importantly, correctly.
Another important point is to prefer the device with a metal rod, because it will last for more than six months, "released" plastic. Be sure to check whether the rod was equipped with a puck, as it rotates and does it have a backlash.
Tools, appliances and consumables
- Keys on "21" and "22".
- Transmission oil.
- New controller.
Preparatory work, how to get to the controller and replace it with a new
- Develop a car, removing a minus connector with a battery.
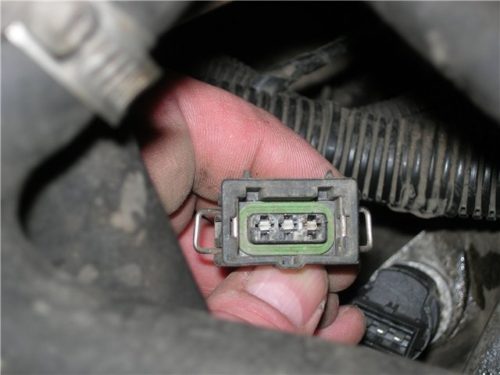
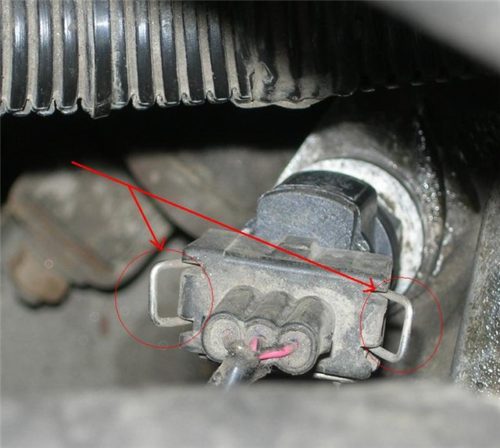
- Disconnect the wire connector from the speed sensor. Be sure to remember what their pinout is.
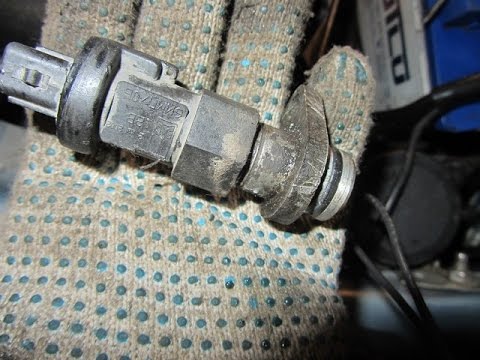
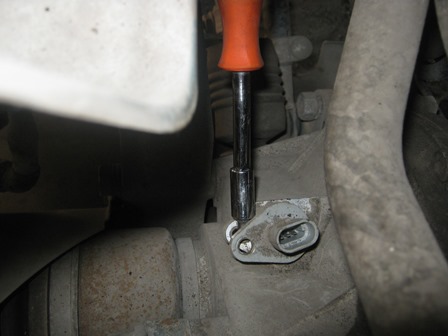
- We unscrew the sensor with your hand. If it does not work, use the key to "21" either to "22" (there may be differences in the design).
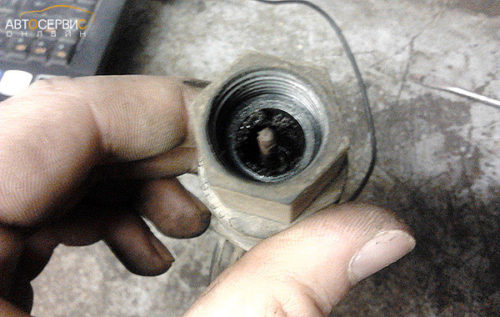
- At the same time check the condition of the drive. After dismantling the sensor, we unscrew the nut with which the drive is attached to the gearbox. It is necessary to extract extremely gently, because dropping the rod into the box, it will have to disassemble it too. The new drive has a rubber ring. Before mounting it is lubricated with transmission oil.
- Installation produce in the reverse order.
Wiring pinout, to pay special attention to using the multimeter
We draw attention to the pinout inside the pad. When the ignition is turned on, you determine to which connector is connected to which connector. If you have connected the wire to the plus connector, and the multimeter shows "minus", then it should be urgently changed polarity. Therefore, it is advisable to take a block with the appropriate notation. But if this did not turn out, you can take the usual one. In this case, the pinout is the following - 1 - this is "+", 2 is the "signal output, and 3 is" - ".
Tips Prof.
At the last stage, do not forget to check the drive, as well as the work of the vehicle as a whole when the wheels are hung or during the movement of the car.
Related Materials
- Stove 2110, bad warm stove 2110, VAZ 2110 heating system, repairing the heating system VAZ 2110 with their own hands
- VAZ 2114 stove blows with cold air, stove 2114, bad warm stove VAZ 2114, device and repair of heating VAZ 2114 do-it-yourself, removing the stove VAZ 2114
- How to subdominize the car. How to put a jack. Types of jacks for cars.
- VAZ 2109 Fuse Block, VAZ 2109 Fuse Block Carburetor, VAZ 2109 Fuse Block Injector, Old VAZ 2109 Fuse Block, VAZ 2109 Fuse Block, VAZ Fuse Block 2109
- Car exhaust gas catalyst, faulty catalyst, pluses and cons of the catalyst, how to change the catalyst on the planeencitel
- Stove blowing cold air VAZ 2114, badly blowing the stove VAZ 2114, why badly blowing the stove VAZ 2114
- How to find out the owner of the car by the number of his car, check the car by the number of the traffic police machine, check the car by the state number of the car for free
- How to choose Used tires, Useful Tips
- Winter car road, pressure in passenger car tires in winter, good battery for the car in winter, whether to warm the car in winter
- In winter, the car is poorly started. How to make a car in winter, do you need to warm up the car in winter, useful tips
- Economy fuel consumption machines, the most economical car consumption
- Tires brands for passenger cars, labeling of car tire labeling, residual passenger car tire protector, how to pick a tire on a car brand, car tire tread pattern
- Working transmission operation, mechanical gearbox clutch work, driving with manual gearbox, useful tips
- Rear beam Peugeot 206 sedan, rear beam device Peugeot 206. Rear beam Peugeot 206 Malfunction, repair of the rear beam Peugeot 206
- Diesel fuel in winter, additive for diesel fuel in winter, how to choose the best diesel fuel
- Diesel winter does not start. How to start diesel in winter, heating diesel in winter.
- Japanese bridgestone tires, winter studded bridgestone tires, bridgestone tires brand
- Tire marking decoding for passenger cars, labeling wheels, how to choose the right tires on the disks
- Diesel engine in winter, launch of the diesel engine in winter, what oil to fill in a diesel engine in winter, useful tips
- LED backlight of the car, the backlight of the bottom of the car, the backlight of the legs in the car, the backlight in the door of the car, the backlight of the car is fine
- Recovered tires, bus tire, restored tire protector, can I use them
- Choose winter tires, which is a winter tires, which pressure in winter tires should be marked with winter tires, how to choose the right winter tires, the best winter tires 2019
- Steering rail rail, knock of steering rack, reasons for the knock and repair of the steering rack do it yourself
- Cameless car tires, a set for repair of tubeless tires, repair of the cannon-free tire do it yourself
- Russian tires, Russian tires Winter, Russian All-season tires, Voronezh AMTEL tires, Tires "Matador Omsk Tire", Kama-tires are world-class bus
- How to open a car without a key. Lost the key from the car what to do, the key from the car inside the car
- Silent tires, quiet winter tires, quiet studded bus, which tires to choose, overview tires
- Tires and safety, safety of the bus, why it is necessary to constantly monitor car tires
- Rules of safe driving of the car in the rain and slush, safe driving of the car for beginners
- Rust converter which is better for cars, rust converters to choose how to use rust transducer, professionals
- Polishing the body of the car do it yourself, how to choose a polishing paste, useful tips
- Engine durability, engine life, how to extend engine life
- Knock in the car. Knock when moving the car. What can knock in the car. How to determine the cause of the knock.
- ABS car, what is ABS car, ABS system malfunction, ABS diagnostics
- Overtaking a car when you can start overtaking a car, rules of traffic rules
- Fuel pump VAZ 2110, VAZ 2110 gas station scheme, VAZ 2110 fuel pump device, VAZ 2110 gas station repair,
- Automotive antennas for radio, automotive antenna device, car antenna do it yourself
- Front suspension Kalina, device front suspension Kalina, knock in front suspension Kalina, repair of front suspension Kalina
- Shock absorber Oil, best oil shock absorbers, pumping oil shock absorbers, how to properly pump oil shock absorber
- Clutch malfunctions, touches clutch, causes a clutch malfunction, how to eliminate

Comments