Many motorists have repeatedly had to face the problem of damage to the bumper, but only the units tried to eliminate the defect on their own. But, as practice shows, the bumper's independent repair costs much cheaper than the acquisition of the new one. In addition, there is nothing complicated. About this further in the article.
Content
- Car bumper, for which it is needed and why most often gets defects
- Possible Bumper Defects
- Tools, fixtures, consumables
- Dismantling and cleaning damaged bumper
- Pre-assembly options for the victim bumper
- Soldering and gluing damaged bumper (professionals' tips)
- Metal brackets to increase the service life of the renovated bumper
- How to protect metal brackets from corrosion
- Grinding of seams and putty bumper
- Finishing, Painting Enamel, Polishing
- Tips Prof.
Car bumper, for which it is needed and why most often gets defects
If you exploit your vehicle is actually every day, then in any case you have to pass on the puddles, ughabam, and also stand in constant traffic jams that are incontended in large cities. In general, one way or another, car owners constantly fall into the situation in which there is a high probability of damaging the plastic bumper. Although this element of the car and is designed to take on the first strike when collision.
In addition, there are constantly defects on the bumper because of stones from under the wheels traveling ahead of cars. In other words, no matter how cautious the driver is when driving, with the repair of the bumper, he has to face anyway.
Possible Bumper Defects
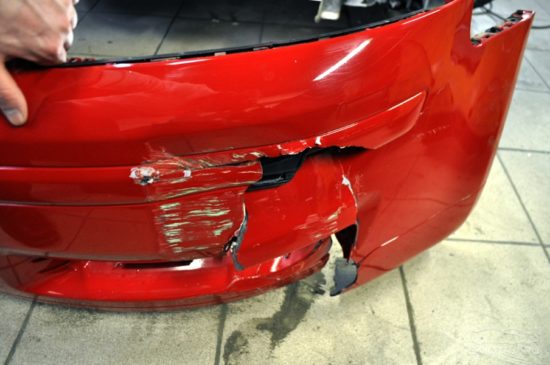
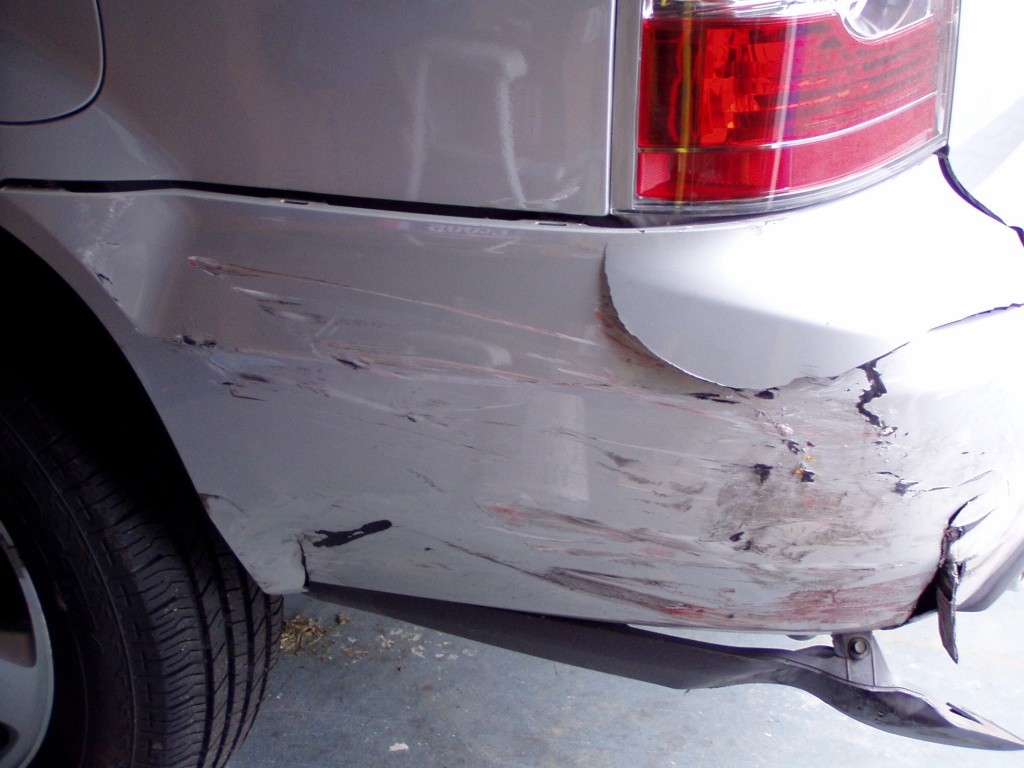
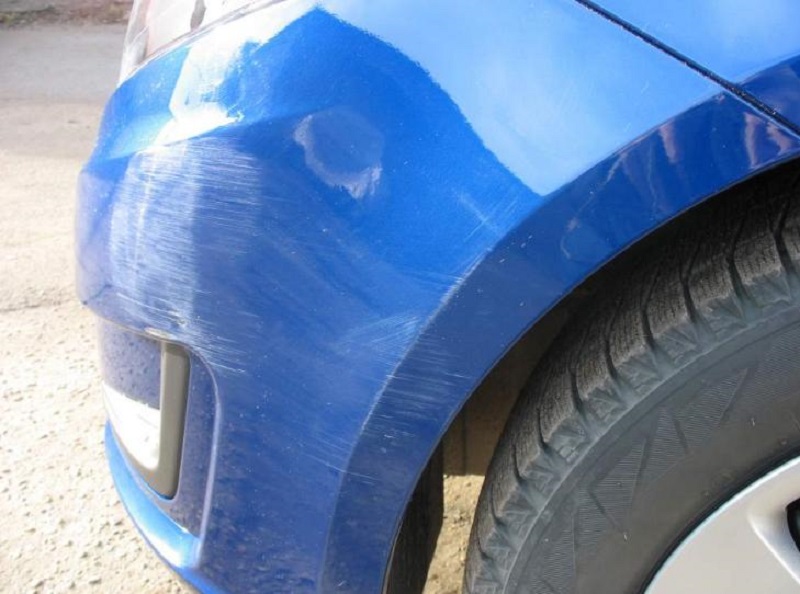
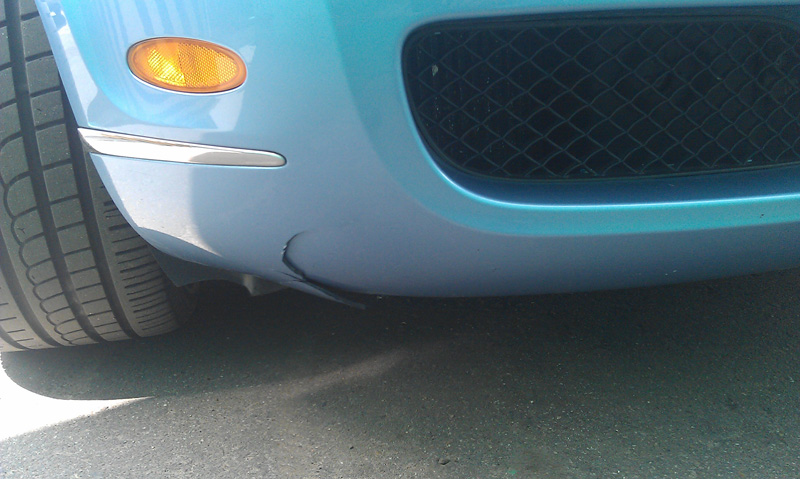
A lot of possible bumper defects are scratches, and chips, and dents, and cracks, and breaks.
scratches (how to eliminate)
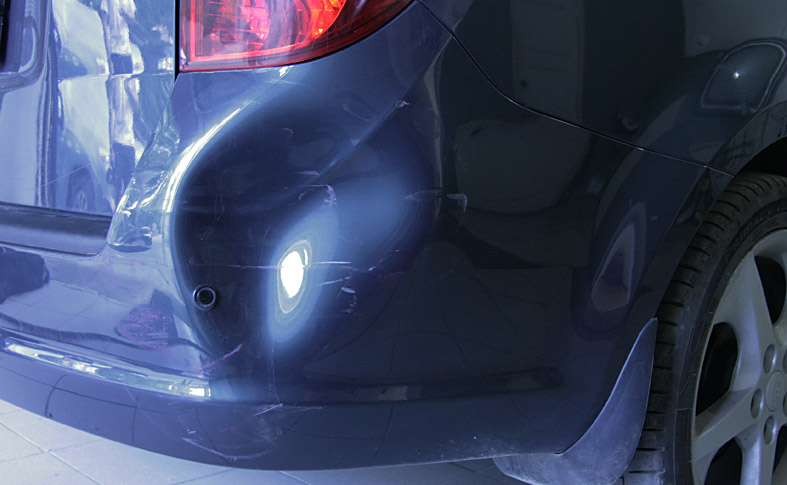
Scratches - the easiest to eliminate the defect. If they are small and affect only the paint, use the set of special markers, and the problem will be eliminated. If there are deep scratches affecting the plastic itself, you will have to first work as a putty.
cells, cracks, chips (defect elimination options)
If there is a bumper, the dentin needs to be aligned. Cracks are eliminated by gluing or soldering. If chips are shallow, you can process the problem zone with a color-enriching polyrolla, then apply a layer of protective polyter.
bumper split (possible repair options)
If the bumper split, repair it is very difficult very difficult. In this case, you need to collect all the bumper pieces. Then they glued together or solder.
Tools, fixtures, consumables
To perform the procedure, you will need:
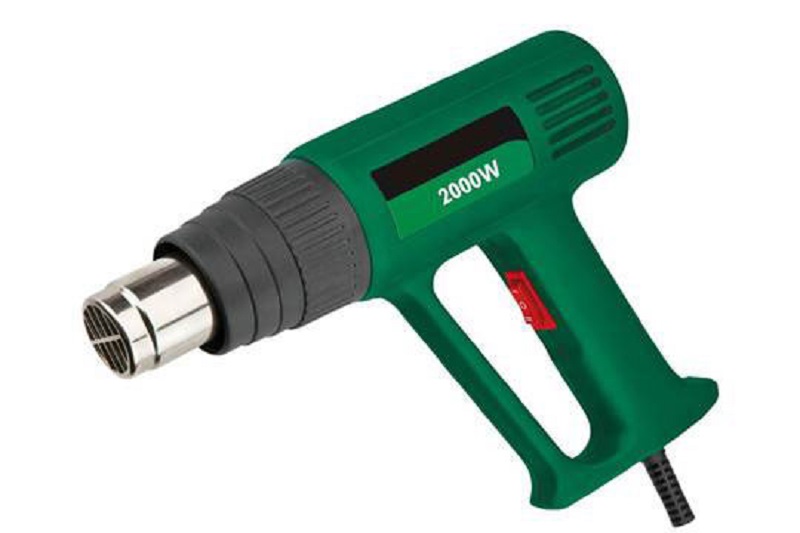
- Construction hairdryer.
- Tweezers.
- Soldering iron.
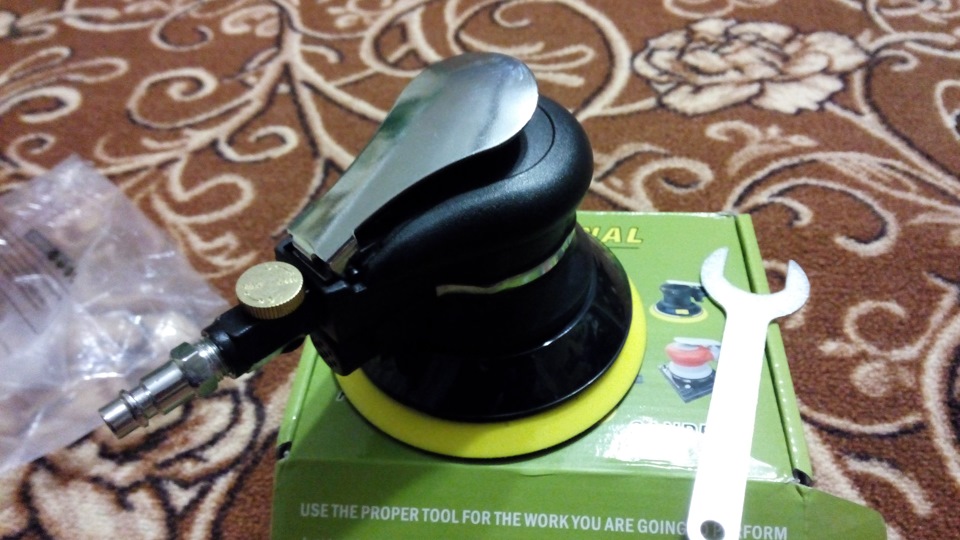
- Orbital grinding machine.
- Soft and coarse polishing circles.
- Emery paper of various graininess.
- Consumables - degreaser, primer, special putty, paints and varnishes.
Dismantling and cleaning damaged bumper
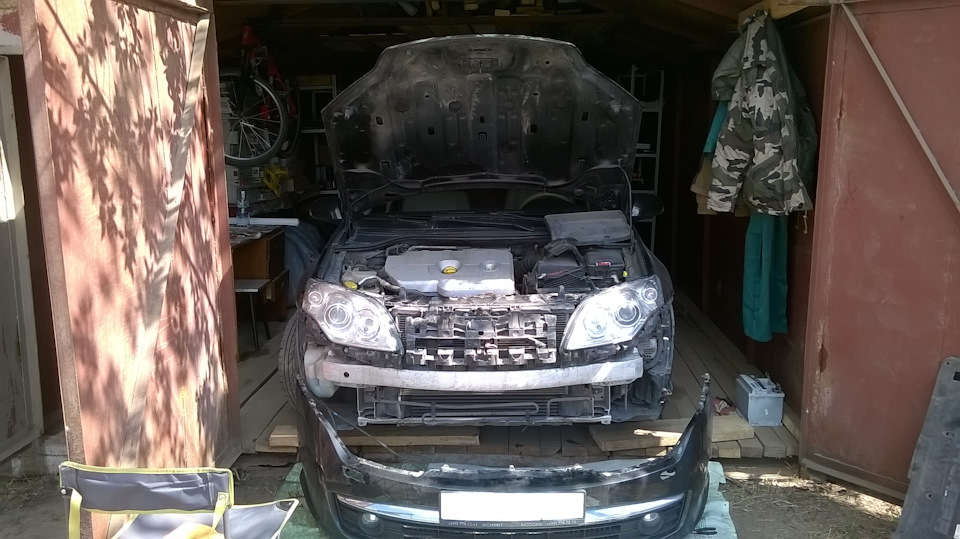
Before starting repair work, it is advisable to dismantle a damaged bumper. In this case, it will be much more convenient to work. In addition, it will give the opportunity to avoid tensioning materials on the site of the defect. Then the bumper needs to be well cleaned from the accumulated dirt and dust, wash it in warm water using a special car shut-off.
Pre-assembly options for the victim bumper
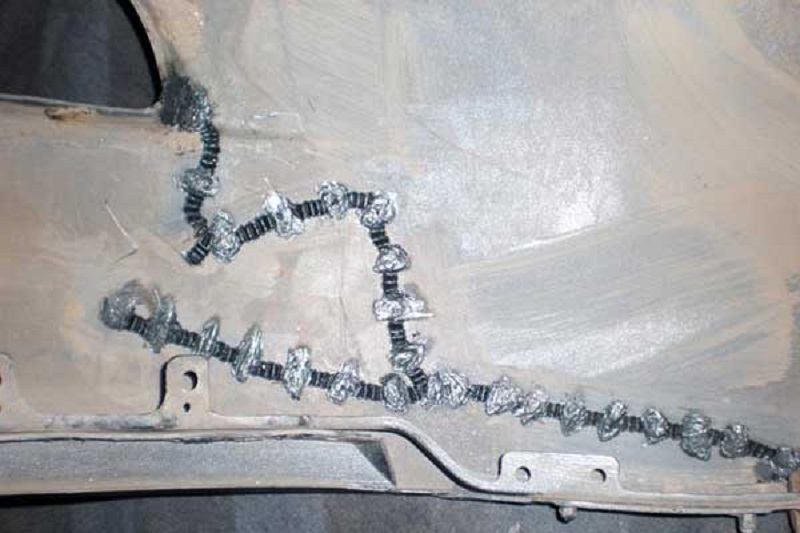
After drying, the broken pieces need to be connected to the scotch and glue. Next, army soldering iron and spend all operations in restoring the integrity of the automotive bumper. To return its original shape to the element, it is necessary to suck all the fragments from the inside.
Soldering and gluing damaged bumper (professionals' tips)
Since the inner side of the bumper is hidden from human eye, when performing work, you can not worry about aesthetic appearance. Solding pieces must be as neat as possible, so that the seams turn out to be uniform over the entire length.
Metal brackets to increase the service life of the renovated bumper
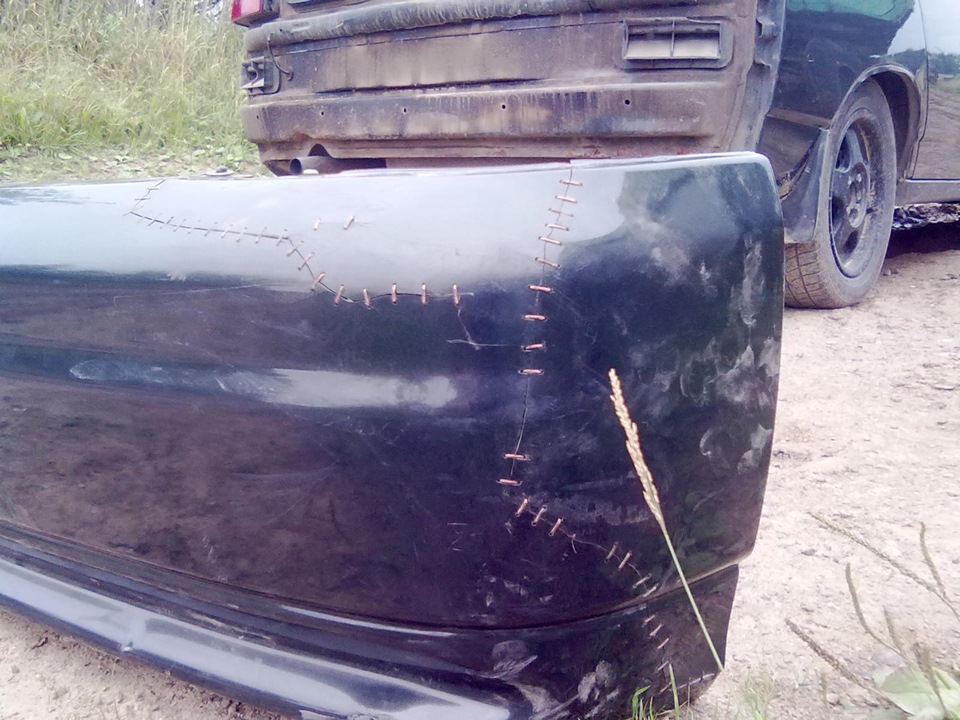
In order for repair for a long time, additionally swim in the staples from the furniture stapler. Choose them in such a way that they come in length and did not pierce the part through. In the process of work, it is better to use tweezers in order to avoid possible burns.
How to protect metal brackets from corrosion
Staples It is necessary to have perpendicular to the seam, the distance between them should be small. All cracks that have just begun to occur, should also be sealed so that during the operation of the car due to vibrations they have not become split. In mandatory, cover the brackets with the help of preheated plastic, thus protecting them from corrosion.
Grinding of seams and putty bumper
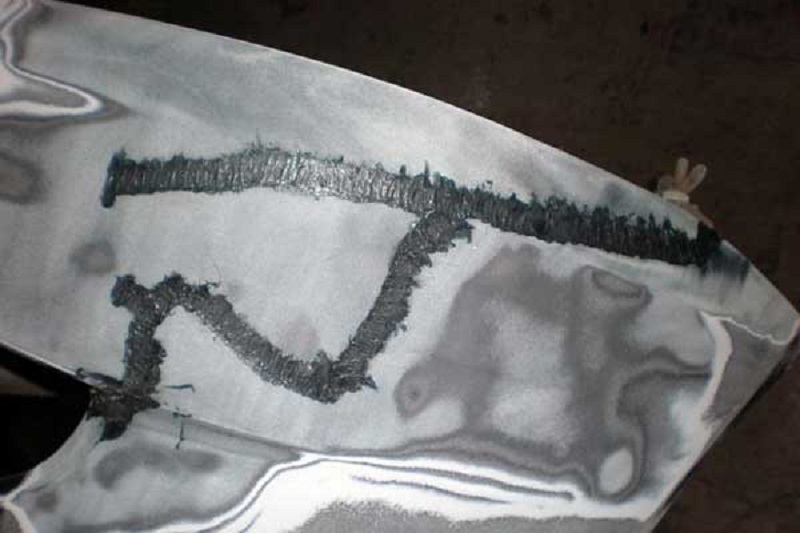
After working to restore the integrity of the element, thoroughly glorify the seam obtained. To do this, you can use a special grinding machine or perform all work using emery paper.
Remove the old paintwork, remove the soil and align the surface. After soldering, it is necessary to carefully polish the seam, refining existing irregularities. Do not attempt to get the perfect surface without a single defect, as there is a risk of thinning the bumper and additionally deform it.
Upon completion of the work, remove the dust accumulated on the surface by processing the bumper with a special cloth or blowing compressed air.
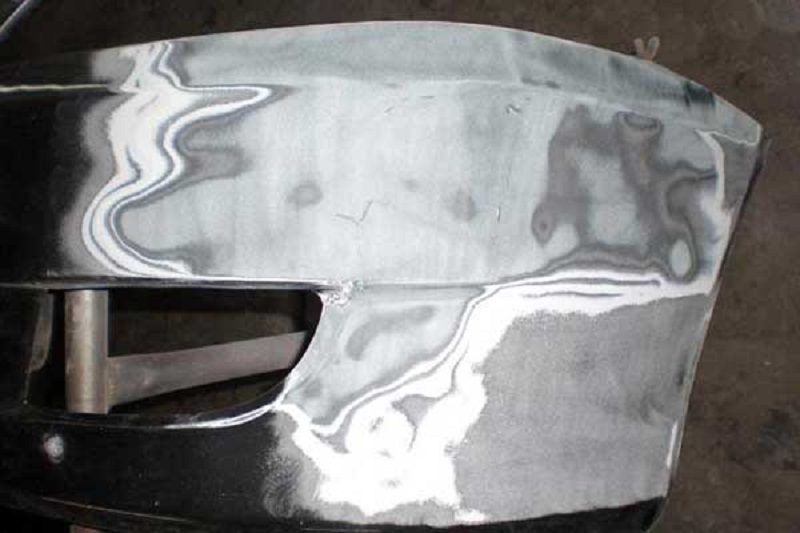
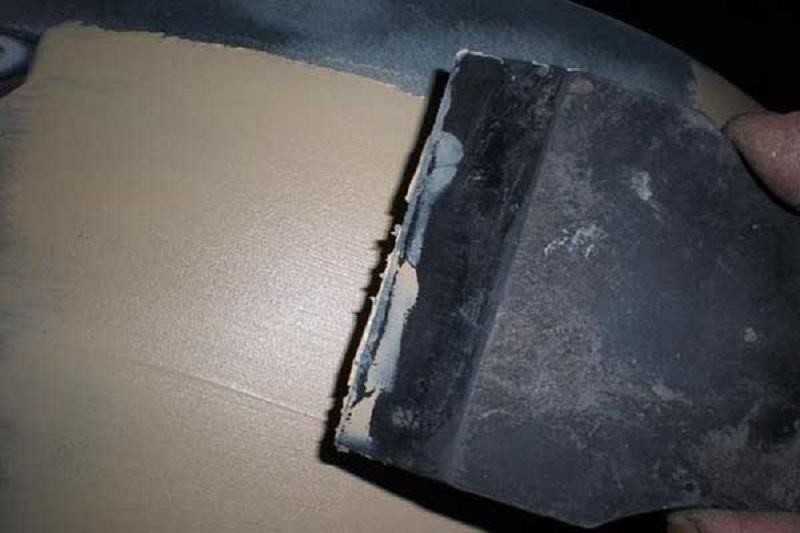
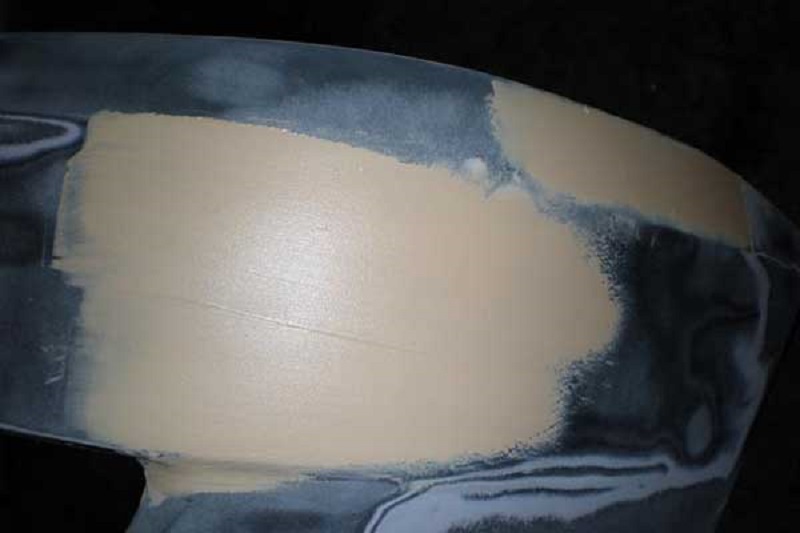
Next, align all defects with a special putty. The mixture is aligning only the fumes and dents, it is desirable to remove the putty layer applied to the smooth surface.
Each layer let's have enough time to dry (accordingly the instructions) and only after that apply the following layer. When the putty completely curses, proceed to aligning it with a grinding machine.
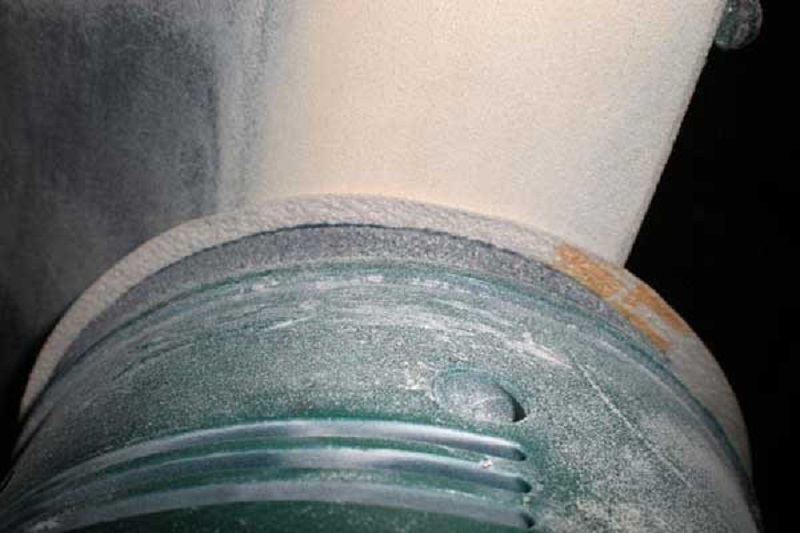
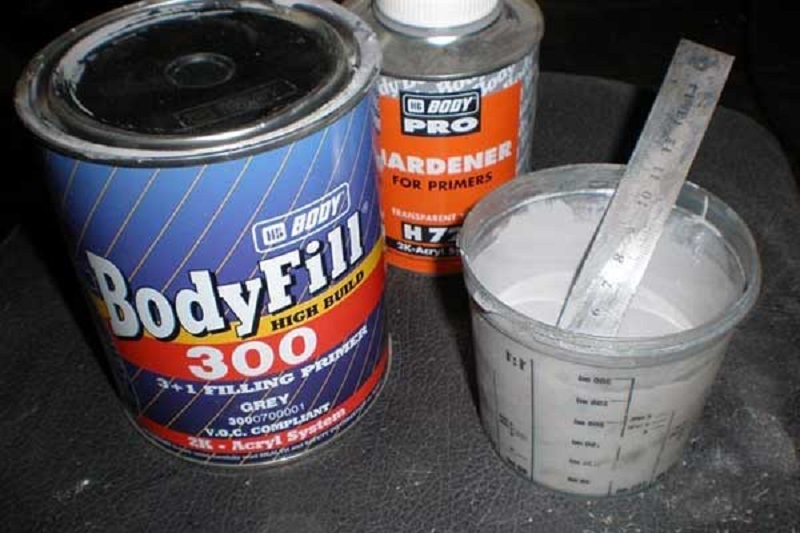
Work can also be performed by sandpaper, however it will require much more forces and time. Next, using the skins, process the hard-to-reach places of the bumper. Then the bumper with two-component acrylic soil.
It must be applied to a thin uniform layer, in order to avoid sublishes. In mandatory, carefully treat problem areas and do not forget to dry dry the previous layer. Soil must be dried at least a day, you can speed up the process using a special infrared heater.
The grinding procedure should be started only after the drying process is completed. It is carried out similarly to the previous stages. Before the procedure, be sure to use the developing powder to detect possible flaws that could remain after the previous repair stage.
Finishing, Painting Enamel, Polishing
After processing the orbital-grinding machine, the manifest will be removed from the smooth surfaces, but will remain in the depressions and will be very noticeable. Processing the element before the manifestation of the soil, you immediately detect all the shortcomings. Eliminate defects are necessary with the help of special mixtures, such as nitro-ship. On problem areas, the agent is applied only after their cleaning and primer. Allowing the nitro-naval to open, perform polishing. Next, the base is applied to the ground so that the auto enamel sticks to the surface.
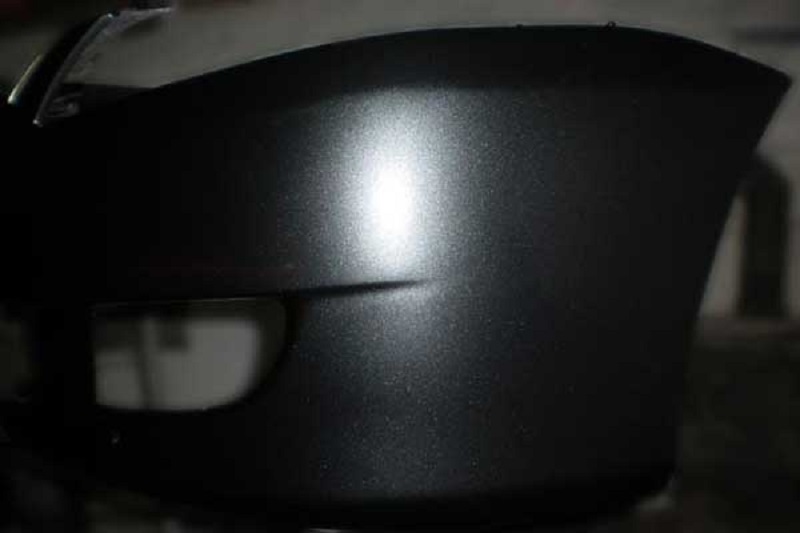
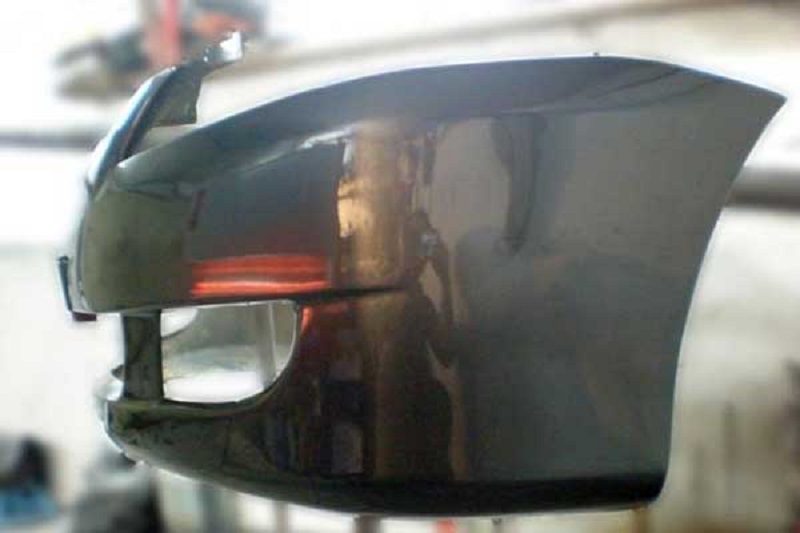
The base is designed to bind the basis and paints at the molecular level. Then we apply enamel, varnish and polished. After all the events, the affected bumper will look like a new one. Related that restoration work was carried out over the product, only professional painters will be able, and only after a thorough inspection.
Tips Prof.
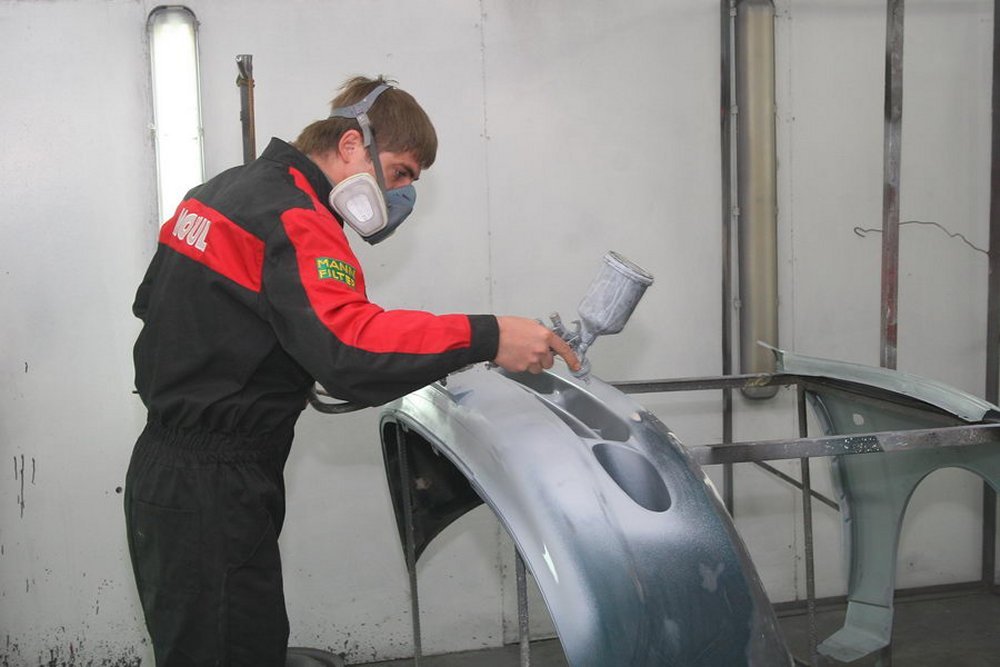
When carrying out the local repair of the bumper, it is not necessary to dismantle it. All preparatory operations can be performed without disturbing the integrity of the car. Before staining, protect all the elements from the ingress of paints on them using the painting tape and the roll of polyethylene.
Next, acrylic varnish in several layers is applied to the dry paint. When working, be sure to follow the instructions for it, as well as do not neglect the means of individual protection in the process of working with toxic paint materials.
Alone to paint the bumper in most cases much cheaper than contacting specialists, however, there is a risk of different defects as a result of non-compliance with technology or the lack of required practical skills.
Related Materials
- Stove 2110, bad warm stove 2110, VAZ 2110 heating system, repairing the heating system VAZ 2110 with their own hands
- VAZ 2114 stove blows with cold air, stove 2114, bad warm stove VAZ 2114, device and repair of heating VAZ 2114 do-it-yourself, removing the stove VAZ 2114
- How to subdominize the car. How to put a jack. Types of jacks for cars.
- VAZ 2109 Fuse Block, VAZ 2109 Fuse Block Carburetor, VAZ 2109 Fuse Block Injector, Old VAZ 2109 Fuse Block, VAZ 2109 Fuse Block, VAZ Fuse Block 2109
- Car exhaust gas catalyst, faulty catalyst, pluses and cons of the catalyst, how to change the catalyst for the planeencitel
- Stove blowing cold air VAZ 2114, badly blowing the stove VAZ 2114, why badly blowing the stove VAZ 2114
- How to find out the owner of the car by the number of his car, check the car by the number of the traffic police machine, check the car by the state number of the car for free
- How to choose Used tires, Useful Tips
- Winter car road, pressure in passenger car tires in winter, good battery for the car in winter, whether to warm the car in winter
- In winter, the car is poorly started. How to make a car in winter, do you need to warm up the car in winter, useful tips
- Economy fuel consumption machines, the most economical car consumption
- Tires brands for passenger cars, labeling of car tire labeling, residual passenger car tire protector, how to pick a tire on a car brand, car tire tread pattern
- Working transmission operation, mechanical gearbox clutch work, driving with manual gearbox, useful tips
- Rear beam Peugeot 206 sedan, rear beam device Peugeot 206. Rear beam Peugeot 206 Malfunction, repair of the rear beam Peugeot 206
- Diesel fuel in winter, additive for diesel fuel in winter, how to choose the best diesel fuel
- Diesel winter does not start. How to start diesel in winter, heating diesel in winter.
- Japanese bridgestone tires, winter studded bridgestone tires, bridgestone tires brand
- Tire marking decoding for passenger cars, labeling wheels, how to choose the right tires on the disks
- Diesel engine in winter, launch of the diesel engine in winter, what oil to fill in a diesel engine in winter, useful tips
- LED backlight of the car, the backlight of the bottom of the car, the backlight of the legs in the car, the backlight in the door of the car, the backlight of the car is fine
- Recovered tires, bus tire, restored tire protector, can I use them
- Choose winter tires, which is a winter tires, which pressure in winter tires should be marked with winter tires, how to choose the right winter tires, the best winter tires 2019
- Steering rail rail, knock of steering rack, reasons for the knock and repair of the steering rack do it yourself
- Cameless car tires, a set for repair of tubeless tires, repair of the cannon-free tire do it yourself
- Russian tires, Russian tires Winter, Russian All-season tires, Voronezh AMTEL tires, Tires "Matador Omsk Tire", Kama-tires are world-class bus
- How to open a car without a key. Lost the key from the car what to do, the key from the car inside the car
- Silent tires, quiet winter tires, quiet studded bus, which tires to choose, overview tires
- Tires and safety, safety of the bus, why it is necessary to constantly monitor car tires
- Rules of safe driving of the car in the rain and slush, safe driving of the car for beginners
- Rust converter which is better for cars, rust converters to choose how to use rust transducer, professionals
- Polishing the body of the car do it yourself, how to choose a polishing paste, useful tips
- Engine durability, engine life, how to extend engine life
- Knock in the car. Knock when moving the car. What can knock in the car. How to determine the cause of the knock.
- ABS car, what is ABS car, ABS system malfunction, ABS diagnostics
- Overtaking a car when you can start overtaking a car, rules of traffic rules
- Fuel pump VAZ 2110, VAZ 2110 gas station scheme, VAZ 2110 fuel pump device, VAZ 2110 gas station repair,
- Automotive antennas for radio, automotive antenna device, car antenna do it yourself
- Front suspension Kalina, device front suspension Kalina, knock in front suspension Kalina, repair of front suspension Kalina
- Shock absorber Oil, best oil shock absorbers, pumping oil shock absorbers, how to properly pump oil shock absorber
- Clutch malfunctions, touches clutch, causes a clutch malfunction, how to eliminate









Comments