Replacing car light bulbs - a simple procedure that is available to any car owner. Of course, this event is accompanied by a number of certain subtleties that we consider in this article.
Content
- Car lamps, species and characteristics
- Lifetime of automotive lamps?
- Halogen autolamps, advice of professionals using halogen lamps
- Tools, fixtures, consumables
- How to replace the light bulb in the spotlight without removing the headlight
- How to change Avtolampu by removing the headlights?
- How to replace the license plate lighting lamp?
- How to change lamps on dashboard?
- How to replace the lamp stop signal?
- Tips Prof.
Car lamps, species and characteristics
There are several types of automotive lamps:
- Ordinary sticking lamps.
The first on cars were mounted by the lamps of the heating, which are called classic in our time.
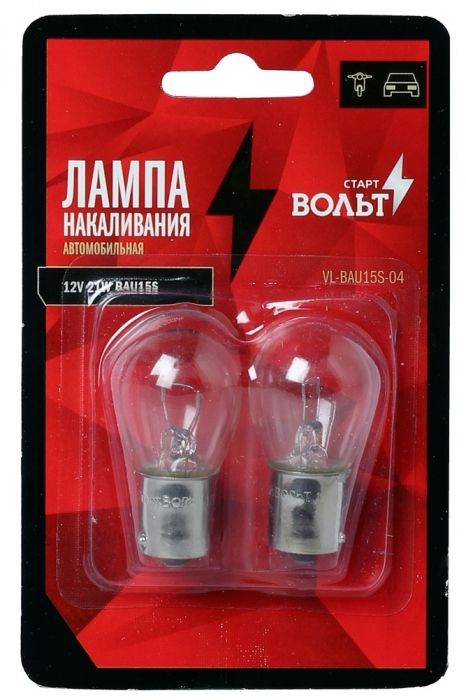
This lamp is an invention of Edison and is a spherical transparent flask, inside which a spiral from tungsten wire is placed, and air has been soldered from the flask. When electricity is served on the spiral, it warms the wire, which is accompanied by light radiation. But these lamps have a very low efficiency - only 6-8 percent. The thread temperature of 2 thousand degrees on Kelvin with a yellow tint is also considered weak in our time. Such lamps are not very suitable for perception to the human eye, since the color temperature is far from natural solar color.
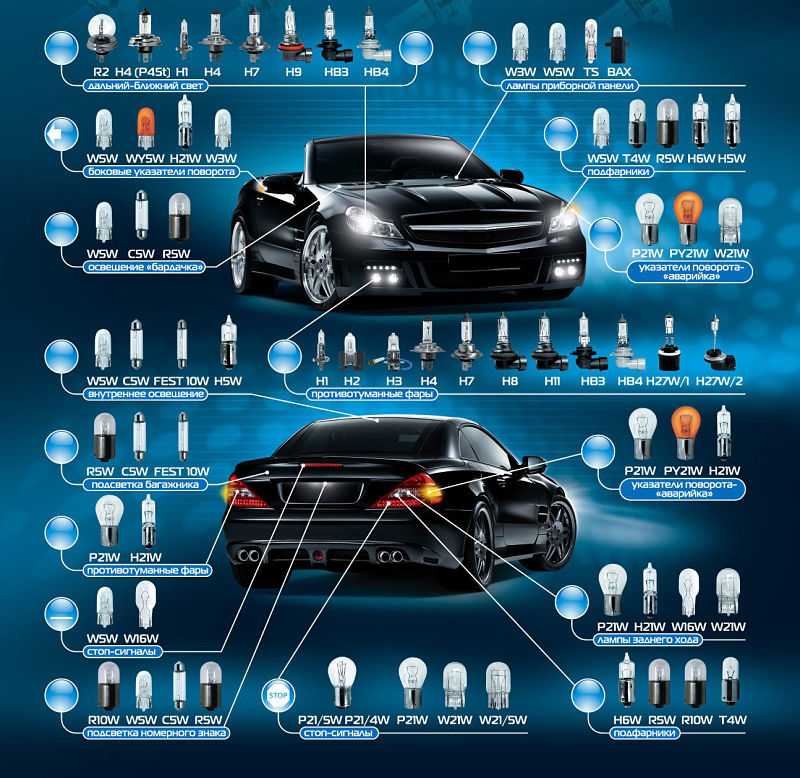
It should be noted that the heating lamps are susceptible to high temperature, and tungsten is able to settle on the inner surface of the flask, which limits its transparency. Thus, these lamps are tumped. Due to the peculiarities of its design, the dummy lamps cannot focus the light flow reflectors. Such instruments with marking R2 are produced, but they will not meet them in the store.
- Halogen lamps.
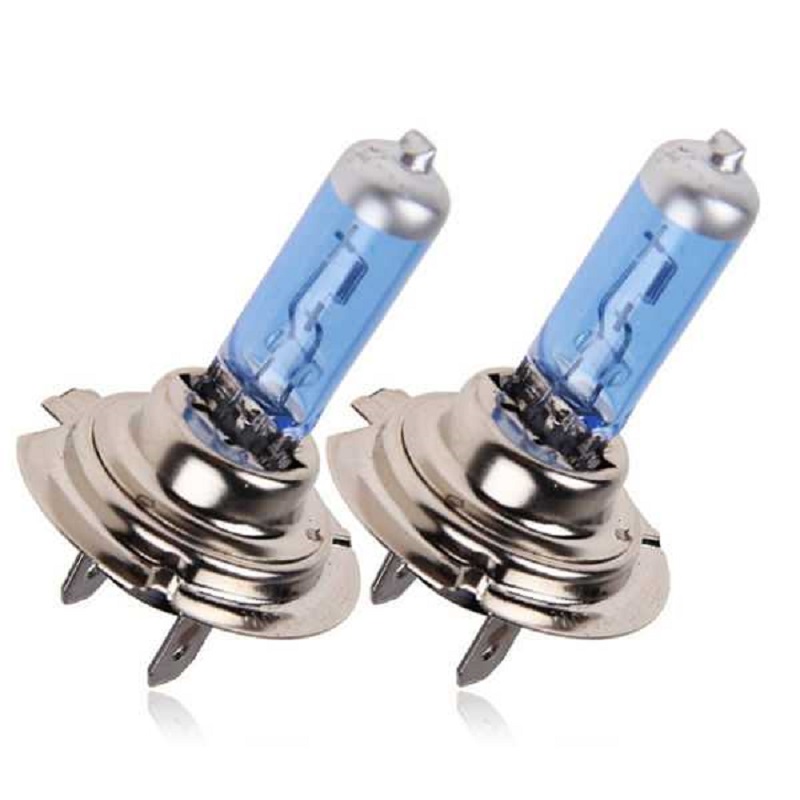
The appearance of halogen lamps on the market made it possible to solve many problems that are associated with the use of conventional lamps of the heating. Improvements began with changing the shape of the flask, which became cylindrical and allowed to reduce the length of the thread. Inside the flask is already inert gas (and not a vacuum), which includes halogen pairs (bromine, iodine and others). Such a constructive feature of halogen light bulbs led to the emergence of the self-cleaning process, since tungsten does not settle on the flask, and during operation again settles the spiral. Since it does not hurt glass, the bandwidth of the light stream in the data of the lamps above. In addition, the color temperature in these light bulbs is also higher - 2700-3000 Kelvin, which is why the light is better perceived by the human eye. - Gas discharge lamps (xenon).
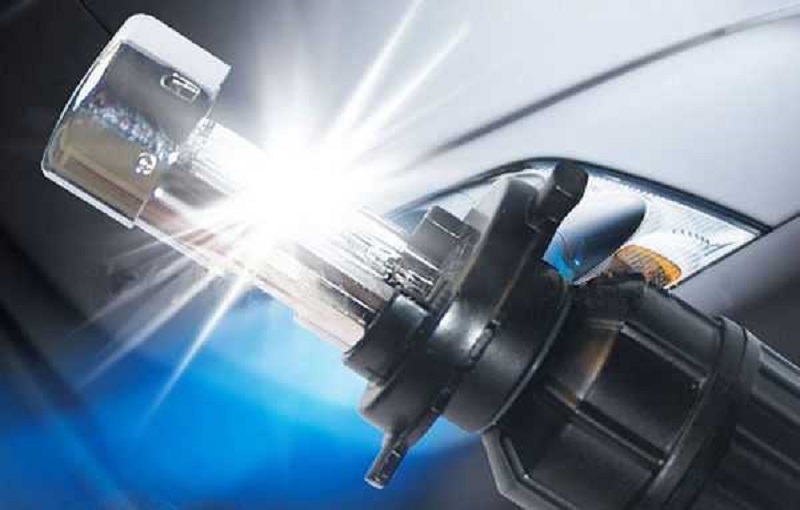
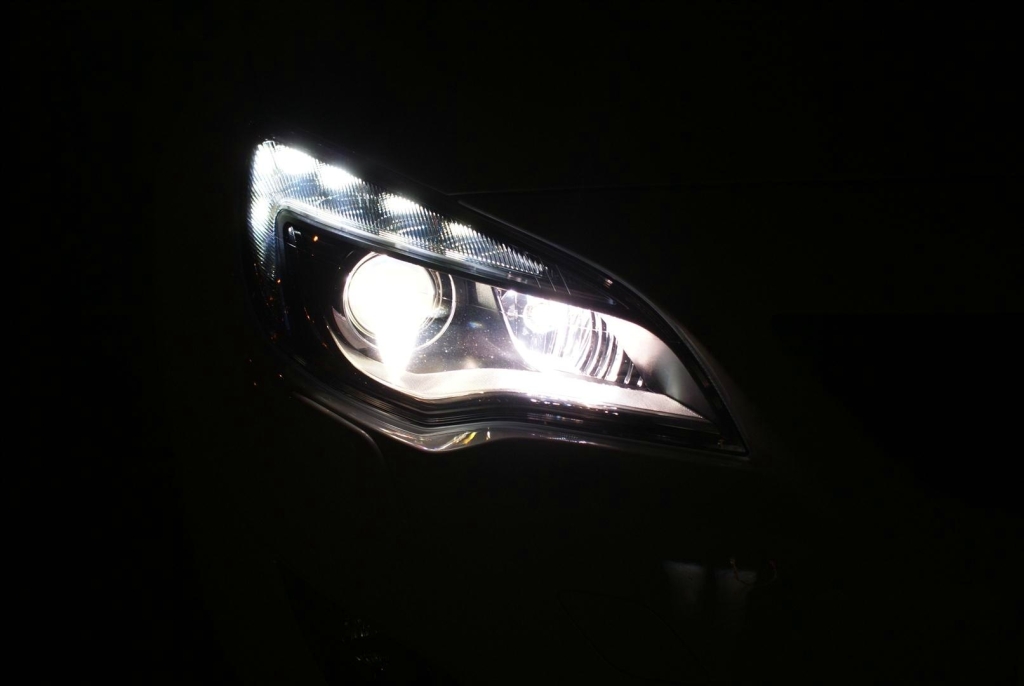
Xenon lamps are the latest technology in the automotive industry. Externally, they are similar to halogen lamps, but they work otherwise: the flask pumped by xenon receives a discharge that provokes an electron arc to create a light beam. The temperature of this optics is highest and radiates the blue tint at the value of 8000 K, and at a rate of 5000-7000, the spectrum of light is similar to the sunny, which is why such autolaspa are the most pleasant for sight. They are most effective, and their reliability and long period of work are provided with the design: there are no pumping threads that can break when shaking. They give clean and distant light and become burned much faster than classic.
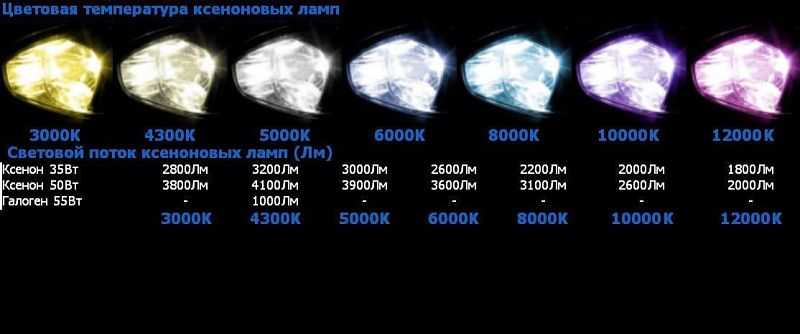
But these lamps have disadvantages. The first one is the need to apply additional equipment (ignition unit). In addition, it is up to 20 thousand volts for ignition. The level of light is also controversial: on the one hand, such lighting increases the overview of the car owner, and on the other, it is able to blind oncoming drivers. Due to the complex design, xenon lamps are produced only at the factory, which increases their quality, excluding the risk of buying handicraft samples. - LED lighting elements.
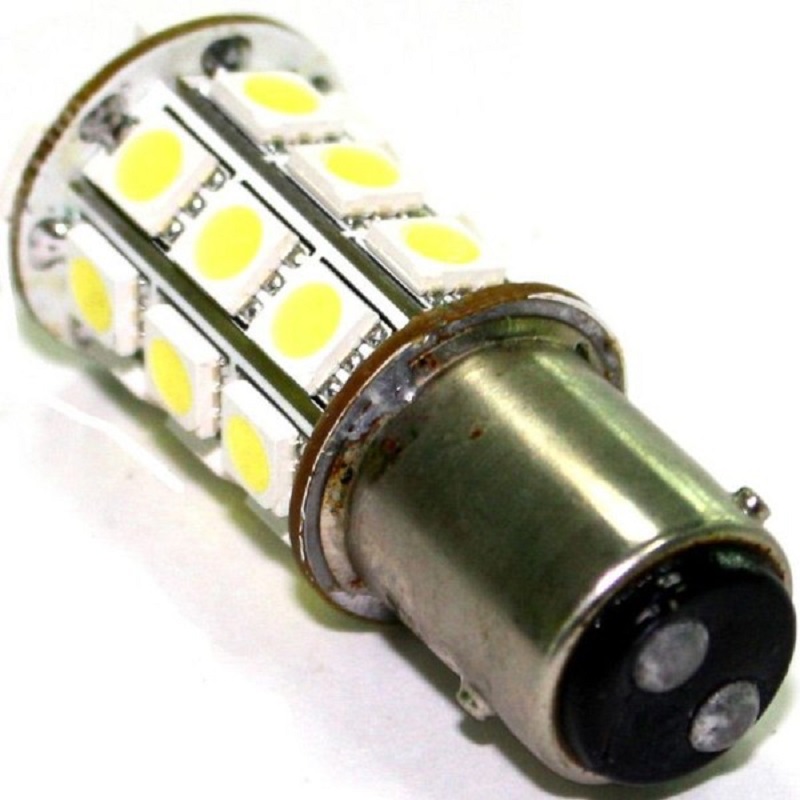
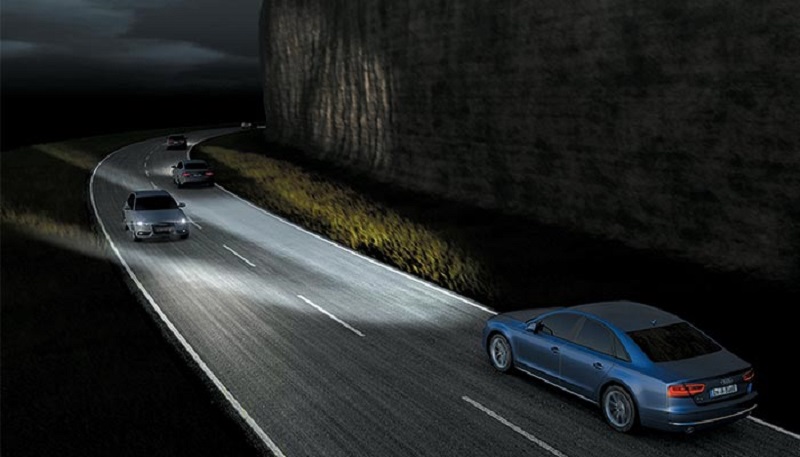
Initially, car LED bulbs were applied in the rear headers and upper stop signals. For the first time in lighting, white LEDs used the Audi company in 2004 in the A8 W12 model. It passed a little more than 10 years, however, LED technology is fully ready to replace technology applicable to date.
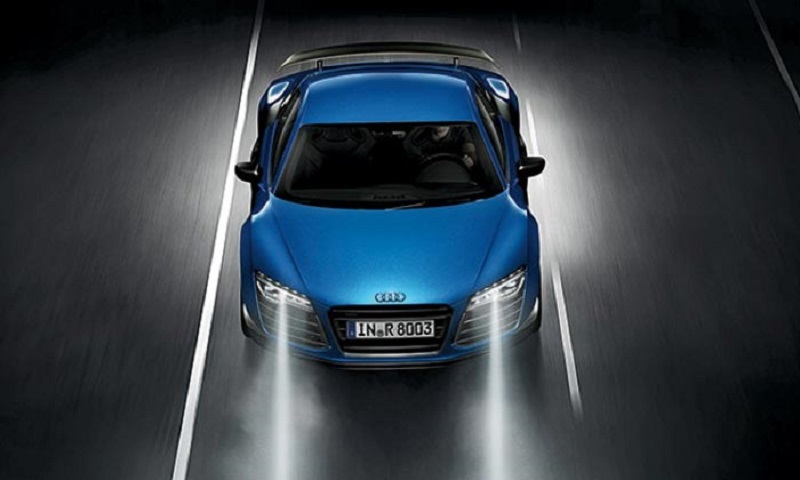
Note that the power of LEDs is doubled every year, which allows creating a kilowatt device in several years.
Advantages of LED technology: Ecological purity, high brightness indicator, low energy costs, long service life, strokes and vibration resistance. To replace ordinary lamps on the LED, you do not need to buy third-party equipment or change the base - it is enough to know the type of socket on the machine and referred to the special table of the identity of the illuminators.
Lifetime of automotive lamps?
Service life of various types of automotive lamps:
- Halogen light bulbs serve about 500 hours.
- Xenon lamps are able to last up to 2500 hours.
- LED headlamps serve the longest: 25-50 thousand hours of work.
Halogen autolamps, advice of professionals using halogen lamps
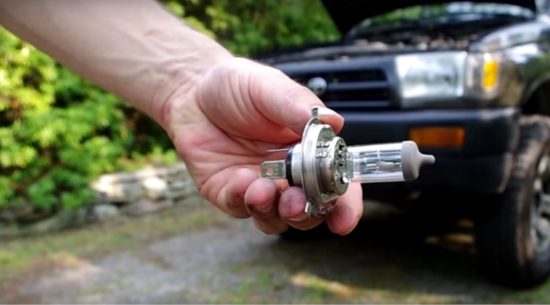
It is not desirable to touch the glass surface of halogen lamps to the glass surface, since fingerprints do not allow the energy evenly distributed over the flask, which leads to irreversible breakdowns and cracks. With halogen lamps should work in fabric gloves without a pile. If you still touched the lamp, the stains from its surface can be washed with alcohol or any alcohol-containing solution.
Tools, fixtures, consumables
To replace a lamp in the headlamp of the car you will need only a slotted screwdriver and a rag.
How to replace the light bulb in the spotlight without removing the headlight
Consider the replacement of the light bulb in the spotlight without dismantling the headlights:
- First of all de-energize the car.
- Next, open the hood and find the headlight housing.
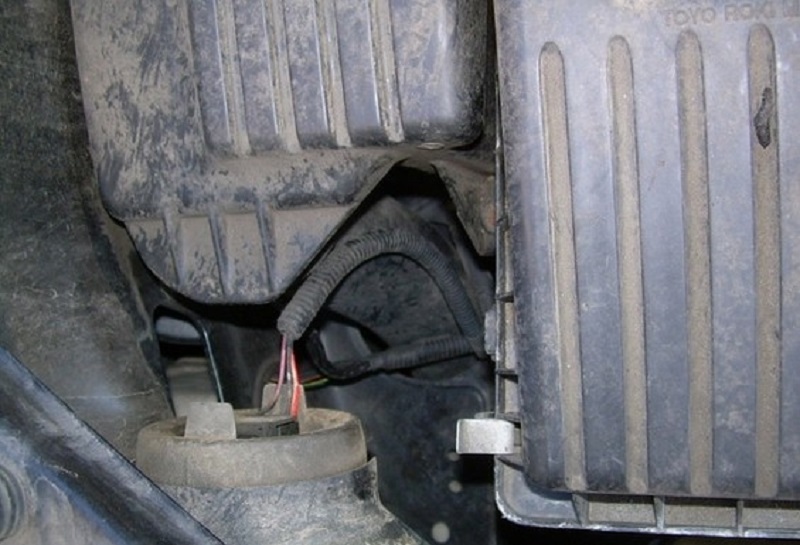
- On the back of the headlight block there is a cartridge, that is, a bundle of wires, which is suitable for a removable lid. As a rule, this cartridge has three wires overlooking it, and the valve fork of the wires has the shape of a trapezium.
- This bundle of wires must be removed by turning off the plug at the base of the headlight housing.
- Next, you need to remove the lid-block, there are three types of installation of covers with a light bulb:

1. The screw cover is the most popular type of fastening of the block with a lamp - you need to unscrew it, resting my fingers in the rib of the cover, turning it counterclockwise.
2. Metal clamp - In this case, you must first pull the cover up, and then to the side, after which it will be removed.
3. Plastic clip - in the upper part of the cover will hang around the lever, it is necessary to press it with a thumb and at the same time pull over the lid. - After removing the block-cap from its inside, you will see the protruding light bulb. Often, you just need to pull it out of the groove, keeping the base and putting a little effort. Perhaps in some cases will have to turn a little lamp to free it.
- Now install a new light bulb.

- Insert a block cover into place, making sure that the lid tightly sat down in place.
- We connect the wiring back by inserting the plug with the wires into the slot.
- At the last stage, check the work of the headlight.
Unfortunately, there are not always car manufacturers make the replacement of the lamp in the spotlight so accessible as described above - sometimes the headlight has to be removed entirely.
How to change Avtolampu by removing the headlights?
On some models of cars to get to the lamp without dismantling the headlight does not work, in this case, you need to remove the headlight.
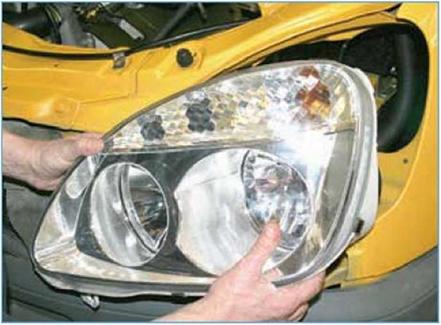
Sometimes it has to dismantle the bumper to gain access to the lower fasteners of the headlights. Next, you just need to unscrew the bolts that fasten the headlight and remove it from the car.
How to replace the license plate lighting lamp?
To work, you will need such tools:
- Screwdriver.
- Rag.
- Silicone Grease.
Order of work:
- Lamps backlight numbers, as a rule, are attached to a niche over the number sign. On different cars they can be attached differently. Piloxes of illumination numbers can be screwed into screws or inserted on the latches, which is practiced on most foreign cars.
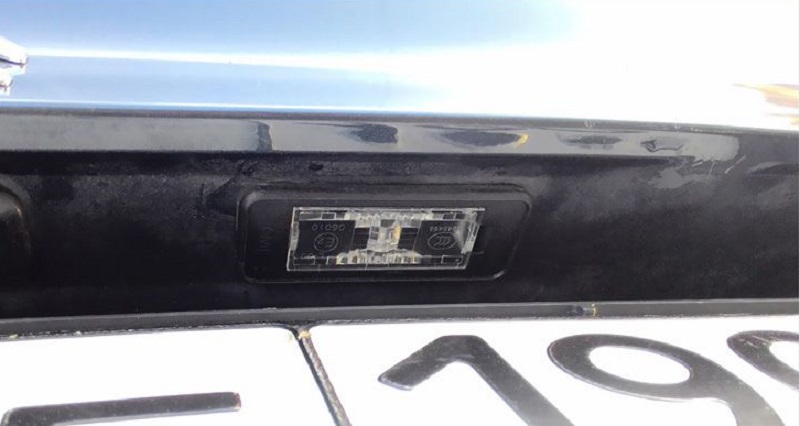
- Screws are unscrewed with a screwdriver, and the layer on the latches must simply push the screwdriver, but be careful not to break.
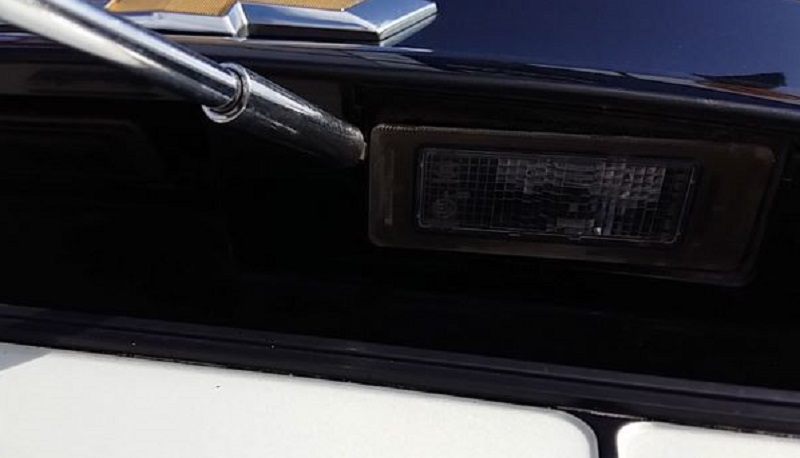
- After dismantling the plafones, pull the lamps from the seats and replace new ones. But do not rush back to fix the plaffones, first it is advisable to check the performance of the room lighting system.

- Before screwing the screws, do not be lazy to lubricate them with silicone lubricant, which will slow down the corrosion process.

How to change lamps on dashboard?
To do this, you will need such tools:
- New lamps.
- Tester.
- Screwdrivers.
Order of work:
- Disconnect the minus terminal from the battery.
- Remove the decorative lining.
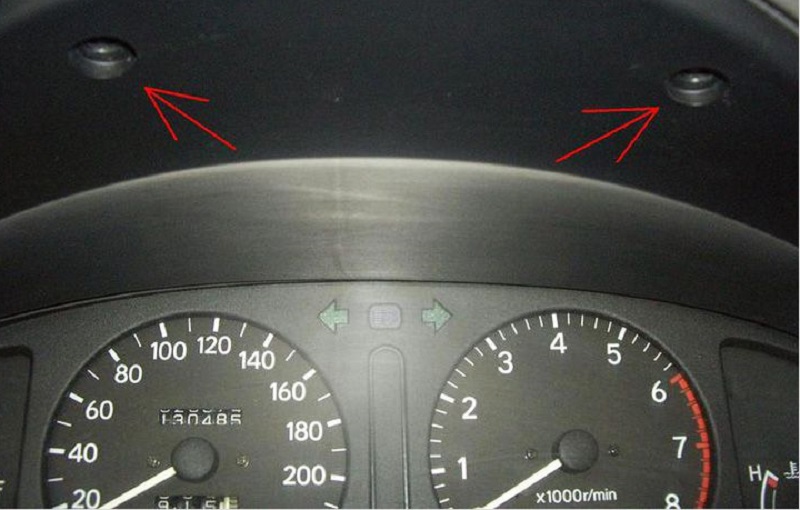
- Unscrew the mounting screws of the instrument combination.
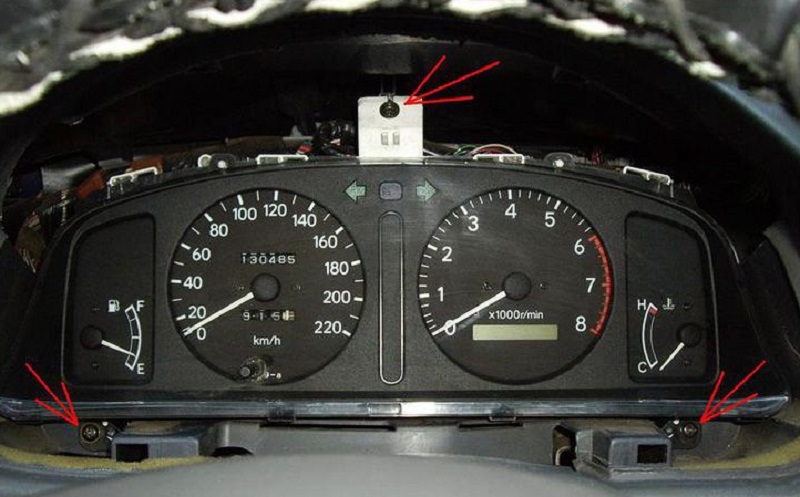
- Disconnect the wiring harness block.

- On the back of the dashboard there are light bulbs. Check them with a tester.

- To replace the defective lamp, turn the cartridge counterclockwise and pull it out with a lamp from the recess.

- The new lamp with the cartridge is installed in the reverse order.

- When all the lamps are replaced, collect everything in the reverse order.
How to replace the lamp stop signal?
To replace the stop signal lamps, you will need a set of keys and a cruciform screwdriver. Order of work:
- Open car trunk lid.
- We dismantle the decorative panel of the rack, it is attached to four clips. So you will free access to the bars.
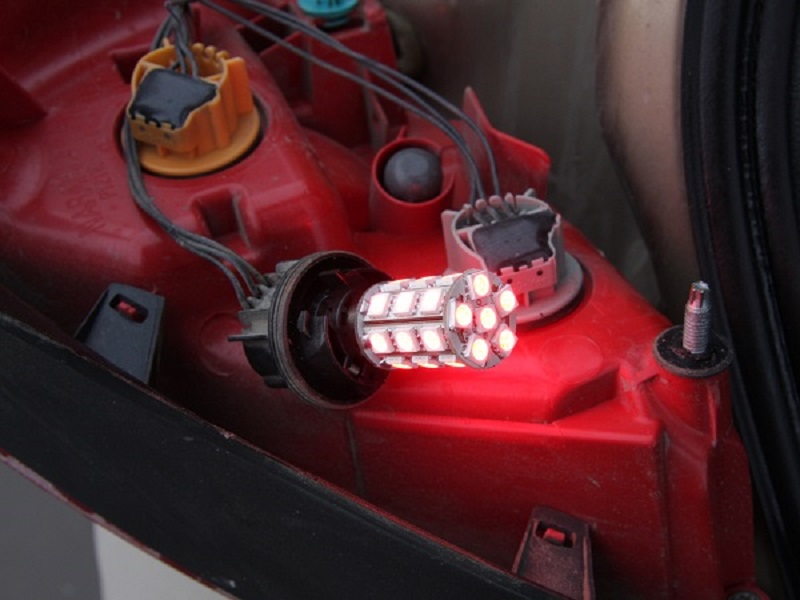
- To free access to the barish nut, which is downstairs, remove the cover from the secret drawer located where the decorative panel.
- Next, we unscrew the lower and top baratic nuts. It will not arise from the top problems, and the bottom will have to be tinted because it is in an uncomfortable place. To easily unscrew the nut, put the head on it to "22".
- When the bars nuts are dug, proceed to removing the rear headlamp. It is very important that the bottom and the upper ones come out at the same time, otherwise the headlight will be in space. This operation will require an assistant.
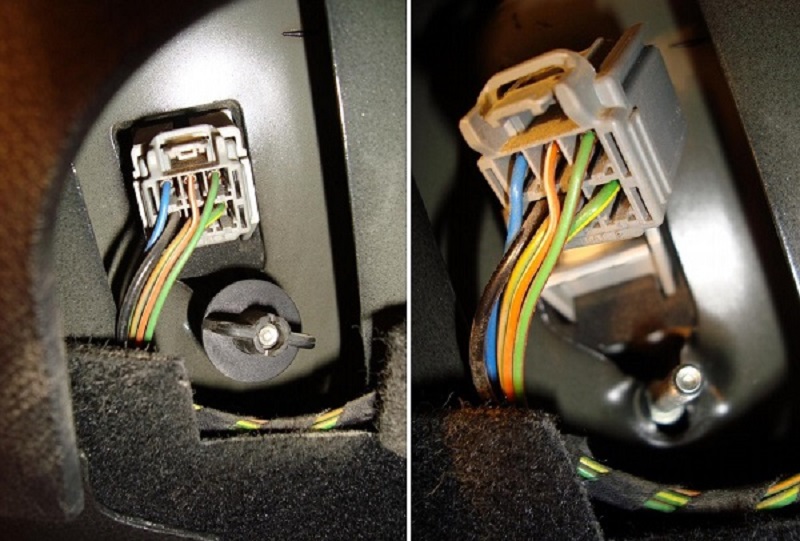
- Next, turn out three screws on the spotlight. Now you have access to the light bulb. Remove the old lamp and install a new one in its place.
- Assembly perform in the reverse order.
- Click on the brake pedal to check the operation of the stop signal.
Tips Prof.
We recommend to see the following video:
Related Materials
- Stove 2110, bad warm stove 2110, VAZ 2110 heating system, repairing the heating system VAZ 2110 with their own hands
- VAZ 2114 stove blows with cold air, stove 2114, bad warm stove VAZ 2114, device and repair of heating VAZ 2114 do-it-yourself, removing the stove VAZ 2114
- How to subdominize the car. How to put a jack. Types of jacks for cars.
- VAZ 2109 Fuse Block, VAZ 2109 Fuse Block Carburetor, VAZ 2109 Fuse Block Injector, Old VAZ 2109 Fuse Block, VAZ 2109 Fuse Block, VAZ Fuse Block 2109
- Car exhaust gas catalyst, faulty catalyst, pluses and cons of the catalyst, how to change the catalyst for the planeencitel
- Stove blowing cold air VAZ 2114, badly blowing the stove VAZ 2114, why badly blowing the stove VAZ 2114
- How to find out the owner of the car by the number of his car, check the car by the number of the traffic police machine, check the car by the state number of the car for free
- How to choose Used tires, Useful Tips
- Winter car road, pressure in passenger car tires in winter, good battery for the car in winter, whether to warm the car in winter
- In winter, the car is poorly started. How to make a car in winter, do you need to warm up the car in winter, useful tips
- Economy fuel consumption machines, the most economical car consumption
- Tires brands for passenger cars, labeling of car tire labeling, residual passenger car tire protector, how to pick a tire on a car brand, car tire tread pattern
- Working transmission operation, mechanical gearbox clutch work, driving with manual gearbox, useful tips
- Rear beam Peugeot 206 sedan, rear beam device Peugeot 206. Rear beam Peugeot 206 Malfunction, repair of the rear beam Peugeot 206
- Diesel fuel in winter, additive for diesel fuel in winter, how to choose the best diesel fuel
- Diesel winter does not start. How to start diesel in winter, heating diesel in winter.
- Japanese bridgestone tires, winter studded bridgestone tires, bridgestone tires brand
- Tire marking decoding for passenger cars, labeling wheels, how to choose the right tires on the disks
- Diesel engine in winter, launch of the diesel engine in winter, what oil to fill in a diesel engine in winter, useful tips
- LED backlight of the car, the backlight of the bottom of the car, the backlight of the legs in the car, the backlight in the door of the car, the backlight of the car is fine
- Recovered tires, bus tire, restored tire protector, can I use them
- Choose winter tires, which is a winter tires, which pressure in winter tires should be marked with winter tires, how to choose the right winter tires, the best winter tires 2019
- Steering rail rail, knock of steering rack, reasons for the knock and repair of the steering rack do it yourself
- Cameless car tires, a set for repair of tubeless tires, repair of the cannon-free tire do it yourself
- Russian tires, Russian tires Winter, Russian All-season tires, Voronezh AMTEL tires, Tires "Matador Omsk Tire", Kama-tires are world-class bus
- How to open a car without a key. Lost the key from the car what to do, the key from the car inside the car
- Silent tires, quiet winter tires, quiet studded bus, which tires to choose, overview tires
- Tires and safety, safety of the bus, why it is necessary to constantly monitor car tires
- Rules of safe driving of the car in the rain and slush, safe driving of the car for beginners
- Rust converter which is better for cars, rust converters to choose how to use rust transducer, professionals
- Polishing the body of the car do it yourself, how to choose a polishing paste, useful tips
- Engine durability, engine life, how to extend engine life
- Knock in the car. Knock when moving a car. What can knock in the car. How to determine the cause of the knock.
- ABS car, what is ABS car, ABS system malfunction, ABS diagnostics
- Overtaking a car when you can start overtaking a car, rules of traffic rules
- Fuel pump VAZ 2110, VAZ 2110 gas station scheme, VAZ 2110 fuel pump device, VAZ 2110 gas station repair,
- Automotive antennas for radio, automotive antenna device, car antenna do it yourself
- Front suspension Kalina, device front suspension Kalina, knock in front suspension Kalina, repair of front suspension Kalina
- Shock absorber Oil, best oil shock absorbers, pumping oil shock absorbers, how to properly pump oil shock absorber
- Clutch malfunctions, touches clutch, causes a clutch malfunction, how to eliminate


Comments