On many domestic cars of old models there is no glass window. But technical progress moves forward, and car owners try to upgrade their "iron horse". To control the windows, keys are used, which over time can fail. About this further in the article.
Content
Window button, cause fault
The reasons why the window button may not respond to pressing, are different:
- Glass lift breakdown.
- Frozen glass with severe frost.
In fact, it is impossible to detect a breakdown without disassembled the windows mechanism. Removing each element, it is necessary to check it for integrity. The main reasons for breakdowns can be divided into two categories:
- The problem with the power button.
- Cases are possible when everything is in order with the electronics, but the window switch does not work.
Structural button, troubleshooting methods

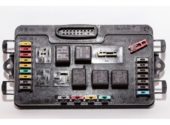
If the problems appeared due to the power supply, first of all it is necessary to check the fuses. If they are in order, carefully inspect the motor motor mechanism and check the voltage on its terminals. The check can be performed using a multimeter or a conventional 12 volt light bulb. If there is no voltage, check the wiring, relay and control unit.
If the button works systematically (then it is starting, it works), most likely, the problem is in it itself. In this case, disassemble the windows, dismantle the button and read the contacts in case of their oxidation.
Repair the window of the window card do it yourself
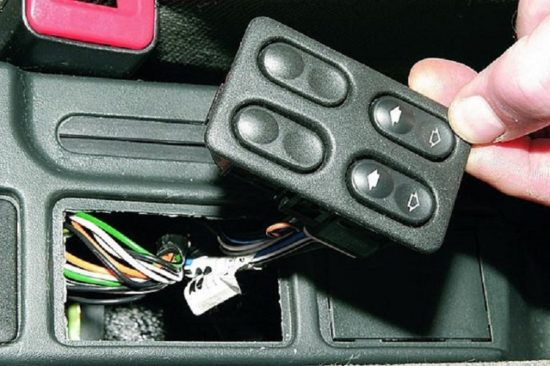
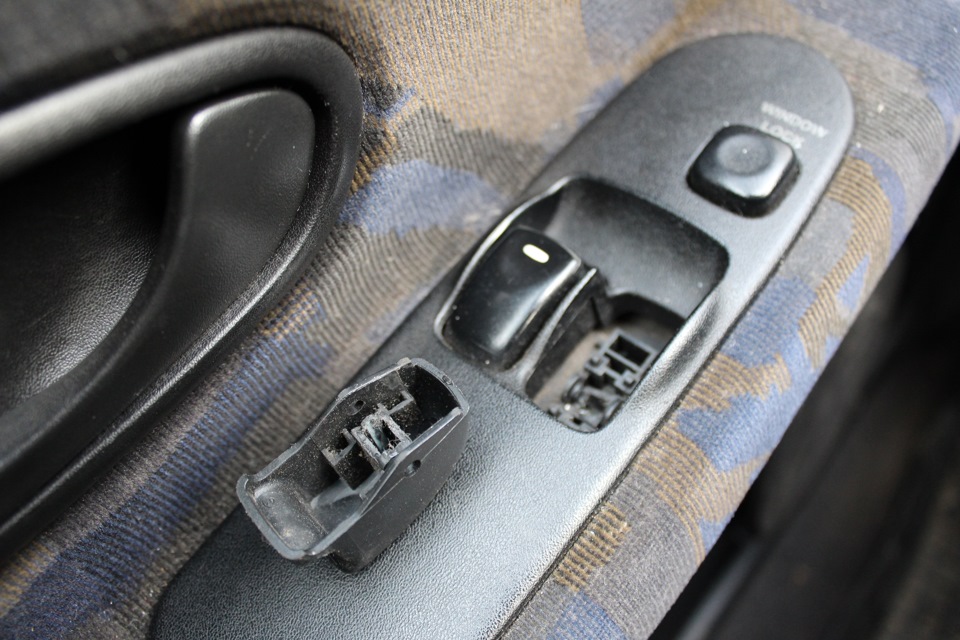
To independently repair the button, you need to know how to dismantle it. For disassembly, do the following:
- First dismantle the door panel.
- Then disconnect the connector and unscrew the mount, with which the button holds the button.
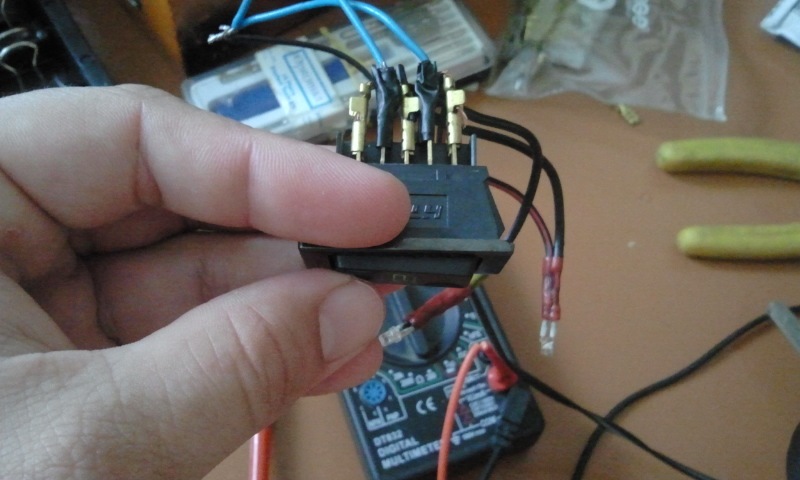
- Four contacts are located on the board. Carefully clean them if they oxidized.
- When the button is pressed, it presses on the plastic platform, which presses onto her shell of rubber. As a result of these actions, contacts are closed on the board. It is also desirable to check the springs and every part for good condition.
- Next, apply to the surface of the shell of rubber conductive glue into a place where the printed part of the board and contacts come into contact.
- When the adhesive will die, make the details assembly in the reverse order.
When repairing it is important not to confuse the contacts during the connection of the switches.
Connect the window of the window in your own hands
To connect the mechanism button lifting the glass, you need a whole set of materials and tools. If the installation is performed on several doors, you will need so many sets as doors.
Tools and materials
- pistons for doors (7 pieces);
- wire with a cross section of 0.75 (4 meters);
- jack and a glass of key;
- keyboard key;
- terminals like "Dad" (2 pieces);
- terminals of the "Mom" type of large size (2 pieces);
- mom terminals of a small size (7 pieces);
- connector for connection;
- pad "Mom Pope", which has two contacts.
Directly installed
If the windows button is installed directly at the door, its installation will consist of such actions:
- Before work, de-energize the car, removing the negative terminal with the battery.
- Remove the trim to provide access to the power window mechanism.
- The window key is mounted on the driver's door, stretch from it the wiring to the doors where the same buttons will be mounted.
- To a black and white wire for 12 volts, which is located on the mechanism relay lifting the glass, you must connect two wires by 12 volts of red.
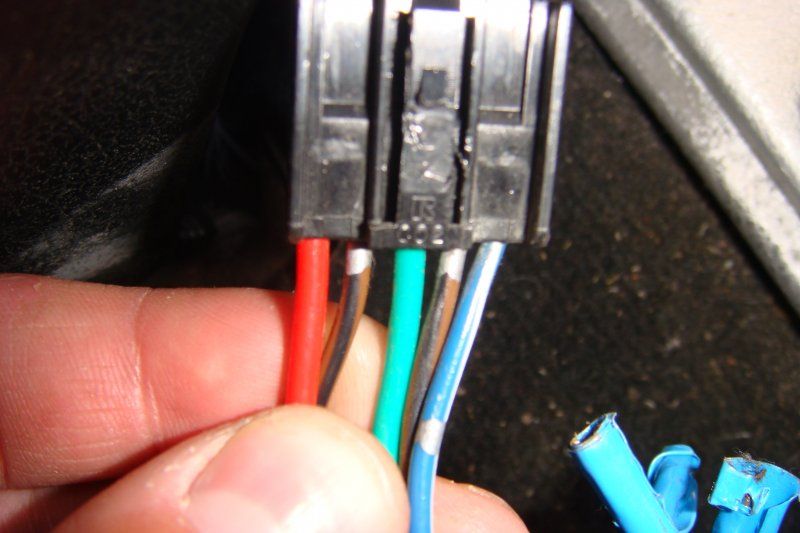
- On the TC doors are gray and blue wires, which are connected to the windows motor. Prepared wires Connect to the block connector: black wire to gray, and the black and white wire is to the blue.
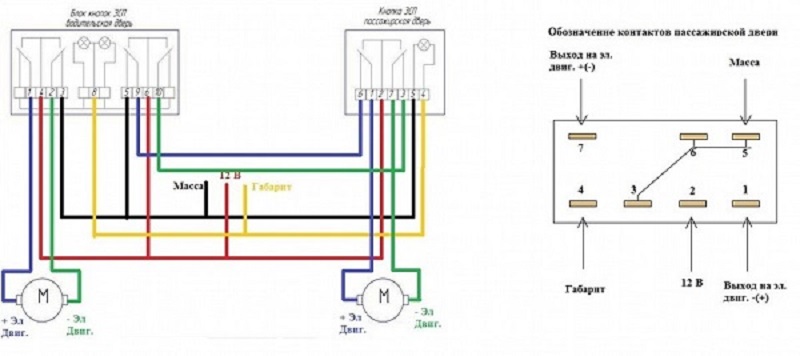
- Five wires must be connected to the button. The black wire is responsible for "mass", a 12 volt voltage is fed to the red, the white wire is the backlight of the windows buttons, the black and white wire goes to the blue, the black wire from the block is connected black.
Wires with terminals are connected according to the following scheme:
- Red 12-volt connected to the hole at number 2.
- Black and white - to the hole at number 3.
- White - to the hole at number 4.
- Black (from "Mass") - to the hole at number 5.
- Black (gray) - to the hole at number 6.
It is very important to properly connect all the wires to the desired connector jacks, otherwise the control key will not work. After that, take the wires of black and white and the black color of the corresponding length and insert the black wire into the socket at number 1, and the black and white - in the socket at number 2. Free ends crimp with a large terminal "Mom" and connect them to a new connector.
Follow the connected black and white wire to be directed to the blue wire, and the black wire is on black. At this stage, the connection is considered completed. It remains only to install a glass, as well as a keyboard key, securing them with the help of the sealant in the specially done connector in the door trim.
Related Materials
- Stove 2110, bad warm stove 2110, VAZ 2110 heating system, repairing the heating system VAZ 2110 with their own hands
- VAZ 2114 stove blows with cold air, stove 2114, bad warm stove VAZ 2114, device and repair of heating VAZ 2114 do-it-yourself, removing the stove VAZ 2114
- How to subdominize the car. How to put a jack. Types of jacks for cars.
- VAZ 2109 Fuse Block, VAZ 2109 Fuse Block Carburetor, VAZ 2109 Fuse Block Injector, Old VAZ 2109 Fuse Block, VAZ 2109 Fuse Block, VAZ Fuse Block 2109
- Car exhaust gas catalyst, faulty catalyst, pluses and cons of the catalyst, how to change the catalyst on the planeencitel
- Stove blowing cold air VAZ 2114, badly blowing the stove VAZ 2114, why badly blowing the stove VAZ 2114
- How to find out the owner of the car by the number of his car, check the car by the number of the traffic police machine, check the car by the state number of the car for free
- How to choose Used tires, Useful Tips
- Winter car road, pressure in passenger car tires in winter, good battery for the car in winter, whether to warm the car in winter
- In winter, the car is poorly started. How to make a car in winter, do you need to warm up the car in winter, useful tips
- Economy fuel consumption machines, the most economical car consumption
- Tires brands for passenger cars, labeling of car tire labeling, residual passenger car tire protector, how to pick a tire on a car brand, car tire tread pattern
- Working transmission operation, mechanical gearbox clutch work, driving with manual gearbox, useful tips
- Rear beam Peugeot 206 sedan, rear beam device Peugeot 206. Rear beam Peugeot 206 Malfunction, repair of the rear beam Peugeot 206
- Diesel fuel in winter, additive for diesel fuel in winter, how to choose the best diesel fuel
- Diesel winter does not start. How to start diesel in winter, heating diesel in winter.
- Japanese bridgestone tires, winter studded bridgestone tires, bridgestone tires brand
- Tire marking decoding for passenger cars, labeling wheels, how to choose the right tires on the disks
- Diesel engine in winter, launch of the diesel engine in winter, what oil to fill in a diesel engine in winter, useful tips
- LED backlight of the car, the backlight of the bottom of the car, the backlight of the legs in the car, the backlight in the door of the car, the backlight of the car is fine
- Recovered tires, bus tire, restored tire protector, can I use them
- Choose winter tires, which is a winter tires, which pressure in winter tires should be marked with winter tires, how to choose the right winter tires, the best winter tires 2019
- Steering rail rail, knock of steering rack, reasons for the knock and repair of the steering rack do it yourself
- Cameless car tires, a set for repair of tubeless tires, repair of the cannon-free tire do it yourself
- Russian tires, Russian tires Winter, Russian All-season tires, Voronezh AMTEL tires, Tires "Matador Omsk Tire", Kama-tires are world-class bus
- How to open a car without a key. Lost the key from the car what to do, the key from the car inside the car
- Silent tires, quiet winter tires, quiet studded bus, which tires to choose, overview tires
- Tires and safety, safety of the bus, why it is necessary to constantly monitor car tires
- Rules of safe driving of the car in the rain and slush, safe driving of the car for beginners
- Rust converter which is better for cars, rust converters to choose how to use rust transducer, professionals
- Polishing the body of the car do it yourself, how to choose a polishing paste, useful tips
- Engine durability, engine life, how to extend engine life
- Knock in the car. Knock when moving the car. What can knock in the car. How to determine the cause of the knock.
- ABS car, what is ABS car, ABS system malfunction, ABS diagnostics
- Overtaking a car when you can start overtaking a car, rules of traffic rules
- Fuel pump VAZ 2110, VAZ 2110 gas station scheme, VAZ 2110 fuel pump device, VAZ 2110 gas station repair,
- Automotive antennas for radio, automotive antenna device, car antenna do it yourself
- Front suspension Kalina, device front suspension Kalina, knock in front suspension Kalina, repair of front suspension Kalina
- Shock absorber Oil, best oil shock absorbers, pumping oil shock absorbers, how to properly pump oil shock absorber
- Clutch malfunctions, touches clutch, causes a clutch malfunction, how to eliminate






Comments