Repair of the front suspension, I want to say that there is nothing complicated if we arm all the required tools and act according to the instructions. The roads in our country have never been distinguished by high quality, especially they worsen in early spring. When the snow melts, numerous cracks can be detected in the asphalt and potholes. As you know, the car suspension VAZ 2106 is designed to mitigate the oscillations transmitted by the car body from the holes and the elevation on the road surface. Upon the influence of time, the running part is wearing, as a result of which it requires repair, which can be carried out independently. About this further in the article.
Content
- Front suspension device which tasks perform
- Front suspension 2106, fault signs
- Diagnosis and list of repair work
- Tools, fixtures, consumables for repair
- Crossing the front suspension, removal and installation step by step
- Ball supports, diagnostics
- Ball supports, replacement, step by step
- Top Lever Front Pendant, Step-by-step replacement
- Lower front suspension lever, removal and replacement
- Tips Prof.
Front suspension device which tasks perform
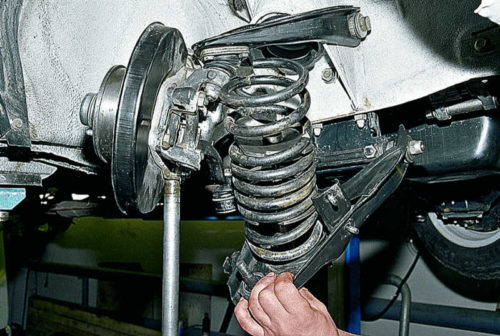
From the front suspension of the vehicle depends on its maneuvering in turns and smooth movement. To ensure safe and comfortable driving, you should systematically produce car maintenance and its diagnostics. The presence of any extraneous sounds, stuffs or a grindering when driving, as well as the feeling of swinging, indicates a malfunction of the front suspension of the car VAZ 2106.
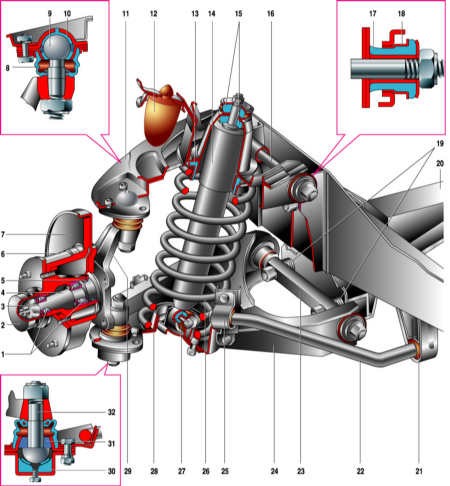
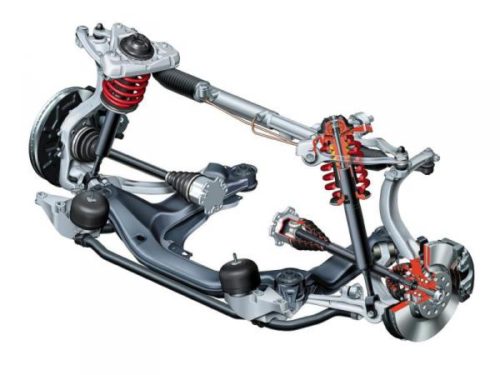
The design of the front suspension car VAZ 2106 includes such components:
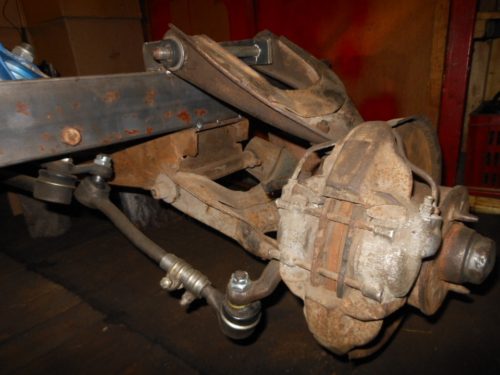
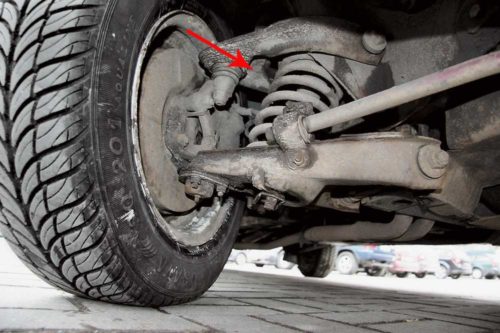
hub bearings (1), hub cap (2), nut (3), rotary fist pin (4), cuff (5), hub (6), brake disc (7), Ball finger protective case (top) (8) , upper ball finger (9), liner (bearing) of the upper support (10), upper lever (11), compression buffer (12), insulating spring gasket (13), shock absorber (14), shock absorber cushion (15), Upper lever axis (16), rubber hinge sleeve (17), outer sleeve (18), adjusting washers (19), crossing suspension (20), stabilizer rod pillow (21), stabilizer rod (22), lower lever axle (22) 23), bottom lever (24), fastening rod rod stabilizer (25), spring (26), shock absorber springs sleeve (rubber) (27), lower refrigerated cup of spring (28), swivel fist (29), ball shacking liner (Lower) (30), Bearing of the bottom support (31), lower ball finger (32).
Front suspension 2106, fault signs
Faults of the suspension can appear gradually or occur unexpectedly (for example, at the occasion of any obstacle). It is worth noting that some faults, if they are not eliminated in a timely manner, are able to cause other, more serious breakdowns. On the appearance of a malfunction of the suspension testify different indirect signs:
- Uneven or increased wear of tires.
- "Truck" suspension.
- The knocks in the suspension when driving.
- Vibration when driving.
- Swing (oscillations) of the car during braking and turns.
- Deviation of vehicle from rectilinear movement.
When determining the troubleshooting, the suspension should be borne in mind that the specified symptoms also accompany the steering faults. As a rule, the establishment of a certain fault of the suspension is carried out with detailed testing, inspection, as well as the defects of the suspension elements.
Diagnosis and list of repair work
The car diagnostics is recommended every 15,000 mileage kilometers. It is very important, at the same time, carefully inspect the hinges of the levers, as well as to check the state of the upper and lower ball supports, shock absorbers, springs and levers themselves. If there are no defects, you should simply make the collapse.
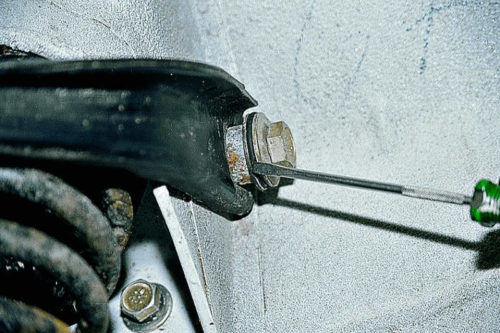
DIY repair chassis includes a wide list of works, namely:
- Installation of new upper either lower supports.
- Replacing the lower and / or upper levers.
- Installation of new hinges on the lower and upper levers.
- Spring replacement.
- Replacing suspension shock absorbers.
- Replacing the glands and lubrication of bearings.
- Adjusting wheel bearings.
- Replacing stabilizer pillows.
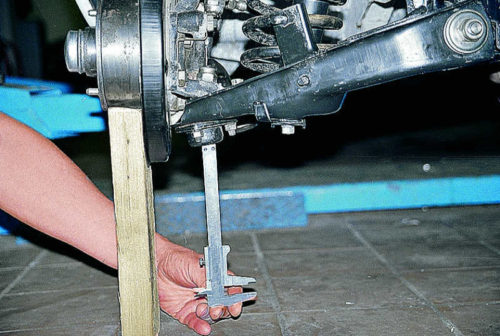
After the performance of these works, either one of them should necessarily make trouble-convergence.
Tools, fixtures, consumables for repair
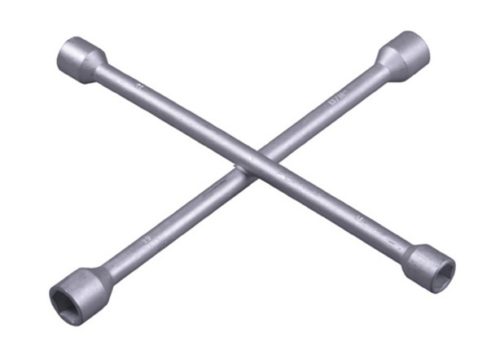
To repair the car suspension VAZ 2106 you will need such a toolkit:
Crossing the front suspension, removal and installation step by step
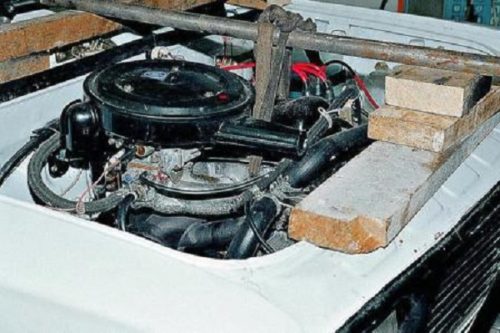
To begin with, removing the bottom lever of the front suspension from the car along with silent blocks and ballproof. Next, open the hood, dismantle the air filter of the carburetor, after which we cover this hole to protect the dirt in the process of operation.
We prepare traverse, which will be required to maintain the engine in a suspended state while dismantling the crossbar of the front suspension. For the material there is a regular construction board with a thickness of five centimeters. The length of the traverse should be an identical distance between the beads of the front wings. Do the hole in the middle of the traverse, in which the stud is inserted with a brass bolt.
We set the traverse on the flaking of the front wings under the hood and insert the bracket into its hole and a long bolt. We combine the bracket with a bolt with an eye in the engine. On the heel slightly tighten the nut, thereby removing the gaps in the connections of the engines of the motor and brackets.
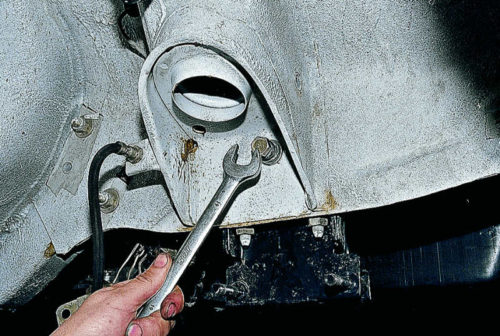
Through the hole in the crossbar using the end head on both sides, the nuts, which keep the airbags of the motor, as well as nuts with spring washers should be unscrewed. Then under the crossbar should be put the supports and lower the car on them in such a way that the cross is barely concerned.
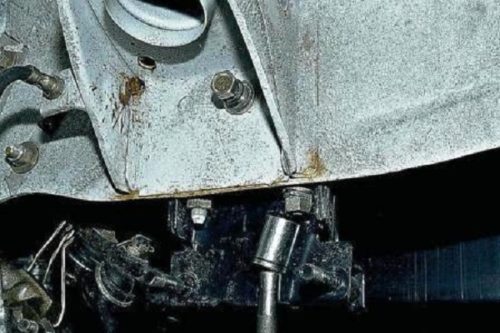
Next, on each side, you unscrew the vertical and horizontal bolts, which are fixed to the spars crossbar. When subcompacting the vehicle, the cross will remain on the supports. Mount the new crossbar and collect everything in the reverse order.
Ball supports, diagnostics
The diagnosis of ball support is made as follows:
- Let the wheel hang.
- We substitute something under the bottom lever.
- Lower the car.
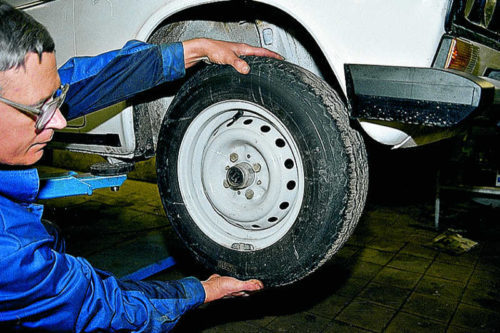
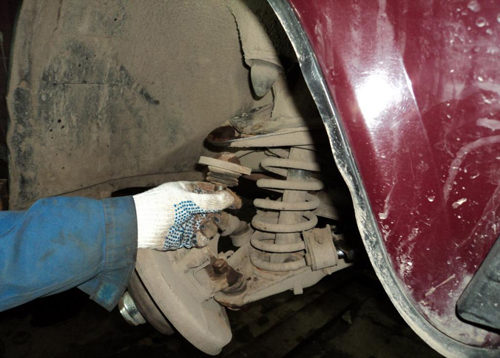
When lowering the car, the bottom lever will stop loading the suspension. We wrap the wheel with two hands on top and bottom and make a number of sharp movements - the bottom from ourselves, and the top of yourself and on the contrary. If during this you hear a knock and feel the play of the hub in the area of \u200b\u200bthe ball, then the front suspension needs to be repaired.
Ball supports, replacement, step by step
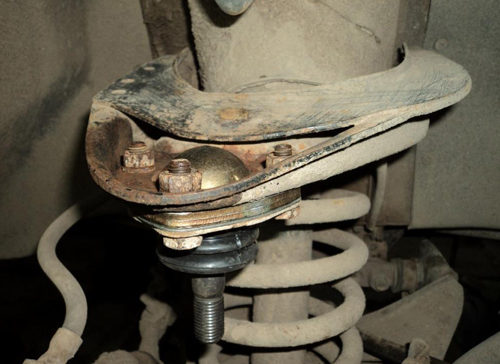
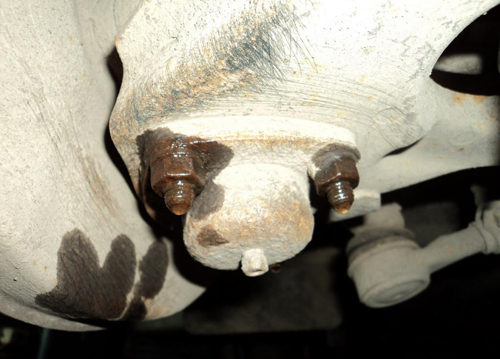
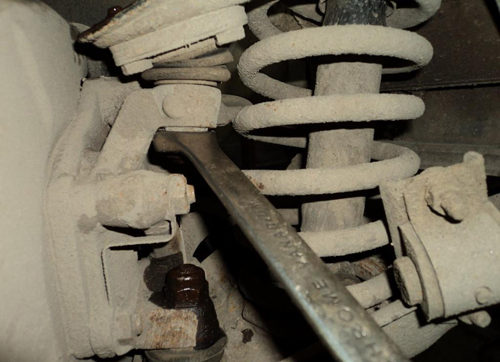
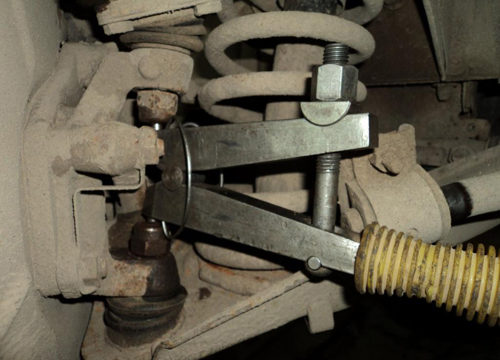
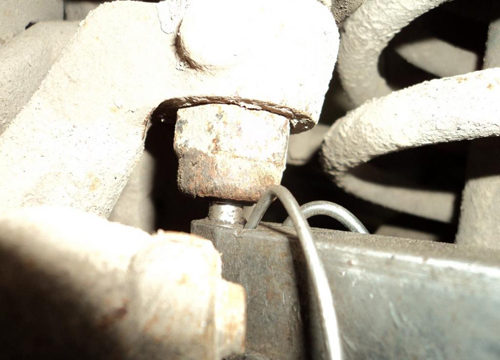
First dismantle the wheel and unload the suspension, then unscrew the nut of the upper or lower support.
On the surface of the protrusion of the turning fist, we make some blows with a hammer, freeing the ball, after which we release the support from the lever.
Unscrew the fastening bolts of the ball support to the lever.
Be careful when removing the ball with the lever. The plate is better to dismantle with it, however, do not forget to build it back when installing a ballproof.
Remember that the upper and lower supports differ from each other. Build the assembly in the reverse order.
Top Lever Front Pendant, Step-by-step replacement
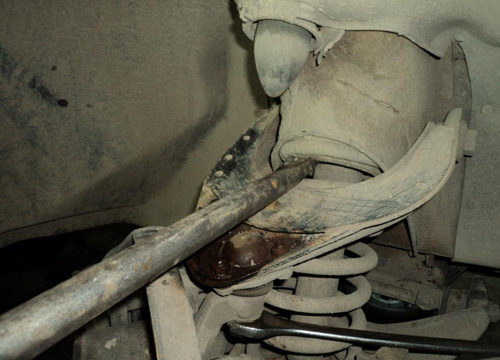
- We raise the car to the jack and remove the wheel, after which we substitute the support for the bottom lever and lower the vehicle. It loads the suspension to the required state (as if the car stands under its own weight). In this case, the levers are leveled.
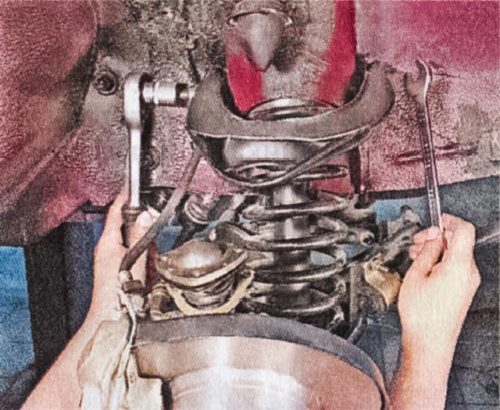
- The axis of the upper lever is fixed by a wrench and weaken the axis nut, for which it should be unscrewed so that it coincides with the end of the axis.
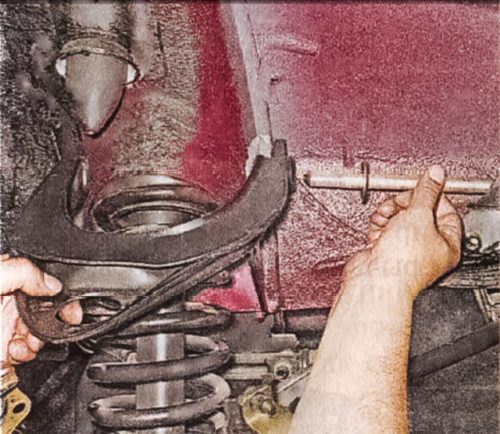
- We unscrew the bolts that hold the top ball support, and feed the lever a bit up, after which you completely unscrew the axis nut, pulling the axis from the lever.
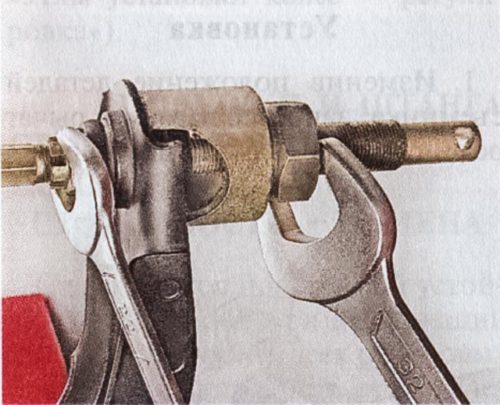
- Remove the lever with silent blocks.
- Install a new lever.
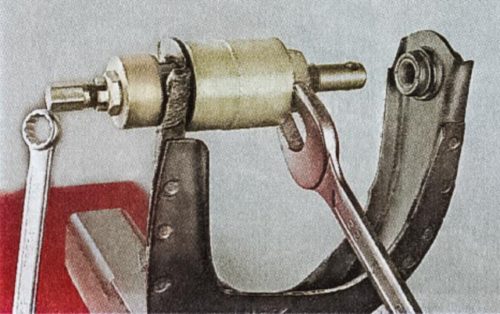
- We mount all the items back in the opposite to removing the order.
Lower front suspension lever, removal and replacement
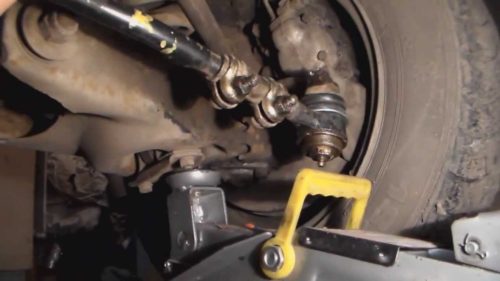
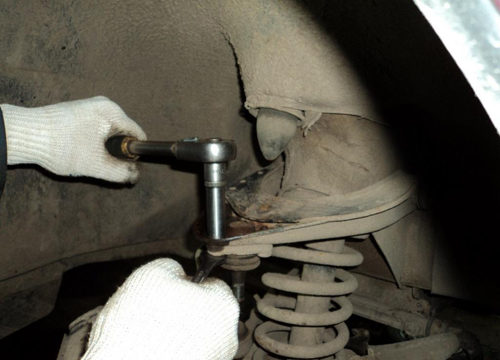
First, we remove the front suspension spring and we unscrew two nuts that are kept on the crossbar. We dismantle it together with the ball hinge, the axis and silent blocks. If you need change the ball support or lever. Then I mount everything in the reverse order.
Tips Prof.
The front suspension of the car is a rather important element of the vehicle, so when the first signs of malfunction appears, it should immediately make it diagnose and repair.
Related Materials
- Stove 2110, bad warm stove 2110, VAZ 2110 heating system, repairing the heating system VAZ 2110 with their own hands
- VAZ 2114 stove blows with cold air, stove 2114, bad warm stove VAZ 2114, device and repair of heating VAZ 2114 do-it-yourself, removing the stove VAZ 2114
- How to subdominize the car. How to put a jack. Types of jacks for cars.
- VAZ 2109 Fuse Block, VAZ 2109 Fuse Block Carburetor, VAZ 2109 Fuse Block Injector, Old VAZ 2109 Fuse Block, VAZ 2109 Fuse Block, VAZ Fuse Block 2109
- Car exhaust gas catalyst, faulty catalyst, pluses and cons of the catalyst, how to change the catalyst on the planeencitel
- Stove blowing cold air VAZ 2114, badly blowing the stove VAZ 2114, why badly blowing the stove VAZ 2114
- How to find out the owner of the car by the number of his car, check the car by the number of the traffic police machine, check the car by the state number of the car for free
- How to choose Used tires, Useful Tips
- Winter car road, pressure in passenger car tires in winter, good battery for the car in winter, whether to warm the car in winter
- In winter, the car is poorly started. How to make a car in winter, do you need to warm up the car in winter, useful tips
- Economy fuel consumption machines, the most economical car consumption
- Tires brands for passenger cars, labeling of car tire labeling, residual passenger car tire protector, how to pick a tire on a car brand, car tire tread pattern
- Working transmission operation, mechanical gearbox clutch work, driving with manual gearbox, useful tips
- Rear beam Peugeot 206 sedan, rear beam device Peugeot 206. Rear beam Peugeot 206 Malfunction, repair of the rear beam Peugeot 206
- Diesel fuel in winter, additive for diesel fuel in winter, how to choose the best diesel fuel
- Diesel winter does not start. How to start diesel in winter, heating diesel in winter.
- Japanese bridgestone tires, winter studded bridgestone tires, bridgestone tires brand
- Tire marking decoding for passenger cars, labeling wheels, how to choose the right tires on the disks
- Diesel engine in winter, launch of the diesel engine in winter, what oil to fill in a diesel engine in winter, useful tips
- LED backlight of the car, the backlight of the bottom of the car, the backlight of the legs in the car, the backlight in the door of the car, the backlight of the car is fine
- Recovered tires, bus tire, restored tire protector, can I use them
- Choose winter tires, which is a winter tires, which pressure in winter tires should be marked with winter tires, how to choose the right winter tires, the best winter tires 2019
- Steering rail rail, knock of steering rack, reasons for the knock and repair of the steering rack do it yourself
- Cameless car tires, a set for repair of tubeless tires, repair of the cannon-free tire do it yourself
- Russian tires, Russian tires Winter, Russian All-season tires, Voronezh AMTEL tires, Tires "Matador Omsk Tire", Kama-tires are world-class bus
- How to open a car without a key. Lost the key from the car what to do, the key from the car inside the car
- Silent tires, quiet winter tires, quiet studded bus, which tires to choose, overview tires
- Tires and safety, safety of the bus, why it is necessary to constantly monitor car tires
- Rules of safe driving of the car in the rain and slush, safe driving of the car for beginners
- Rust converter which is better for cars, rust converters to choose how to use rust transducer, professionals
- Polishing the body of the car do it yourself, how to choose a polishing paste, useful tips
- Engine durability, engine life, how to extend engine life
- Knock in the car. Knock when moving the car. What can knock in the car. How to determine the cause of the knock.
- ABS car, what is ABS car, ABS system malfunction, ABS diagnostics
- Overtaking a car when you can start overtaking a car, rules of traffic rules
- Fuel pump VAZ 2110, VAZ 2110 gas station scheme, VAZ 2110 fuel pump device, VAZ 2110 gas station repair,
- Automotive antennas for radio, automotive antenna device, car antenna do it yourself
- Front suspension Kalina, device front suspension Kalina, knock in front suspension Kalina, repair of front suspension Kalina
- Shock absorber Oil, best oil shock absorbers, pumping oil shock absorbers, how to properly pump oil shock absorber
- Clutch malfunctions, touches clutch, causes a clutch malfunction, how to eliminate

Comments