It's no secret that everything new, modern and beautiful, sooner or later becomes old, worn and banging. And, even, the most luxurious and elegant car, over time, turns into the rotten armpitty dismay, which has already served his time, and instead of delight, it can only cause ridicule. However, no one said that old things can not be renovated.
Content
Why car ceiling dry cleaning - money
Gradually, the upholstery of the ceiling in the car burns out, polluted and destroyed. And if the ceiling of your car is made of bright materials, it is most relevant. The upholstery darkens and looks disgusting. And only in places where sunscreen visors are located, it looks like a new one.
But not all motorists make a decision to drag the ceiling in their car. Almost everyone first uses less labor-intensive and cost-effective means, such as dry cleaning. But, often, if the product aimed, such procedures are not able to help him. Many motorists acquire a "dry dry cleaning", which can spoil the upholstery finally, since after decorating the ceiling with such material, the fabric is separated from the foam rubber and your upholstery will hang over your head, like a black hole.
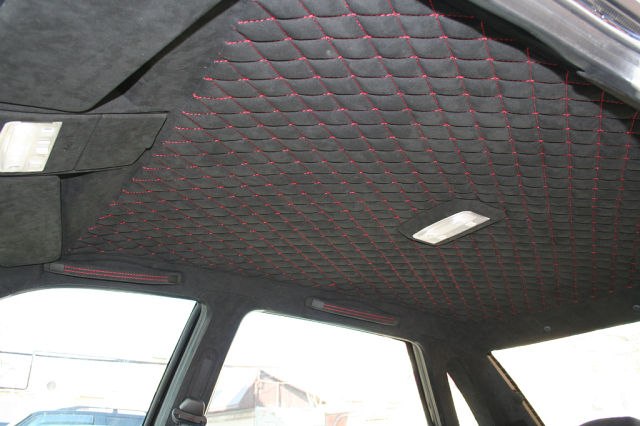
In such a situation, the ceiling hauling in your machine will be the most optimal and relevant option. In this article we will tell you in detail how to make a car ceiling with yourself without resorting to the help of specialists.
Getting ready for a ceiling hawker with your own hands
If you have never independently did the ceiling hawk, try to practice in advance.
We advise you to drag the cloth any other, relatively small item. For example, you can drag the handles, some thresholds or inserts on the car doors. When you make sure that you all turn out, you can start up more complex elements of the cabin, including the ceiling hawk.
choose quality drawing material
One of the most important elements in the ceiling is prettier with its own forces is the choice of high-quality material.

For this, when buying a fabric, it is necessary to take into account such details:
- The fabric should be durable and resistant to burnout in the sun.
- The material should be pleasant to the touch and touch.
- Should not depend on temperature and humidity drops.
- It is necessary to choose elastic fabric, so that the folds would not be formed.
advantages and disadvantages of the skin, leaving, autowinyl, automotive velor
The skin is one of the most beautiful and expensive fabrics. It is durable, especially durable and resistant to wear.
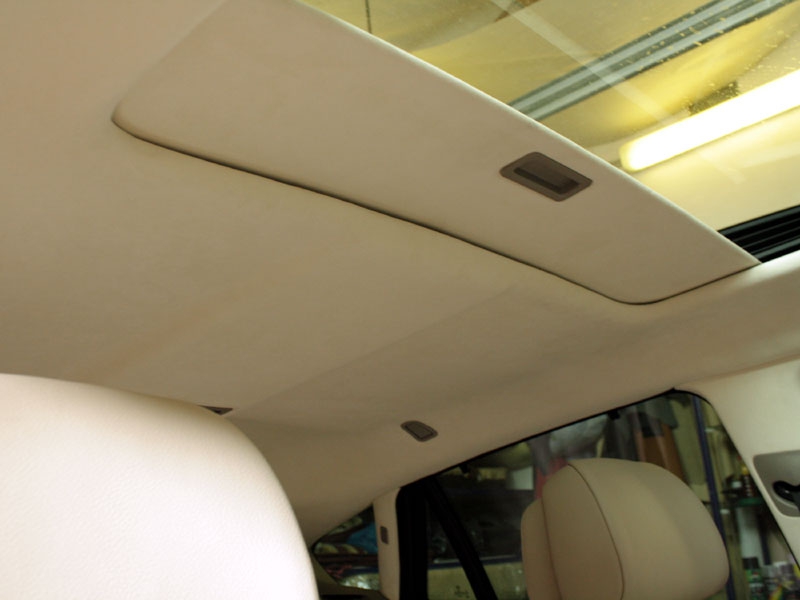
Genuine leather will last for a very long time, it does not smell, stretch well and looks sophisticated. Also, I want to say that she has no flaws, on this, when tightlying the ceiling, it is worth stopping your choice on this material.
Skin substitute motorists are used quite often, it looks no less beautiful than genuine leather, and it costs cheaper.

But with the ceiling pasting, the leathesum may be wrinkled and has a weak strength, therefore cracks formed on the ceiling. It is able to absorb other smells and is not too resistant to mechanical damage.
Avtovinyl is different: chromed and in the form of vinyl films. It is represented in various colors and textures, which allows the salon to give a presentable view.
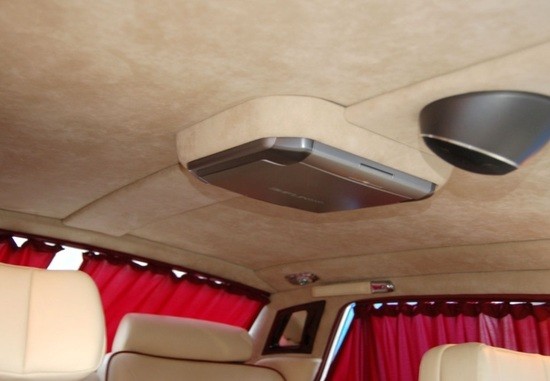
Automotive velor is a traditional material for the upholstery of the ceiling.
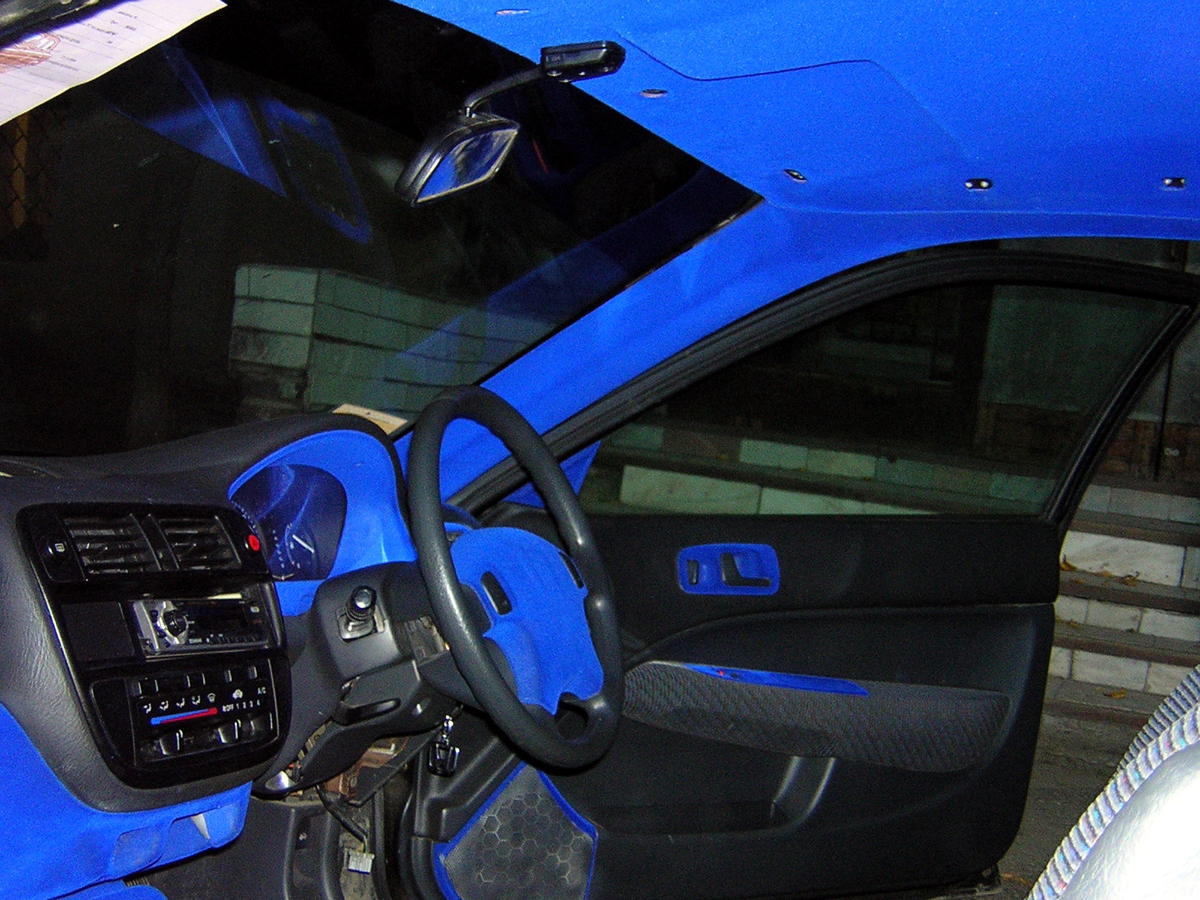
It is very practical and almost not dirty, and small pollution is very easy to eliminate. But velor fabric is not resistant to mechanical effects.
choose the color of the material
As for the color of the fabric, it is not necessary to prefer too light shades, because they are easily dirty. It is also not recommended to choose bright colors, they will distract the driver from the road, taking sight and annoy. When choosing a fabric for the ceiling it is worth remembering that it should be combined with other elements of the cabin. We advise you to choose calm and modest colors, as they are almost not visible flaws.
Tools required in the work for the ceiling
- Hairdryer for drying;
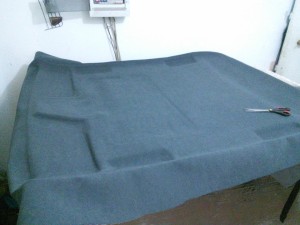
- Pre-prepared trimming material;
- Glue;
- Malyary Scotch;
- Fastening.
Important Council: For pasting ceiling, universal glue does not fit, as it is able to allocate poisonous materials for a long time. It is best to choose an aerosol quick-drying glue, they can easily, quickly and evenly glue the necessary material.
Hauling car ceiling with your own hands, work stages
Many motorists are confident that to remove the ceiling, you need to remove the windshield. In fact, this is not necessary, it will be enough to remove the front passenger seat and remove the ceiling through the rear doors.
remove the front passenger seat
- Before work, you need to disconnect the wires, insulate the battery terminals and remove the head restraint of the corresponding seat.
- Next, you need to shift the front seat forward and put the back to the vertical position.
- Then we turn the fastening screw and separate the safety belt.
- Swede electrical wiring connectors directly under the seat.
- Soak two rear mount bolts.
- I pull the seat back and remove it.
remove the old trim
Removing the trim is a rather complicated process.
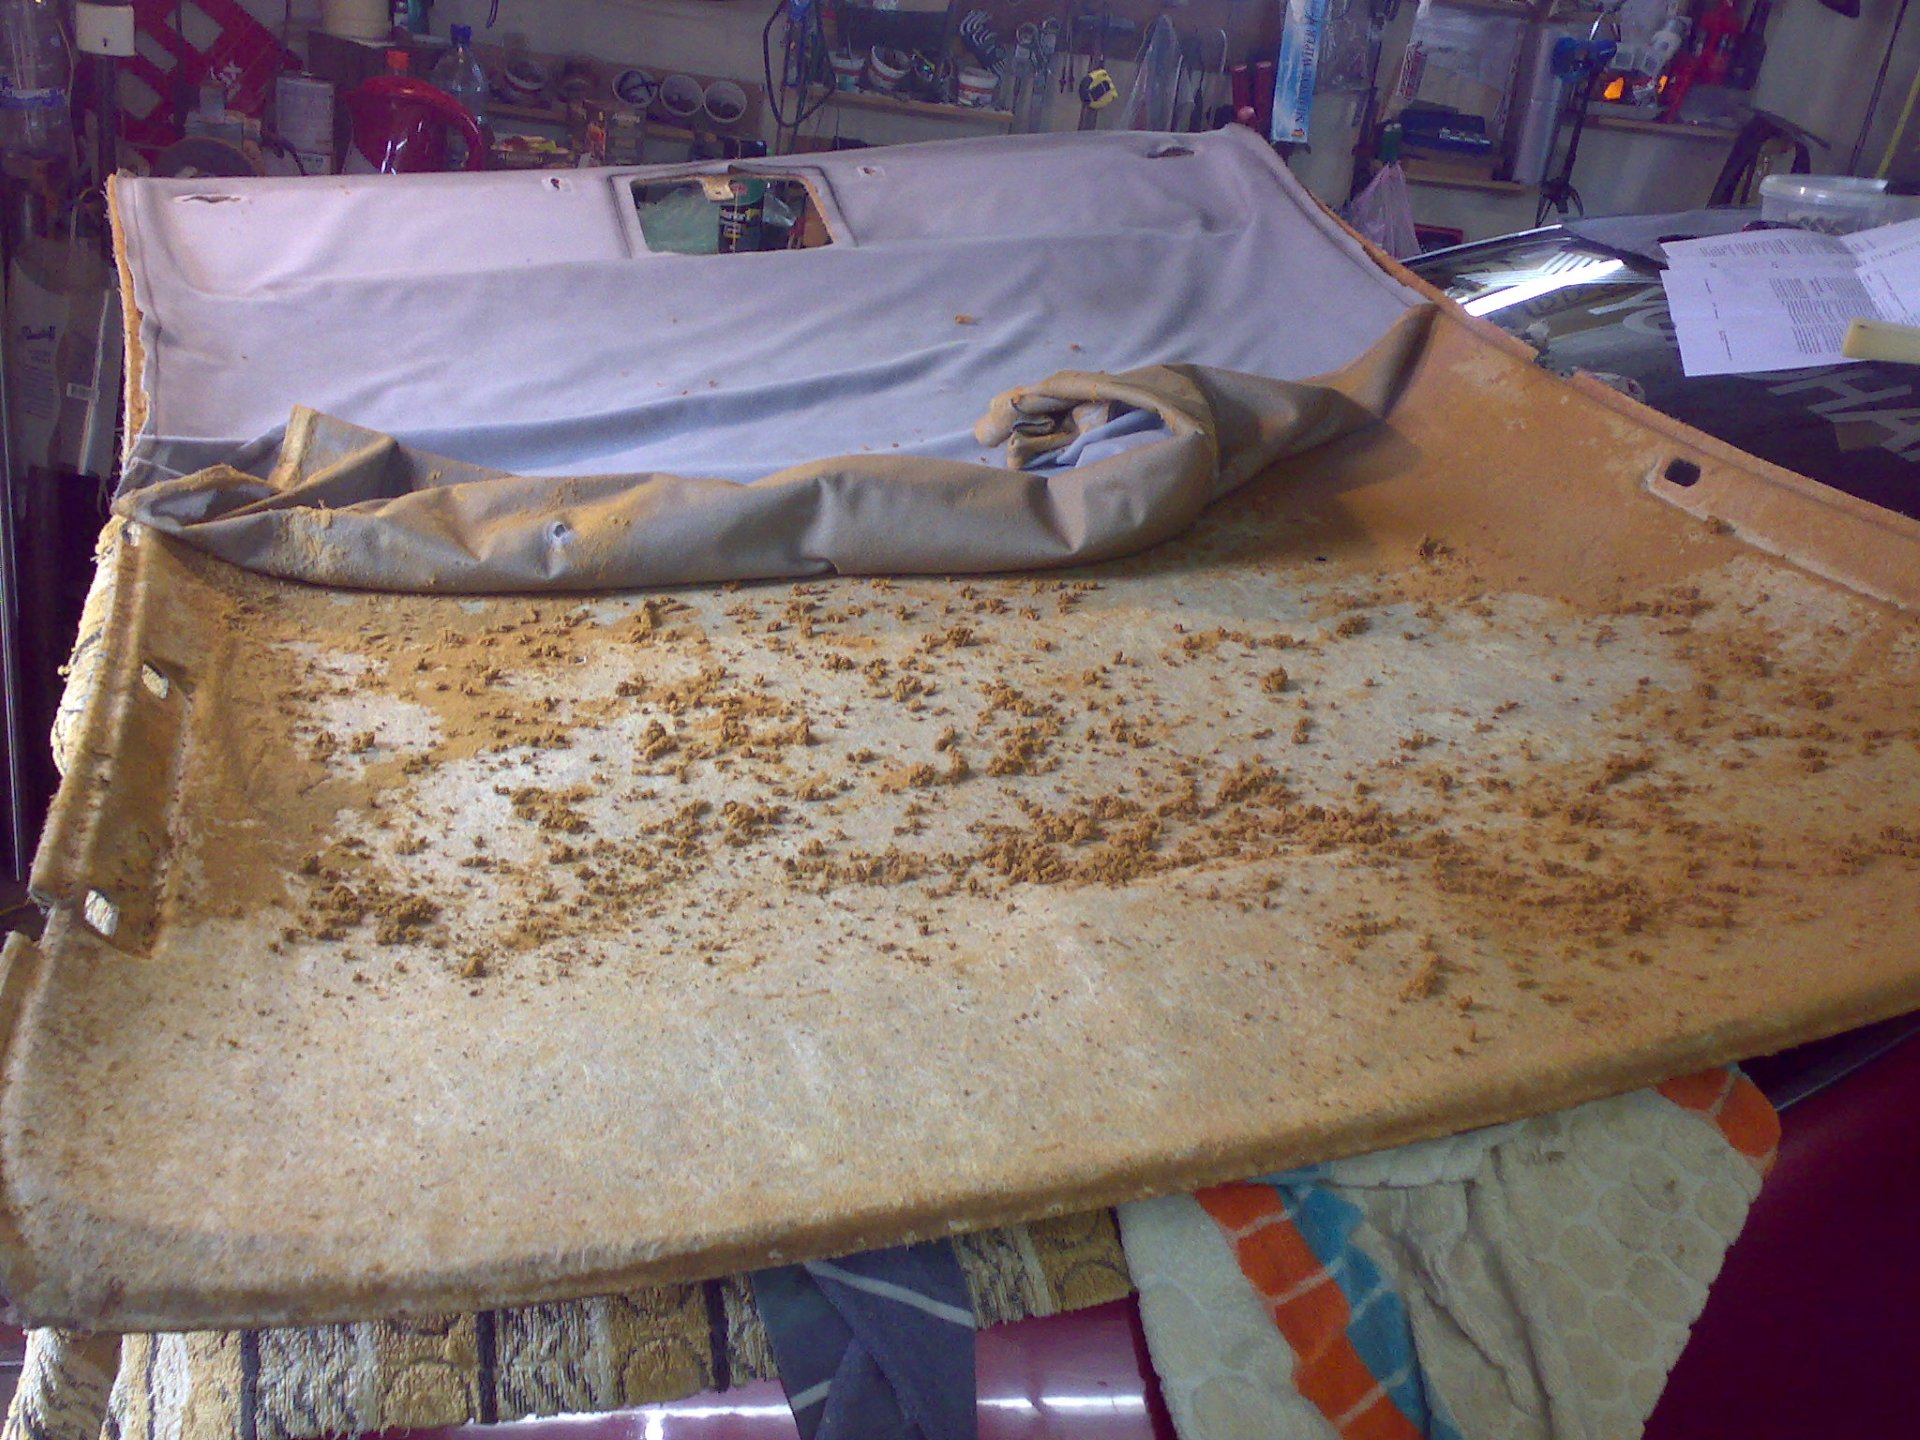
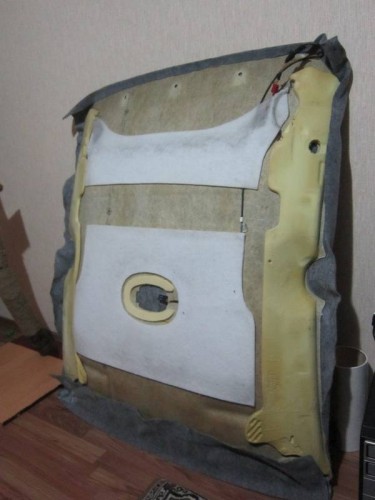
At the same time, it is done in a warm place where there are no drafts. First you need to remove the ceiling, as mentioned above, it is convenient to do through the rear doors. We unscrew all the handles and plugs, visors, clips and various additional devices. Then we remove the trim.
preparation of the surface to the new upholstery sticker
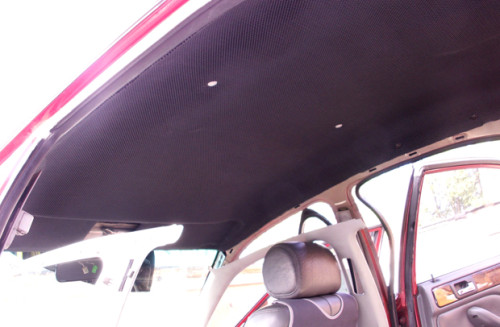
Removal of old coating, tissue remains, foam rubber, glue - very laborious work, but necessary. This will help you solvent and rigid sponge. It is recommended to go through the surface by sandpaper, to eliminate the irregularities and in order to put it better.
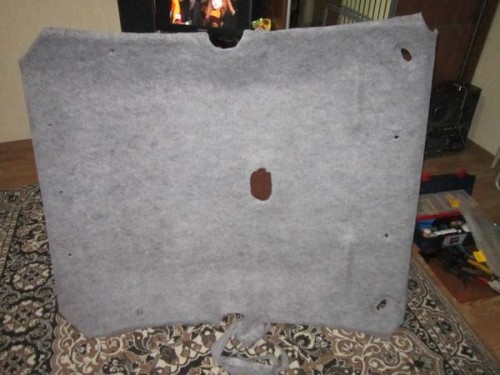
As the pattern you can use the old upholstery. To do this, it is necessary to remove pollution from it and unzipped on a flat surface. Fix with painting tape and cut the holes stipulated by the ceiling design.
responsible moment on the sticker of the new ceiling
In fact, the pasting paste is pretty simply and something reminds the usual stack of wallpaper. The upholstery is glued to the matrix, but it is necessary to do it without folds and irregularities. This is recommended to act with an assistant.
First we apply a thin strip of glue in the center of the matrix, about ten centimeters long. Then we need to attach the central part of the material to the strip and press. In the same way, we glue each side of the fabric from the center of the ceiling, while applying glue strips for ten centimeters.
Your assistant must pull the fabric away from the center and smooth out it from the center to the edges. In a similar way, we glorify each direction. Do not forget to follow the deepens and bends, since it is in such places that the material must be glued especially carefully. Next, the edges of the fabric are wrapped and glued, and extra pieces are cut. Then you need to do holes for fasteners.
The last step will be the reverse installation of the ceiling, but it is not necessary to produce it immediately, it is desirable to wait three hours that the procedure for tias and fit the material would occur. When fixing, you need to act quite neatly, in order to avoid breakdowns of some details.
Important Council: If the upper airbags worked, it is not necessary to independently engage in the ceiling on your own, as it takes the restoration of initial forms and strengthen with epoxy resin. This requires special skills and knowledge.
Now you know what to seek the workshop is not necessarily. The ceiling is quite possible to make a ceiling in your car yourself, it will help you save money. In addition, you can be proud of not only the graceful upholstery of the ceiling, and what they did it with their own hands.
Related Materials
- Stove 2110, bad warm stove 2110, VAZ 2110 heating system, repairing the heating system VAZ 2110 with their own hands
- VAZ 2114 stove blows with cold air, stove 2114, bad warm stove VAZ 2114, device and repair of heating VAZ 2114 do-it-yourself, removing the stove VAZ 2114
- How to subdominize the car. How to put a jack. Types of jacks for cars.
- VAZ 2109 Fuse Block, VAZ 2109 Fuse Block Carburetor, VAZ 2109 Fuse Block Injector, Old VAZ 2109 Fuse Block, VAZ 2109 Fuse Block, VAZ Fuse Block 2109
- Car exhaust gas catalyst, faulty catalyst, pluses and cons of the catalyst, how to change the catalyst on the planeencitel
- Stove blowing cold air VAZ 2114, badly blowing the stove VAZ 2114, why badly blowing the stove VAZ 2114
- How to find out the owner of the car by the number of his car, check the car by the number of the traffic police machine, check the car by the state number of the car for free
- How to choose Used tires, Useful Tips
- Winter car road, pressure in passenger car tires in winter, good battery for the car in winter, whether to warm the car in winter
- In winter, the car is poorly started. How to make a car in winter, do you need to warm up the car in winter, useful tips
- Economy fuel consumption machines, the most economical car consumption
- Tires brands for passenger cars, labeling of car tire labeling, residual passenger car tire protector, how to pick a tire on a car brand, car tire tread pattern
- Working transmission operation, mechanical gearbox clutch work, driving with manual gearbox, useful tips
- Rear beam Peugeot 206 sedan, rear beam device Peugeot 206. Rear beam Peugeot 206 Malfunction, repair of the rear beam Peugeot 206
- Diesel fuel in winter, additive for diesel fuel in winter, how to choose the best diesel fuel
- Diesel winter does not start. How to start diesel in winter, heating diesel in winter.
- Japanese bridgestone tires, winter studded bridgestone tires, bridgestone tires brand
- Tire marking decoding for passenger cars, labeling wheels, how to choose the right tires on the disks
- Diesel engine in winter, launch of the diesel engine in winter, what oil to fill in a diesel engine in winter, useful tips
- LED backlight of the car, the backlight of the bottom of the car, the backlight of the legs in the car, the backlight in the door of the car, the backlight of the car is fine
- Recovered tires, bus tire, restored tire protector, can I use them
- Choose winter tires, which is a winter tires, which pressure in winter tires should be marked with winter tires, how to choose the right winter tires, the best winter tires 2019
- Steering rail rail, knock of steering rack, reasons for the knock and repair of the steering rack do it yourself
- Cameless car tires, a set for repair of tubeless tires, repair of the cannon-free tire do it yourself
- Russian tires, Russian tires Winter, Russian All-season tires, Voronezh AMTEL tires, Tires "Matador Omsk Tire", Kama-tires are world-class bus
- How to open a car without a key. Lost the key from the car what to do, the key from the car inside the car
- Silent tires, quiet winter tires, quiet studded bus, which tires to choose, overview tires
- Tires and safety, safety of the bus, why it is necessary to constantly monitor car tires
- Rules of safe driving of the car in the rain and slush, safe driving of the car for beginners
- Rust converter which is better for cars, rust converters to choose how to use rust transducer, professionals
- Polishing the body of the car do it yourself, how to choose a polishing paste, useful tips
- Engine durability, engine life, how to extend engine life
- Knock in the car. Knock when moving the car. What can knock in the car. How to determine the cause of the knock.
- ABS car, what is ABS car, ABS system malfunction, ABS diagnostics
- Overtaking a car when you can start overtaking a car, rules of traffic rules
- Fuel pump VAZ 2110, VAZ 2110 gas station scheme, VAZ 2110 fuel pump device, VAZ 2110 gas station repair,
- Automotive antennas for radio, automotive antenna device, car antenna do it yourself
- Front suspension Kalina, device front suspension Kalina, knock in front suspension Kalina, repair of front suspension Kalina
- Shock absorber Oil, best oil shock absorbers, pumping oil shock absorbers, how to properly pump oil shock absorber
- Clutch malfunctions, touches clutch, causes a clutch malfunction, how to eliminate



Comments