When driving on a car, it is quite often possible to observe the occurrence of the characteristic hum, which can overreve it over time. In addition, it changes depending on the state of the road surface. On a good road - the hum disappears or decreases, so it may seem that there is no need to repair, but as soon as the wheels go to a bad road - the hum appears again. In addition, at high speed, you can hear a specific embossed. The reason for the appearance of these symptoms, as a rule, is the fault of the hub bearing. It is worth noting that if you do not replace a buzzing bearing in a timely manner, then when driving it can jam, which is extremely dangerous and represents a threat to life, therefore, with the slightest manifestations of the above-described malfunction symptoms, it should be replaced by the hub bearing as soon as possible. About this further in the article.
Content
- Bearing hub, what tasks it performs
- Roller bearing, device, advantages and disadvantages
- Diagonal Bearing, Device, Advantages and Disadvantages
- The moment of the bearing tightening, what it is and as a torque of the bearing affects the duration of operation
- The hub bearing is faulty, signs of breakage
- Tools and fixtures for replacing the hub bearing, safety
- Replacing the front wheel bearing, step by step instructions
- Replacement of rear wheel bearing, step-by-step instruction
- Tips Profi, how to make a job properly, which lubricant is better to use for bearing
Bearing hub, what tasks it performs
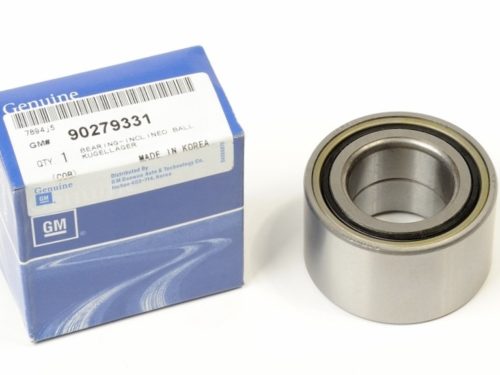
Bearing is a mechanism that supports part of the support. It is able to maintain the shaft, axis or any other element, but in any case, its main purpose is the fixation of the shaft in space, which ensures its free distribution or rotation. The second function of the hub bearing is the perception of mechanical load, as well as its transfer to other elements.
The hub bearing is a mechanism that is a rolling bearing. It provides smooth rotation of the wheel around the axis. These bearings are single-row and double row, as well as open and closed type. They are used in passenger and trucks. The wheel bearings for the front and rear wheels differ significantly from each other.
Car hub bearings are constantly subjected to extreme loads. It include high temperature differences, environmental impact, the formation of shock loads when entering the pits, steering, brakes, drive. It is worth noting that the backlash should not prevent the rotation of the wheel, which should rotate with minimal friction and allowable noise.
Roller bearing, device, advantages and disadvantages
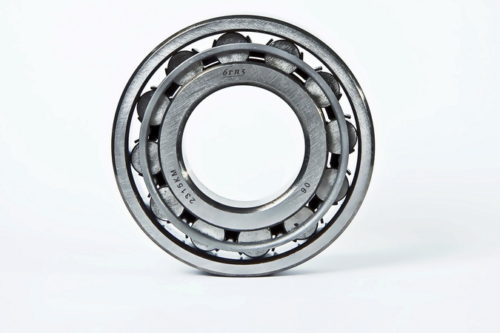
Roller bearings are very susceptible to the installation, which, if it is incorrectly carried out, is able to instantly remove the part in order. Newbies who do not know about this feature of roller wheel bearings often deceive unscrupulous workers of the STO, which produce the replacement of this element to the ambulance hand and poorly.
Diagonal Bearing, Device, Advantages and Disadvantages
Diagonal bearings are capable of withstanding heavy loads and have excellent wear resistance.

However, their work, like roller bearings, depends on the right installation (strong tightening), otherwise they will fail.
The moment of the bearing tightening, what it is and as a torque of the bearing affects the duration of operation
The moment of the bearing tightening is an event that should be done precisely in accordance with the recommendations of the vehicle manufacturer. As already mentioned, the incorrect setting of the bearing entails his breakdown.

If earlier for adjusting bearing required special skills, as well as the presence of special tools that were difficult to find at that time, then today there are no problems in this regard. Now every car owner can buy the necessary toolkit and get data that allows you to independently control the state of bearings and other car elements.
The hub bearing is faulty, signs of breakage
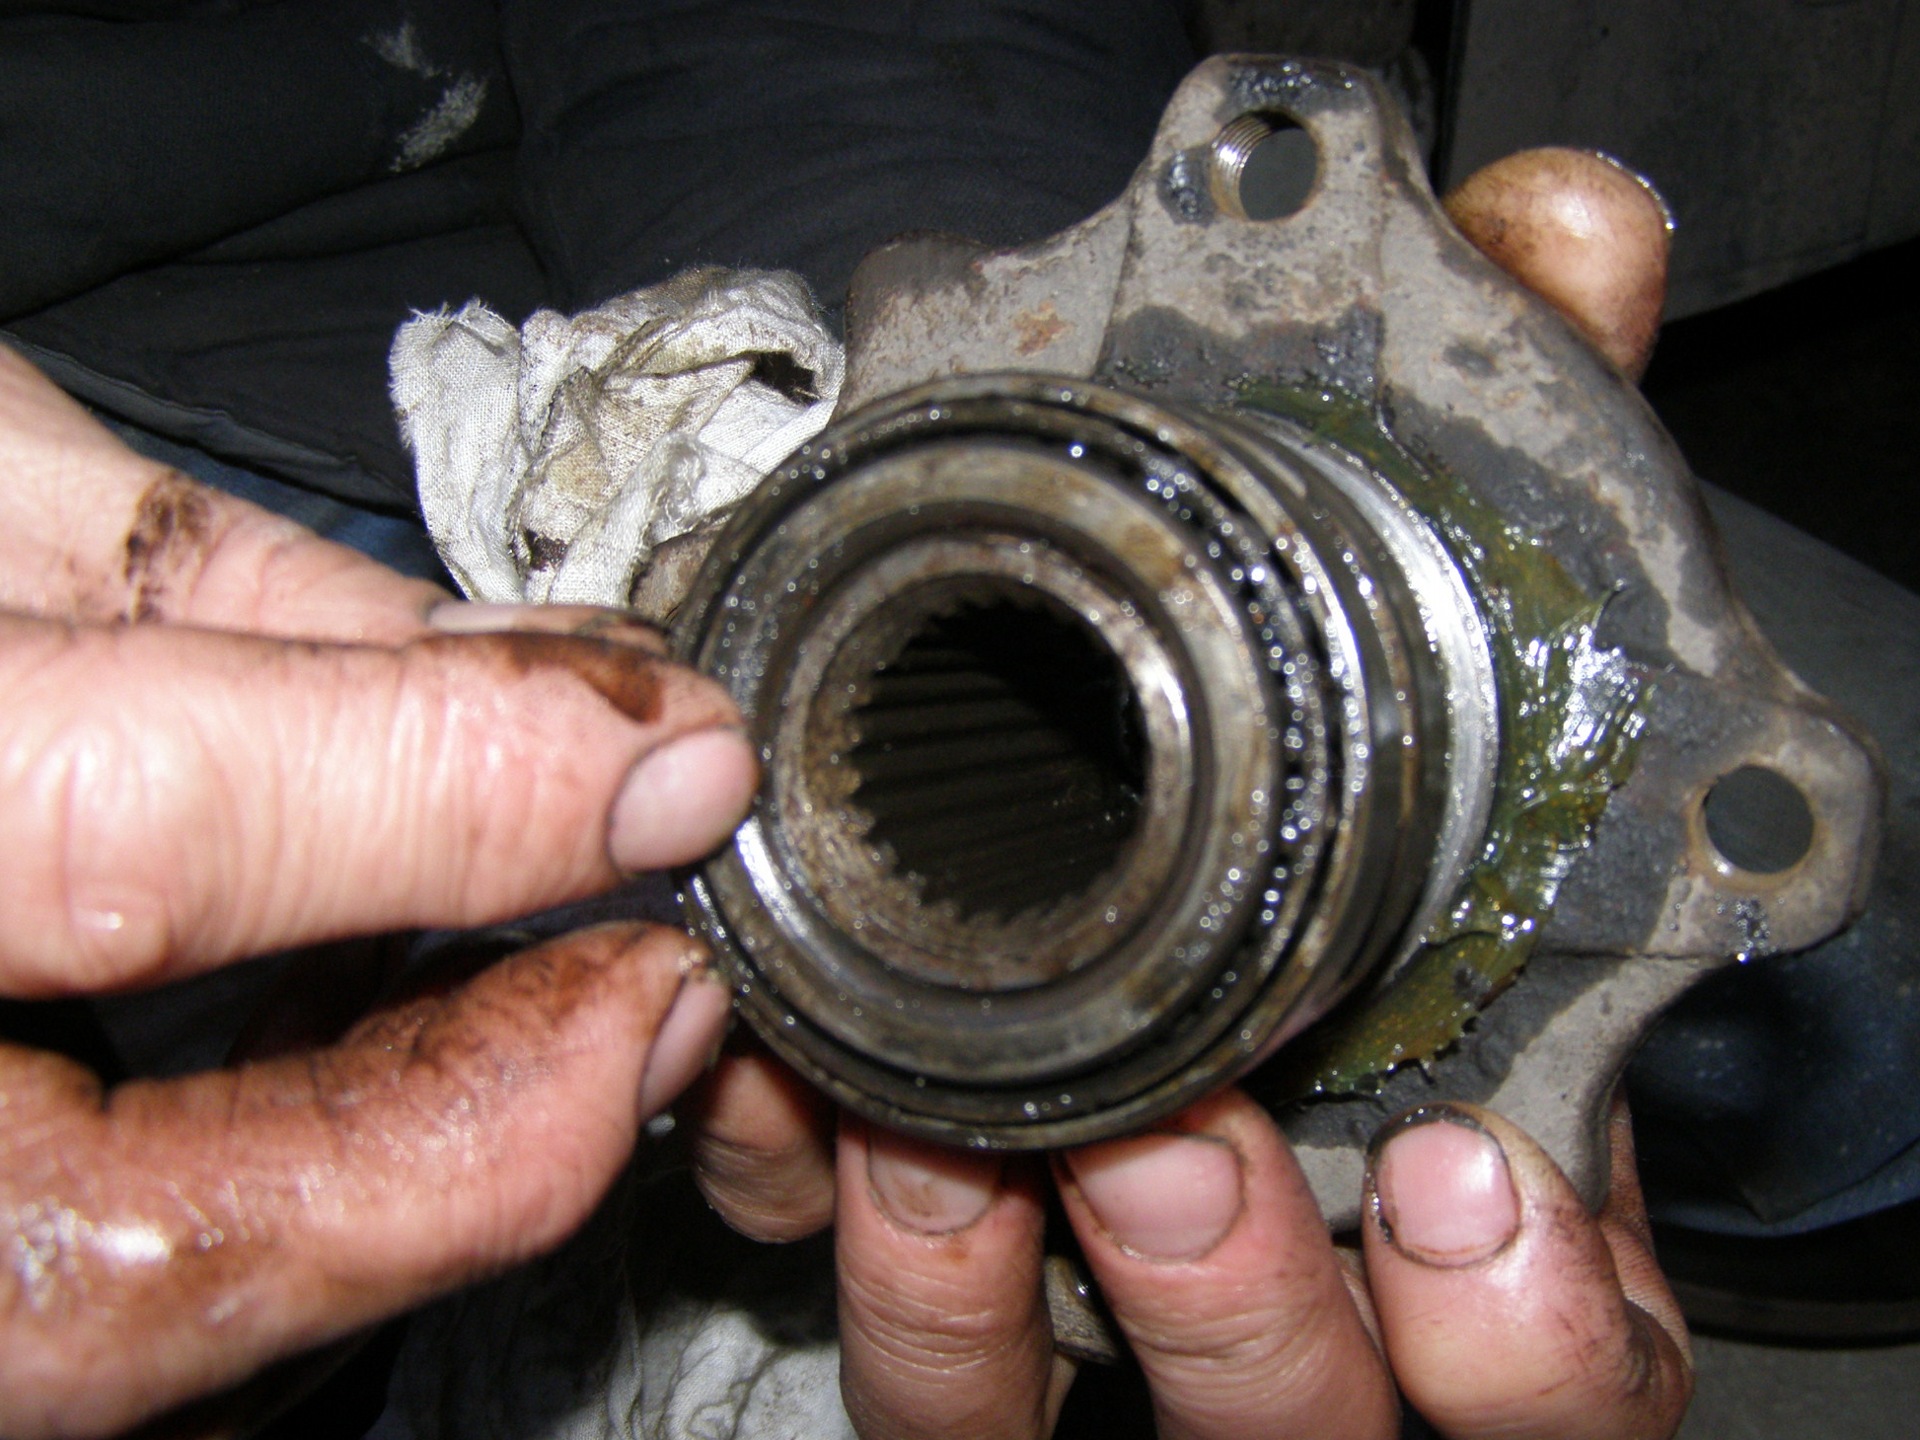
The main signs of the malfunction of the car hub bearing are:
- Strong hum or noise that is heard from behind vehicle. If the bearing hub is faulty, the noise becomes more when turning turns.
- The appearance of the backlash in the rear wheel, which is accompanied by noise or tapping.
Tools and fixtures for replacing the hub bearing, safety
- Special puller.
- Hammer.
- Tongs to dismantle a stop rings.
- Key at 17.
- A key hexagon on 10.
- Screwdriver.
- Chisel.
Before the replacement, do not forget to put the anti-tartar bars under the rear wheels, and under the body - focus.
Replacing the front wheel bearing, step by step instructions
- Weakening front wheel fastening bolts.
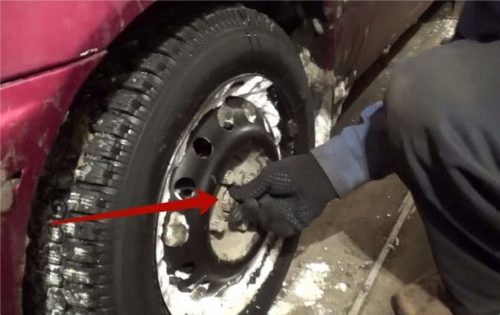
- Rolling the nave nut.
- Next, raise the car to the jack and dismantle the front wheel.
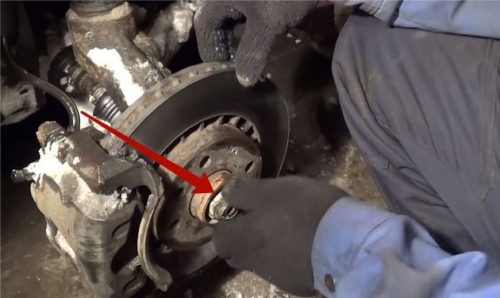
- We find a nut that fixes the steering tip, then unscrew it.
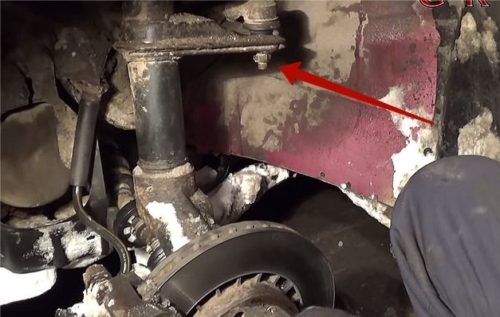
- Using a puller, a steering tip is pressed.
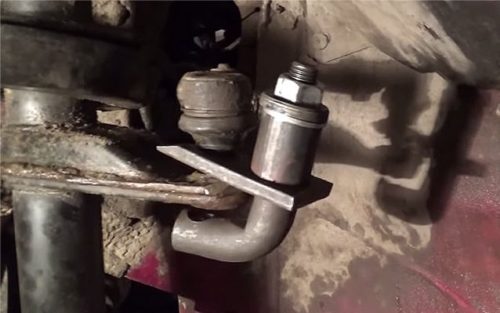
- Take the last from the front rack.
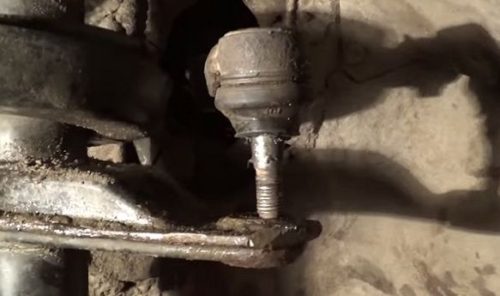
- We find and remove the two metal cap, the fastening of the caliper caliper.
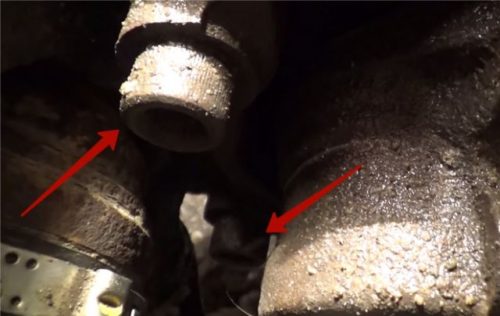
- Unscrew the caliper bolts.
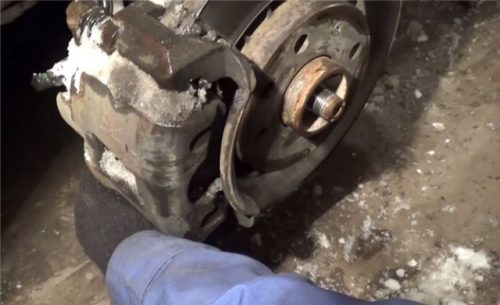
- So that the caliper does not interfere, remove it, after which we hang on the wire.
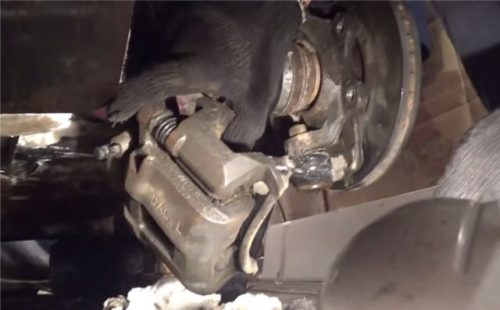
- Then unscrew the ball of the ball support.
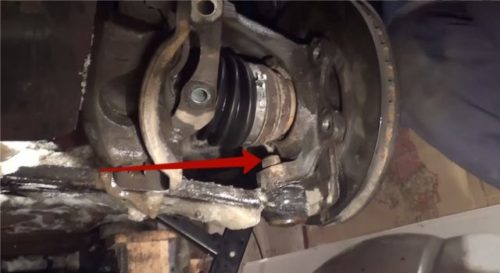
- Know the ball support.
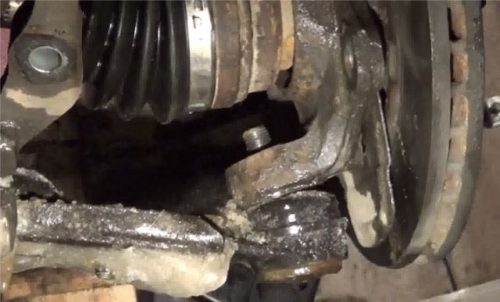
- Remove the brake disc.
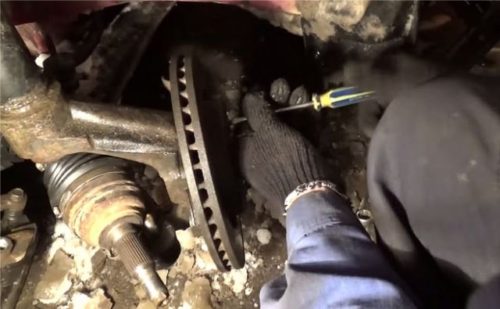
- Now you should unscrew the nut from the hub.
- Under the hood weaken the two nuts holding a rack on a cup.
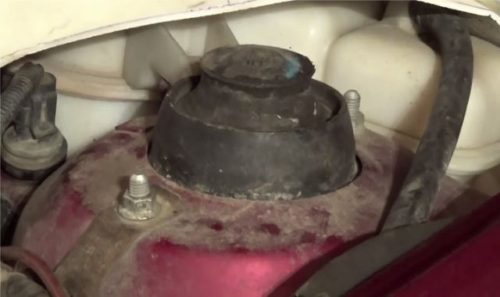
- We return back to the car and pull down the lever of the ball support.
- Next, pull the rack from the scene, however, it should be actually used here in order not to pull the drive shaft.
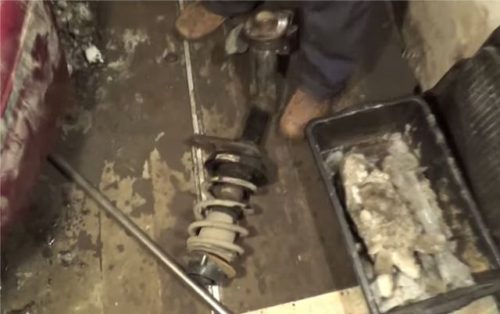
- Now completely remove the rack.
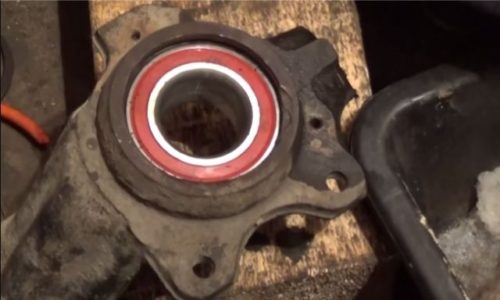
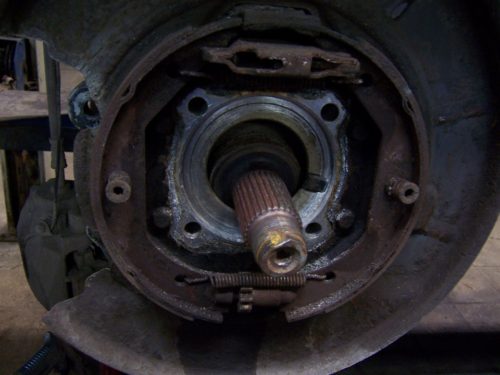
- When the bearing hub extends, there is actually an inner ring.
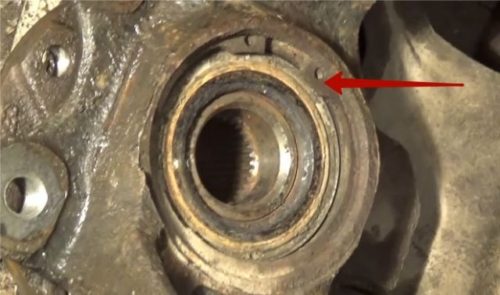
- The bearing is knocked out, and the ring cut off the grinder.
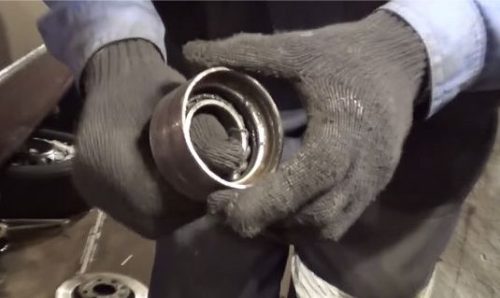
- The new element is gently driven or inserted into place.
Replacement of rear wheel bearing, step-by-step instruction
Replacing the rear hub bearing is made in the same way:
- Remove the rear wheel.
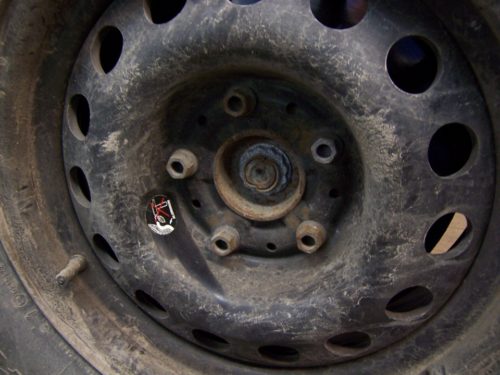
- I mont under the body stand.
- We unscrew the bolts of the hub axis and drum. If necessary, splash WD-40.
- Remove the brake drum.
- We dismantle the hub cap.
- We dismantle the nut, through which the stopper is dressed. It should be accessed, after which pulling the forceps.
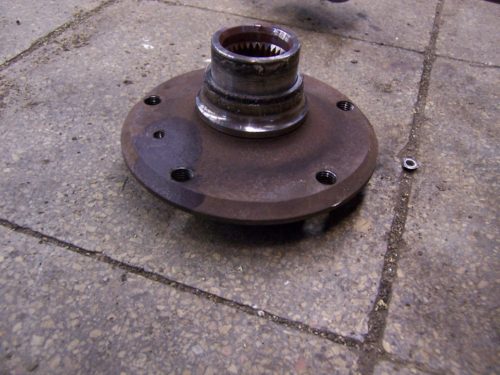
- Remove from the axis the inner ring of the bearing with the removals or simply remove the axis by unscrewing four nuts from the reverse side.
- With a screwdriver, we remove the clip, and with the help of a chisel, carefully knock the inner ring from the axis.
- We will prescribe a new bearing with the help of an old climate.
- After assembly, we drag the nut, applying a certain effort.
After the operation, it should be driving three or four days. Then you need to pull the nut again to remove the backlash.
Tips Profi, how to make a job properly, which lubricant is better to use for bearing
- It is desirable to replace the bearings on both rear or front wheels, regardless of whether the value there is the part there.
- Choose the correct lubricant under bearings.
- It is impossible to beat the hammer right on the bearing, it is necessary to do it with a wooden tablet.
- In the hub nodes it is impossible to put a gap, because at the factory they were collected taking into account the gaps.
- When replacing the bearing, be sure to check the condition of the axis and the case.
- You can not adjust or move the seal on the wheel nodes.
Related Materials
- Stove 2110, bad warm stove 2110, VAZ 2110 heating system, repairing the heating system VAZ 2110 with their own hands
- VAZ 2114 stove blows with cold air, stove 2114, bad warm stove VAZ 2114, device and repair of heating VAZ 2114 do-it-yourself, removing the stove VAZ 2114
- How to subdominize the car. How to put a jack. Types of jacks for cars.
- VAZ 2109 Fuse Block, VAZ 2109 Fuse Block Carburetor, VAZ 2109 Fuse Block Injector, Old VAZ 2109 Fuse Block, VAZ 2109 Fuse Block, VAZ Fuse Block 2109
- Car exhaust gas catalyst, faulty catalyst, pluses and cons of the catalyst, how to change the catalyst on the planeencitel
- Stove blowing cold air VAZ 2114, badly blowing the stove VAZ 2114, why badly blowing the stove VAZ 2114
- How to find out the owner of the car by the number of his car, check the car by the number of the traffic police machine, check the car by the state number of the car for free
- How to choose Used tires, Useful Tips
- Winter car road, pressure in passenger car tires in winter, good battery for the car in winter, whether to warm the car in winter
- In winter, the car is poorly started. How to make a car in winter, do you need to warm up the car in winter, useful tips
- Economy fuel consumption machines, the most economical car consumption
- Tires brands for passenger cars, labeling of car tire labeling, residual passenger car tire protector, how to pick a tire on a car brand, car tire tread pattern
- Working transmission operation, mechanical gearbox clutch work, driving with manual gearbox, useful tips
- Rear beam Peugeot 206 sedan, rear beam device Peugeot 206. Rear beam Peugeot 206 Malfunction, repair of the rear beam Peugeot 206
- Diesel fuel in winter, additive for diesel fuel in winter, how to choose the best diesel fuel
- Diesel winter does not start. How to start diesel in winter, heating diesel in winter.
- Japanese bridgestone tires, winter studded bridgestone tires, bridgestone tires brand
- Tire marking decoding for passenger cars, labeling wheels, how to choose the right tires on the disks
- Diesel engine in winter, launch of the diesel engine in winter, what oil to fill in a diesel engine in winter, useful tips
- LED backlight of the car, the backlight of the bottom of the car, the backlight of the legs in the car, the backlight in the door of the car, the backlight of the car is fine
- Recovered tires, bus tire, restored tire protector, can I use them
- Choose winter tires, which is a winter tires, which pressure in winter tires should be marked with winter tires, how to choose the right winter tires, the best winter tires 2019
- Steering rail rail, knock of steering rack, reasons for the knock and repair of the steering rack do it yourself
- Cameless car tires, a set for repair of tubeless tires, repair of the cannon-free tire do it yourself
- Russian tires, Russian tires Winter, Russian All-season tires, Voronezh AMTEL tires, Tires "Matador Omsk Tire", Kama-tires are world-class bus
- How to open a car without a key. Lost the key from the car what to do, the key from the car inside the car
- Silent tires, quiet winter tires, quiet studded bus, which tires to choose, overview tires
- Tires and safety, safety of the bus, why it is necessary to constantly monitor car tires
- Rules of safe driving of the car in the rain and slush, safe driving of the car for beginners
- Rust converter which is better for cars, rust converters to choose how to use rust transducer, professionals
- Polishing the body of the car do it yourself, how to choose a polishing paste, useful tips
- Engine durability, engine life, how to extend engine life
- Knock in the car. Knock when moving the car. What can knock in the car. How to determine the cause of the knock.
- ABS car, what is ABS car, ABS system malfunction, ABS diagnostics
- Overtaking a car when you can start overtaking a car, rules of traffic rules
- Fuel pump VAZ 2110, VAZ 2110 gas station scheme, VAZ 2110 fuel pump device, VAZ 2110 gas station repair,
- Automotive antennas for radio, automotive antenna device, car antenna do it yourself
- Front suspension Kalina, device front suspension Kalina, knock in front suspension Kalina, repair of front suspension Kalina
- Shock absorber Oil, best oil shock absorbers, pumping oil shock absorbers, how to properly pump oil shock absorber
- Clutch malfunctions, touches clutch, causes a clutch malfunction, how to eliminate

Comments