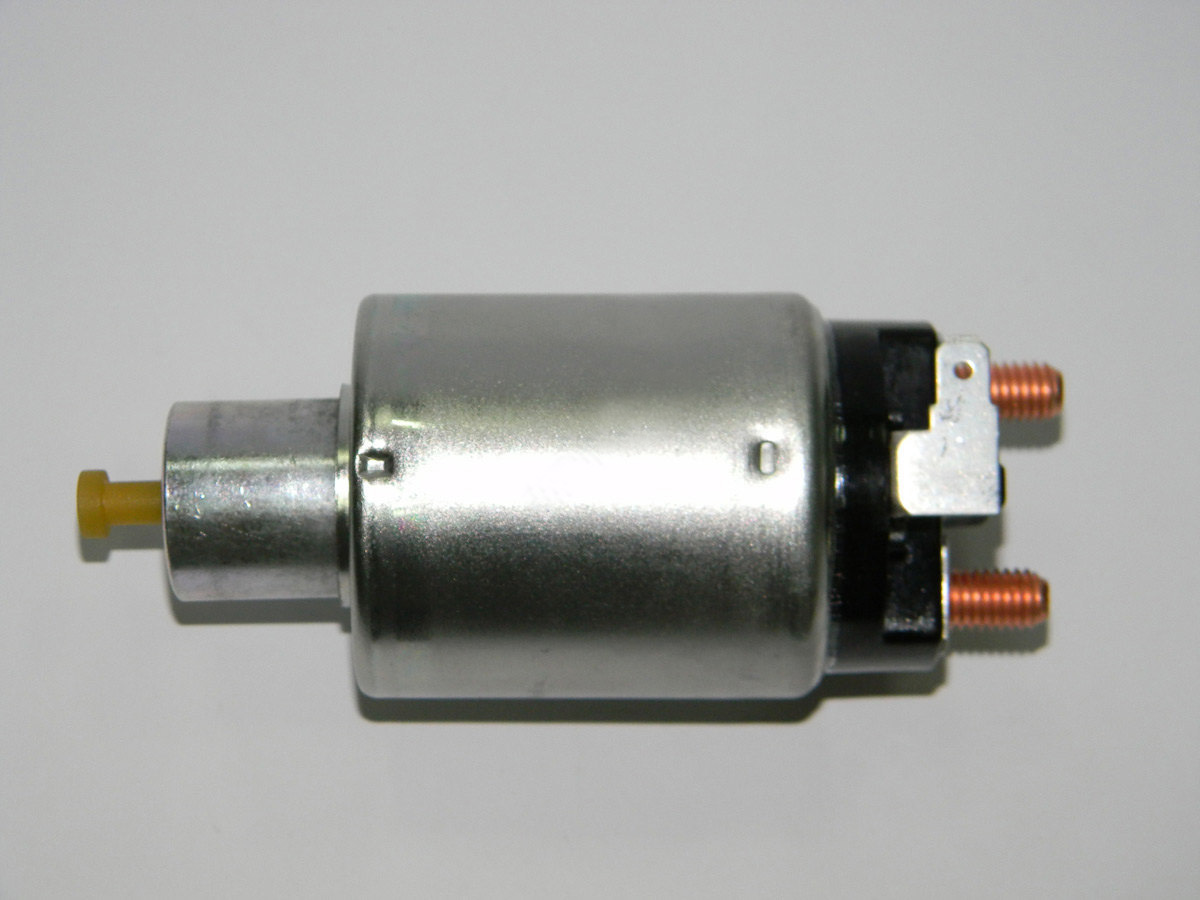
The retractor relay is a component of the starter, the electromagnetic switch transmitting the current from the battery to the starter.
Content
- Starter 2114, device and principle of operation
- Where is the starter relay 2114
- How does the starter relay work 2114
- Signs of failure of the starter relay 2114
- Causes of the failure of the starter relay
- Tools, fixtures, consumables
- How to remove the starter retracting relay 2114 (step by step)
- Bendix Starter, where Bendix is \u200b\u200blocated and why it is needed
- How to replace the Bendix starter (in detail)
- Tips Prof.
Starter 2114, device and principle of operation
The battery nourishes the starter coil, and it affects an anchor influence the magnetic field, which moves and compresses the return spring, forcing the Bendix to connect with the flywheel slots. At the time of closer to the components of the contact on the retractor winding, no power is supplied, and the magnetic field holds anchor inside the system. Next, after closing the components and starting the engine, the holder coil remains without food, and the anchor becomes in its place under the influence of the springs. As a result, Bendix is \u200b\u200bdisclaimed.
Where is the starter relay 2114
There is a relay right at the starter and has two wires: thick positive - from the battery and thin red - from the ignition lock.
How does the starter relay work 2114
The principle of operation of the relay is simple: when the ignition key turns, the weak current is served on the relay, which closes the pyataks and the starter electric motor is turned on. If the retractor relay was absent, then the current that passes through the battery would be burning the ignition and the entire contact group.
Signs of failure of the starter relay 2114
- The ignition worked, but the starter device shall winds, since the engine does not respond.
- The engine earned, but the starter continues to wind. The sound is loud and unnatural.
- On the contrary, the ignition was tested, but the starter does not wind. However, the relay click was heard.
If you visually inspect the relay when it is malfunction, you can notice the fastened contacts, burned winding, traces of charring on the wire, signs of wear.
Causes of the failure of the starter relay
The main reason why the relay fails is a breakdown of contact plates in the relay, the combustion of the winding, malfunction and fatigue of the most materials.
Tools, fixtures, consumables
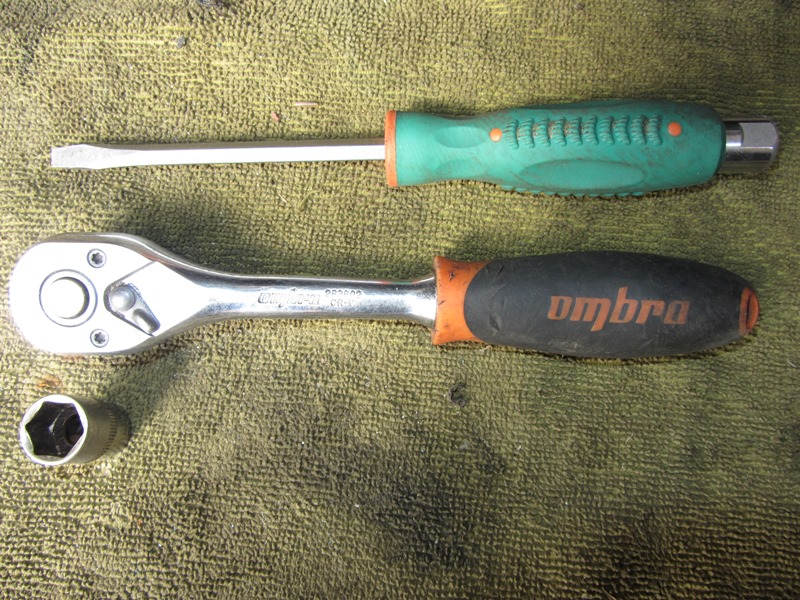
When performing work on the dismantling of the starter relay you will need:
- Screwdrivers: flat and cross.
- Set of wrenches.
How to remove the starter retracting relay 2114 (step by step)
For a more convenient replacement of the relay, it is advisable to dismantle the starter itself. The process described below relates to a prefabricular relay when you can replace individual components of the design:
- Disconnect the minus terminal with the battery.
- Disconnect the red terminal with the relay.

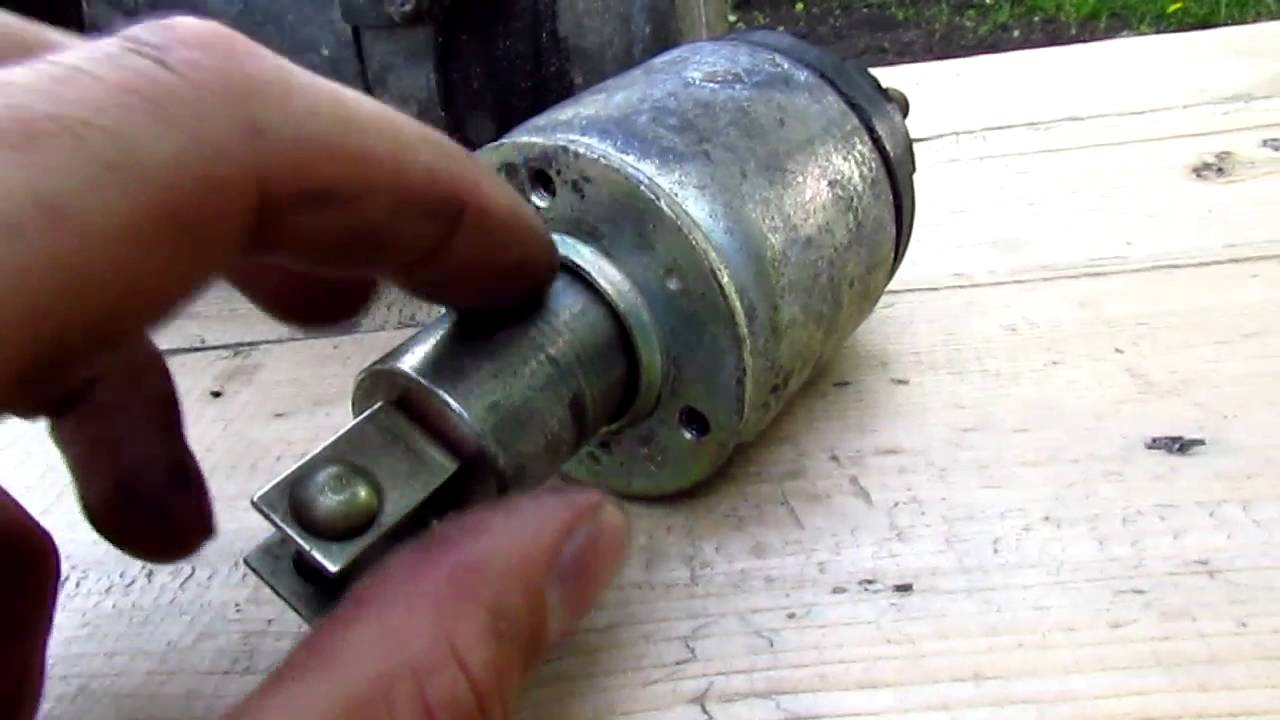
- We take the key to "8" mm and unscrew the brush node fastening nut. She is behind the relay.

- Remove the contact that this nut kept.

- We unscrew the fastener of the relay to the mass. Here we are talking about tie bolts.

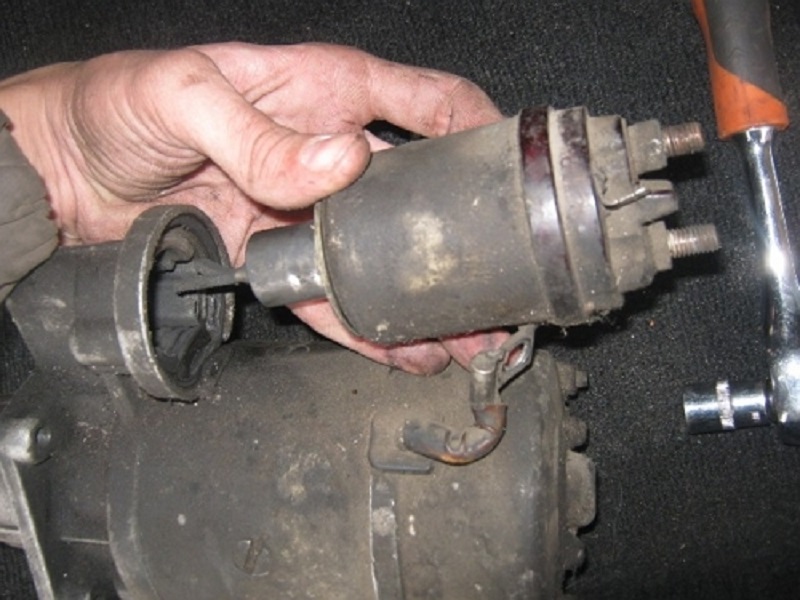
- Then dismantle the power wire and pull the relay itself.

- We unscrew the fastening nut from the end part, which makes it possible to dismantle the upper part of the relay.
- It is desirable to immediately replace the core relay.
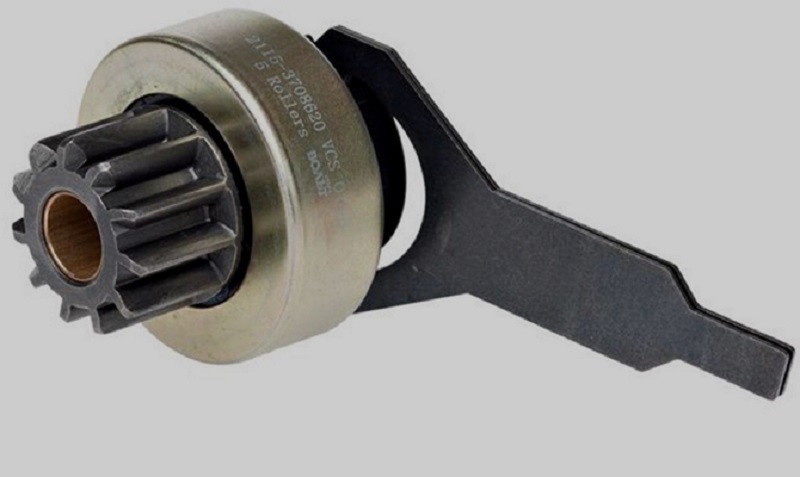
Bendix Starter, where Bendix is \u200b\u200blocated and why it is needed
America is a truly automotive continent. You can infinitely list the names of the designers, some of which are undeservedly forgotten, but some of them are still actually being mentioned near the shelves of auto-shops. One of them is the name of Vincent Bendix, the greatest industrialist and the inventor, without which modern automotive industry and aviation would lose many original solutions.
It was Vincent Hugo Bendix that in 1910 patented a coupling, which is drawn by a solenoid to drive the crankshaft of the DVS at the time of start-up. For the transmission of torque from the starter electric motor to the crankshaft, it is enough to use a simple gearing gearing. A much big problem is an automatic conclusion from the engagement of the gear wint of the crankshaft flywheel and the starter drive gear. It was the present problem that Bindiks decided - he taught the gear not only to leave the clutch with the flywheel, and to perform it at the time of the engine launch, never later, no earlier.
How to replace the Bendix starter (in detail)
Order of work:
- Disconnect the minus wire from the battery.
- Take the key to "13" and unscrew the two top mounting screws that fasten it to the clutch. The third bolt is usually no, but if he still has, it will take the observation pit to unscrew it.
- Shifting the starter forward, we take the wire number 1 from the relay connector.
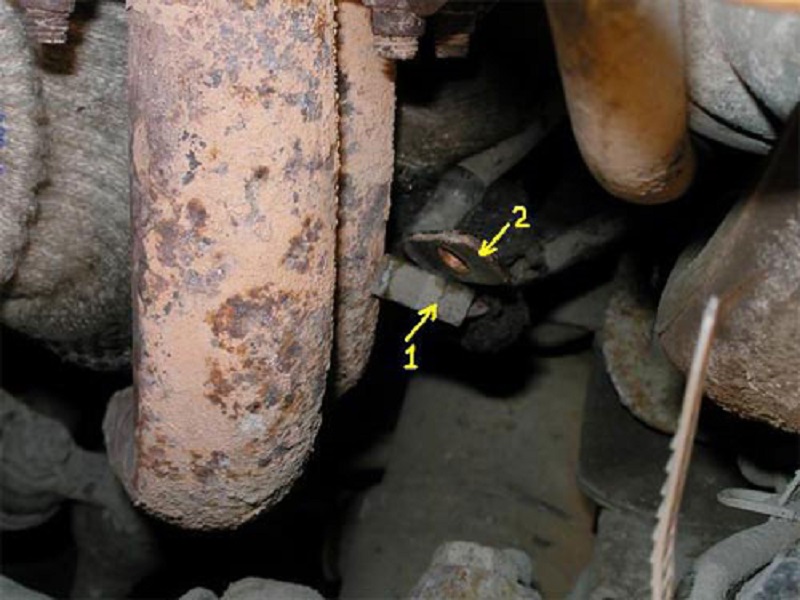
- We take the key to "13" and unscrew the wire fastening nut connecting the relay output with a plus of the battery.

- We visually assess the condition of the teeth flywheel.
- Using a cross-like screwdriver, we unscrew the two fastening screws in the starter lid.

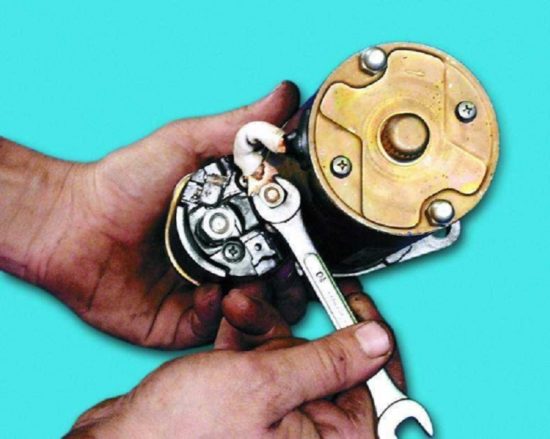
- We unscrew the fastening nut of the outlet of the winding on the relay.

- Remove the puck bracket.
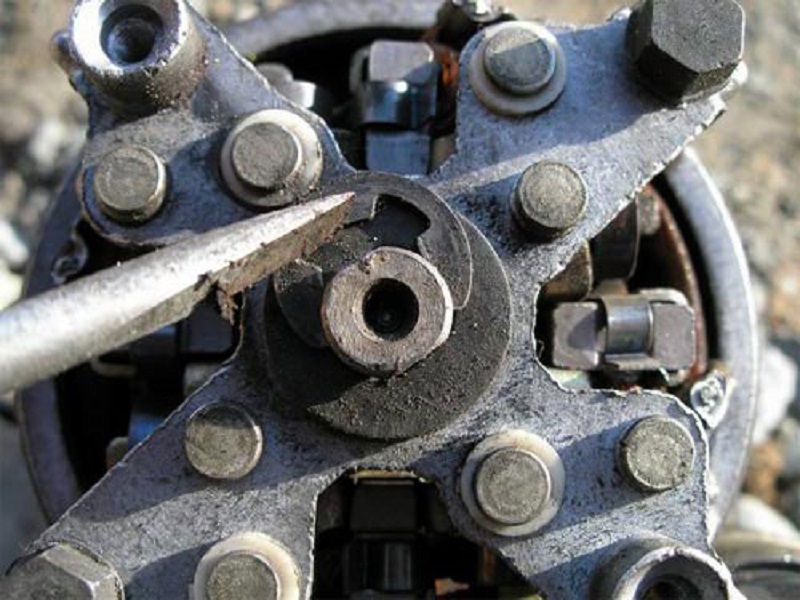
- The key to "10" we unscrew the two tightest bolts and get them.

- Check the condition of the sleeves.

- To separate the starter housing, we apply a pair of easy blows with a wooden or rubber hammer at the bottom of the housing. We estimate the status of the brushes.

- Get out of Bindix ears from the plug.

- Know the lock ring.

- The second lock must be hiding with a screwdriver.

- Remove Bendix.

- Install the new Bendix.
- Assembly perform in the reverse order.
Tips Prof.
We recommend to see the next video:
Related Materials
- Stove 2110, bad warm stove 2110, VAZ 2110 heating system, repairing the heating system VAZ 2110 with their own hands
- VAZ 2114 stove blows with cold air, stove 2114, bad warm stove VAZ 2114, device and repair of heating VAZ 2114 do-it-yourself, removing the stove VAZ 2114
- How to subdominize the car. How to put a jack. Types of jacks for cars.
- VAZ 2109 Fuse Block, VAZ 2109 Fuse Block Carburetor, VAZ 2109 Fuse Block Injector, Old VAZ 2109 Fuse Block, VAZ 2109 Fuse Block, VAZ Fuse Block 2109
- Car exhaust gas catalyst, faulty catalyst, pluses and cons of the catalyst, how to change the catalyst for the planeencitel
- Stove blowing cold air VAZ 2114, badly blowing the stove VAZ 2114, why badly blowing the stove VAZ 2114
- How to find out the owner of the car by the number of his car, check the car by the number of the traffic police machine, check the car by the state number of the car for free
- How to choose Used tires, Useful Tips
- Winter car road, pressure in passenger car tires in winter, good battery for the car in winter, whether to warm the car in winter
- In winter, the car is poorly started. How to make a car in winter, do you need to warm up the car in winter, useful tips
- Economy fuel consumption machines, the most economical car consumption
- Tires brands for passenger cars, labeling of car tire labeling, residual passenger car tire protector, how to pick a tire on a car brand, car tire tread pattern
- Working transmission operation, mechanical gearbox clutch work, driving with manual gearbox, useful tips
- Rear beam Peugeot 206 sedan, rear beam device Peugeot 206. Rear beam Peugeot 206 Malfunction, repair of the rear beam Peugeot 206
- Diesel fuel in winter, additive for diesel fuel in winter, how to choose the best diesel fuel
- Diesel winter does not start. How to start diesel in winter, heating diesel in winter.
- Japanese bridgestone tires, winter studded bridgestone tires, bridgestone tires brand
- Tire marking decoding for passenger cars, labeling wheels, how to choose the right tires on the disks
- Diesel engine in winter, launch of the diesel engine in winter, what oil to fill in a diesel engine in winter, useful tips
- LED backlight of the car, the backlight of the bottom of the car, the backlight of the legs in the car, the backlight in the door of the car, the backlight of the car is fine
- Recovered tires, bus tire, restored tire protector, can I use them
- Choose winter tires, which is a winter tires, which pressure in winter tires should be marked with winter tires, how to choose the right winter tires, the best winter tires 2019
- Steering rail rail, knock of steering rack, reasons for the knock and repair of the steering rack do it yourself
- Cameless car tires, a set for repair of tubeless tires, repair of the cannon-free tire do it yourself
- Russian tires, Russian tires Winter, Russian All-season tires, Voronezh AMTEL tires, Tires "Matador Omsk Tire", Kama-tires are world-class bus
- How to open a car without a key. Lost the key from the car what to do, the key from the car inside the car
- Silent tires, quiet winter tires, quiet studded bus, which tires to choose, overview tires
- Tires and safety, safety of the bus, why it is necessary to constantly monitor car tires
- Rules of safe driving of the car in the rain and slush, safe driving of the car for beginners
- Rust converter which is better for cars, rust converters to choose how to use rust transducer, professionals
- Polishing the body of the car do it yourself, how to choose a polishing paste, useful tips
- Engine durability, engine life, how to extend engine life
- Knock in the car. Knock when moving the car. What can knock in the car. How to determine the cause of the knock.
- ABS car, what is ABS car, ABS system malfunction, ABS diagnostics
- Overtaking a car when you can start overtaking a car, rules of traffic rules
- Fuel pump VAZ 2110, VAZ 2110 gas station scheme, VAZ 2110 fuel pump device, VAZ 2110 gas station repair,
- Automotive antennas for radio, automotive antenna device, car antenna do it yourself
- Front suspension Kalina, device front suspension Kalina, knock in front suspension Kalina, repair of front suspension Kalina
- Shock absorber Oil, best oil shock absorbers, pumping oil shock absorbers, how to properly pump oil shock absorber
- Clutch malfunctions, touches clutch, causes a clutch malfunction, how to eliminate



Comments