It was perfect if the bumper served forever. But over time he wear out and has to change it to a new one. For this, people tend to go to a special car dealership and pay money. But why overpay, if you can change the bumper in the conditions of the garage yourself? This article is designed for both an experienced driver and a beginner, so each stage is described in detail.
Content
Car bumper, from which material the bumper is made
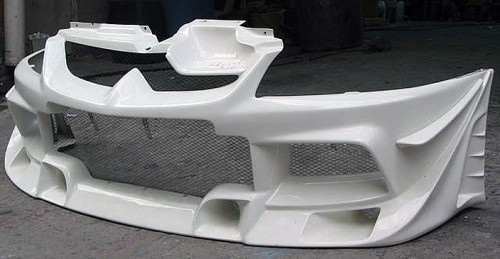
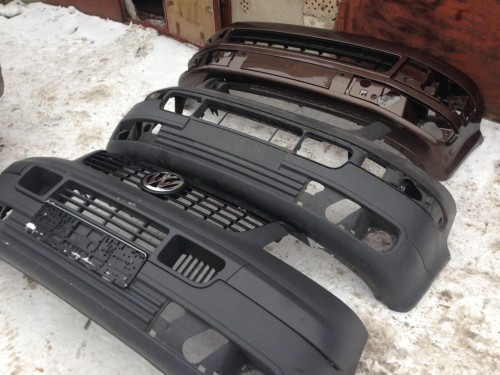
The main protective support of the car is the bumper. His task to hold off strikes in a collision to keep the body in integrity. In order for it to cope with his function, it is made of durable material. To determine which material is made of a specific bumper, you need to pay attention to the marking on the reverse side.
Each index indicates a specific material. The ABS, GF15, GF30, PAG6 and PS indices, indicate that the material is thermoplastics, and if you take PA, EP, PUR, then these are thermosetting plastics or dwarophers.
The most common today can be called polypropylene (indexes: PP, PPTV, EPDM, POM).
The degree of damage to the bumper
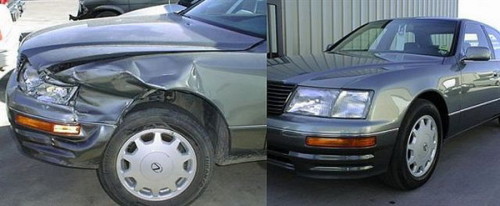
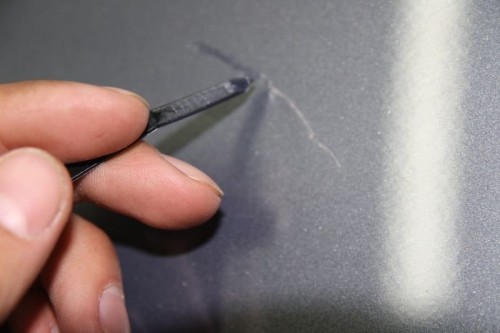
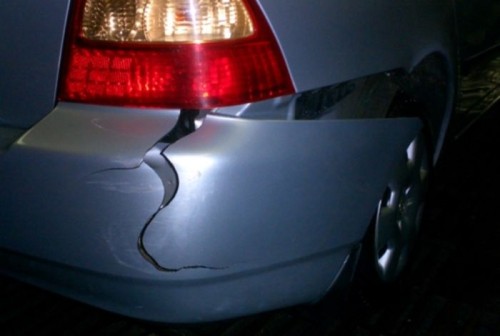
To begin with, we will understand what extent damage to the bumper. They can be divided into such varieties: light, medium and strong. It is necessary to attribute scratches, chips, as well as local paint peeling.
To the middle - cracks, chances, holes, damage to fastening places, dents, extensive peeling, paint coating cracks, "cones" (bulge) on the bumper.
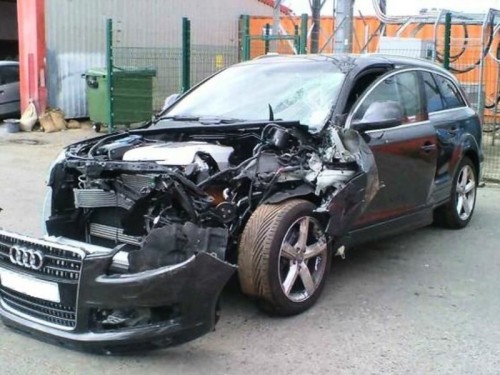
Extensive fuses and partial absence of bumper elements are strong damage.
What tools are needed when replacing the bumper with their own hands
To replace the bumper with your own hands, you will need a key to "10", 2 screwdrivers (flat and cross), clipstore, flashlight and new bumper. It is quite difficult to engage in the replacement of the bumper, so we recommend inviting comrade. Some stages will require dual work, for example, directly removing the bumper. Do not forget the same about the instructions from your personal car, as on each nuances of the replacement.
Replacing the plastic bumper - the work of the stages
removing the old front bumper
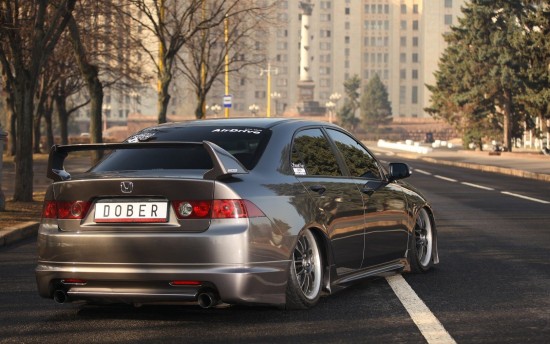
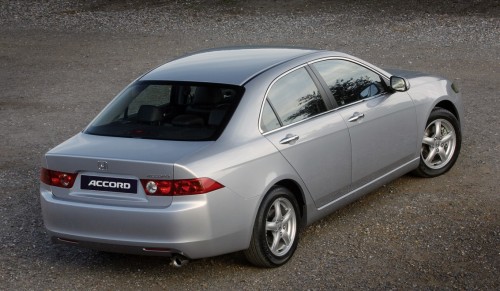
Each car has its own instructions for removing the bumper. In general, if you learn to remove the bumper from one car, then by analogy can do it on the second. We will look at how to remove the front bumper on the example of the Honda Accord 7 car.
- For security it is worth disable battery. It should be done from the very beginning so that there are no negative consequences.
- Now you need to open the hood. Then you will see a plastic cover that protects the bumper, headlights and a radiator from above. It holds on 12 piston. Our task is to pry it with a flat screwdriver and pull up with effort.
- The lattice itself is attached to 4 clips. We remove them using the clipside. And then remove the lattice itself, tilting over.
- Now they deepen in the wheel niche. We take a crusade screwdriver and unscrew in each niche along a screw that connects the bumper and wing. For convenience, it is necessary to gently bend the liner.
- At the bottom of the bumper you need to find fasteners. After the outlined, take the key to "10" and unscrew 6 bolts. Then, with the help of a clipside, you need to remove 2 more clips. We proceed to the removal of the bumper itself.
- In order to take off the main part, you need to take it from the edge of the wheel, lift up and pull on yourself. After freeing the ends, continue to pull carefully. Do not forget that under the headlights have latches. They are removed without problems. Then remove the fasteners that are located at the corners outside the headlights and in the center inside the vertical ribs.
- In conclusion, it remains only to remove the tube of the forage and wires from the fog lights.
removing the old rear bumper
The process of removing the rear bumper is easier than the front, but, nevertheless, requires much attention. Let's proceed.
- It is worth notifying that the battery is disabled.
- In the trunk, you need to remove the floor covering and lining, which is inside. To do this, we need to pull the pistons from the side panels and take the last inside. Pistons are outside.
- After the pistons were removed, get the lining.
- We now unscrew 2 self-presss that hold the fastenings of the wings to the edges.
- At the bottom of the rear bumper, you must carefully unscrew the bolts, pull the pistons, and then disconnect the wires of the overall lights.
- Attention! It is necessary to take into account the fact that after you make actions from the previous item, the rear bumper will hold onto the car of only friction force. Therefore, you are slowly shooting it with a comrade. No sharp movements need. Otherwise, damages will have to suffer.
the final stage
So, to replace the plastic bumper, you need to perform 2 steps: Remove the old and install a new one. You have already learned how to shoot the front and rear bumpers by the Honda Accord 7 car. The process of installing a new bumper is a completely opposite process of its removal. Therefore, so as not to rewrite everything with accuracy, on the contrary, scroll up the instructions up and immediately understand everything. And if any questions arise, then watch the video below.
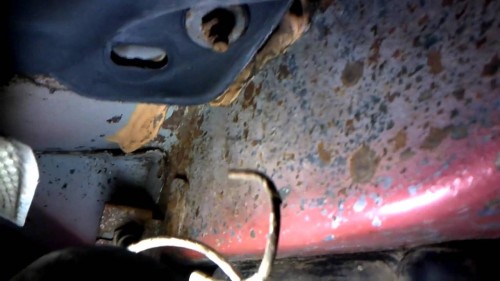
But it should be said that before installing, you need to pay attention to the presence of corrosion. If it is, it is better to handle it with a special means.
Also, if necessary, you can paint.
Change the bumper of the domestic car of the old style
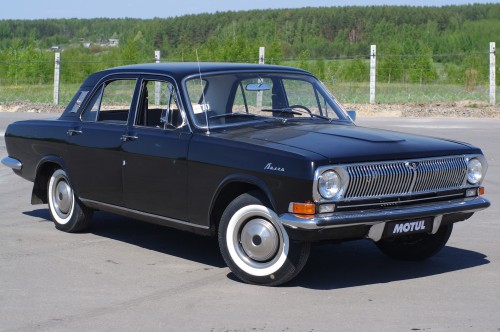
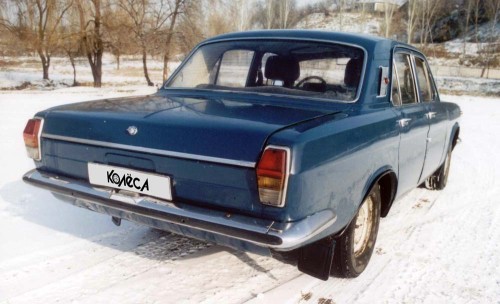
If you have a domestic car, then there will be a slightly different instruction. Bumpers of the old and new style cars are something different. In the first cars, the bumper is chrome and posted along the entire width of the car. The bumpers of the new generation are made of flexible plastic and are attached differently. Consider the process of replacing the bumper on the Volga.
removing the old front bumper
- To get the maximum access to the necessary mounts, it is recommended to remove the front wheels and headlights. But if you don't want to do this, then try simply turn the wheels to the side to the maximum so that they do not interfere with work.
- It is advisable to disable the battery.
- We open the hood and find 3 bolts that keep the radiator grille. We remove them and then take care of the lattice itself.
- Now we see 2 screws and 2 bolts, on which the bumper is attached to the hood. As you already guessed, they should also be removed.
- After that, remove the lower grille and see 2 bolts to be unscrewed.
- We find 2 screws that fasten the bumper to the sip.
- After removing all the attachments, the bumper itself can be removed. Do this slowly, so as not to damage the mount from the foglights. And work is done.
removing the old rear bumper
- For convenience, it is recommended to put the car from behind on the elevation. Turn off the battery.
- The fasteners are sitting very hard at the back, so it is recommended to use lubricant.
- Remove the lanterns and then see the upper fastenings of the bumper to the body.
- It is necessary to remove 3 screws that are from the wheel side. In order for us it happens, you need to hang the wheel slightly. If it does not work, then it is better to remove the wheel at all.
- Now you need to remove the lower bolts and latches, which are located on both sides.
- Together with a comrade, carefully remove the bumper to not damage it.
the final stage
As you already guessed, now you need to check the body for the presence of corrosion and process, if necessary. And you set a new bumper according to the instructions in the opposite direction.
It should be said that it is not necessary to put a new bumper. You can buy and bt. They are usually sold on disassembly. Here you need to be attentive, because before selling them specially lead in such a kind so that nothing has happened noticeable. If the chips and scratches will be noticeable, then you will be more likely to say that it is trifles and in any auto repair shop you quickly and inexpensively will be sorried.
No need to believe everything you say. Take with you better than a specialist. With him you will definitely find a good bumper. Otherwise, during the reps you can detect more than 100 chips on such a bumper. Try to always advise with someone.
Related Materials
- Stove 2110, bad warm stove 2110, VAZ 2110 heating system, repairing the heating system VAZ 2110 with their own hands
- VAZ 2114 stove blows with cold air, stove 2114, bad warm stove VAZ 2114, device and repair of heating VAZ 2114 do-it-yourself, removing the stove VAZ 2114
- How to subdominize the car. How to put a jack. Types of jacks for cars.
- VAZ 2109 Fuse Block, VAZ 2109 Fuse Block Carburetor, VAZ 2109 Fuse Block Injector, Old VAZ 2109 Fuse Block, VAZ 2109 Fuse Block, VAZ Fuse Block 2109
- Car exhaust gas catalyst, faulty catalyst, pluses and cons of the catalyst, how to change the catalyst for the planeencitel
- Stove blowing cold air VAZ 2114, badly blowing the stove VAZ 2114, why badly blowing the stove VAZ 2114
- How to find out the owner of the car by the number of his car, check the car by the number of the traffic police machine, check the car by the state number of the car for free
- How to choose Used tires, Useful Tips
- Winter car road, pressure in passenger car tires in winter, good battery for the car in winter, whether to warm the car in winter
- In winter, the car is poorly started. How to make a car in winter, do you need to warm up the car in winter, useful tips
- Economy fuel consumption machines, the most economical car consumption
- Tires brands for passenger cars, labeling of car tire labeling, residual passenger car tire protector, how to pick a tire on a car brand, car tire tread pattern
- Working transmission operation, mechanical gearbox clutch work, driving with manual gearbox, useful tips
- Rear beam Peugeot 206 sedan, rear beam device Peugeot 206. Rear beam Peugeot 206 Malfunction, repair of the rear beam Peugeot 206
- Diesel fuel in winter, additive for diesel fuel in winter, how to choose the best diesel fuel
- Diesel winter does not start. How to start diesel in winter, heating diesel in winter.
- Japanese bridgestone tires, winter studded bridgestone tires, bridgestone tires brand
- Tire marking decoding for passenger cars, labeling wheels, how to choose the right tires on the disks
- Diesel engine in winter, launch of the diesel engine in winter, what oil to fill in a diesel engine in winter, useful tips
- LED backlight of the car, the backlight of the bottom of the car, the backlight of the legs in the car, the backlight in the door of the car, the backlight of the car is fine
- Recovered tires, bus tire, restored tire protector, can I use them
- Choose winter tires, which is a winter tires, which pressure in winter tires should be marked with winter tires, how to choose the right winter tires, the best winter tires 2019
- Steering rail rail, knock of steering rack, reasons for the knock and repair of the steering rack do it yourself
- Cameless car tires, a set for repair of tubeless tires, repair of the cannon-free tire do it yourself
- Russian tires, Russian tires Winter, Russian All-season tires, Voronezh AMTEL tires, Tires "Matador Omsk Tire", Kama-tires are world-class bus
- How to open a car without a key. Lost the key from the car what to do, the key from the car inside the car
- Silent tires, quiet winter tires, quiet studded bus, which tires to choose, overview tires
- Rules of safe driving of the car in the rain and slush, safe driving of the car for beginners
- Rust converter which is better for cars, rust converters to choose how to use rust transducer, professionals
- Polishing the body of the car do it yourself, how to choose a polishing paste, useful tips
- Engine durability, engine life, how to extend engine life
- Knock in the car. Knock when moving the car. What can knock in the car. How to determine the cause of the knock.
- ABS car, what is ABS car, ABS system malfunction, ABS diagnostics
- Overtaking a car when you can start overtaking a car, rules of traffic rules
- Fuel pump VAZ 2110, VAZ 2110 gas station scheme, VAZ 2110 fuel pump device, VAZ 2110 gas station repair,
- Automotive antennas for radio, automotive antenna device, car antenna do it yourself
- Front suspension Kalina, device front suspension Kalina, knock in front suspension Kalina, repair of front suspension Kalina
- Shock absorber Oil, best oil shock absorbers, pumping oil shock absorbers, how to properly pump oil shock absorber
- Clutch malfunctions, touches clutch, causes a clutch malfunction, how to eliminate
- Viscounts of the fan, work uniforms of the fan, malfunction of the ventilator fan, repair of the ventilator fan

Comments