Strobe lights are used on cars to adjust the system of the power unit plug. This device can be purchased in any auto. But the device can also be done independently. The process of self-production of the strobe does not take much time. About this further in the article.
Content
- Stroboscope for setting the ignition is constructed and how it works
- Why it is difficult to expose the ignition without a stroboscope
- Strobe factory performance, the pros and cons
- Top 5 most popular strobe factory performance
- Spare parts and components for the manufacture of a stroboscope with their hands
- Driving stroboscope
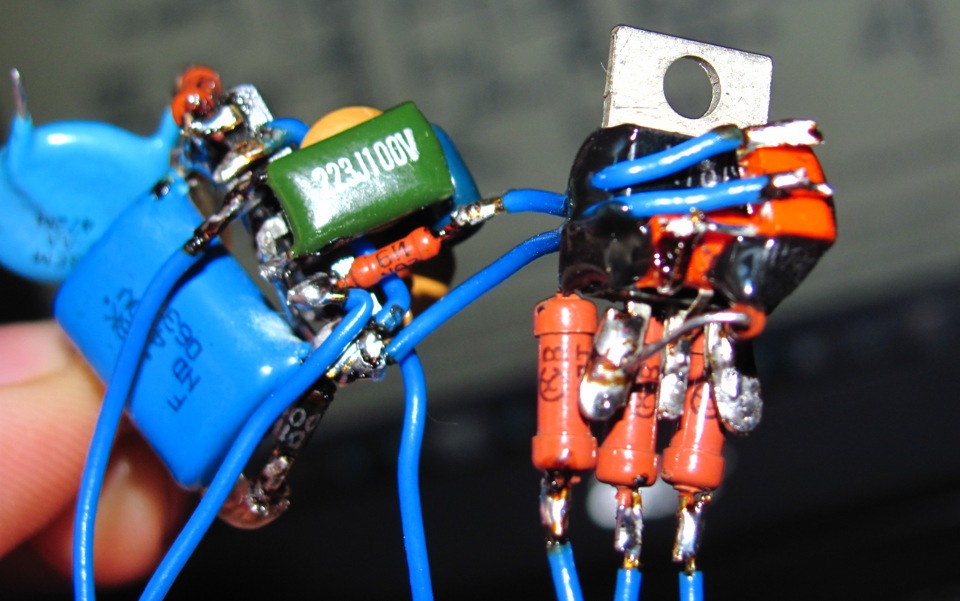
- Assembling the strobe with your hands, step by step, the easiest option
- Stroboscope based on a timer, the pros and cons
- Stroboscope LED, pros and cons
- How to use homemade strobe
- Tips Prof.
Stroboscope for setting the ignition is constructed and how it works
Stroboscope makes life easier for its owner.
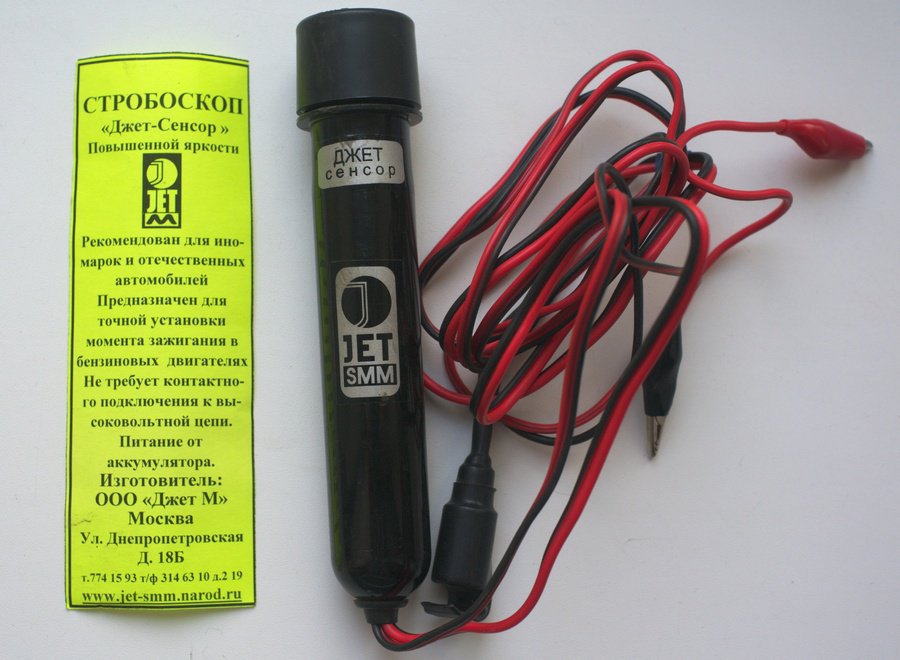
This enables even an inexperienced motorist can independently adjust the angle of ignition. The work is based on the stroboscope stroboscopic effect - moving object is illuminated by a light flash.
To have such a device is advantageous as it gives the opportunity to adjust the ignition, without calling out an engineer, which saves time and money motorist. There are some motorists who prefer factory stroboscope, not trusting a self-made, but they are no worse than traditional purchased.
Why it is difficult to expose the ignition without a stroboscope
It is very difficult to adjust the ignition system "bare hands". The stroboscope allows you to accelerate the vehicle ignition adjustment time several times. The light in the lamp of this device signals the formation of the spark, which makes it possible to configure the correct advance angle.
Stroboscope of the factory execution, pros and cons
Factory devices work safely and efficiently, however it is decent. But in fact, all such devices have a dear lamp, the failure of which leads to the acquisition of a new instrument. It is worth noting that even one hundred wizards apply homemade devices.
Top 5 most popular factory stroboscopes
Most popular factory stroboscopes:
Astrol 5.
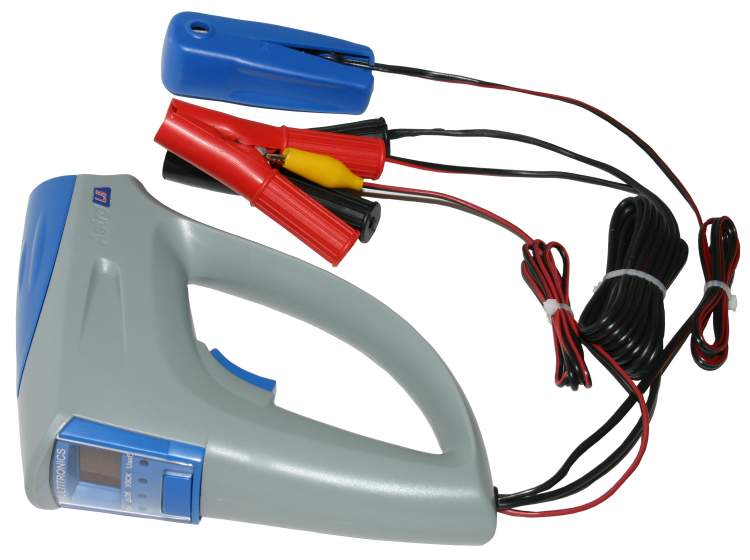
Focus F10.
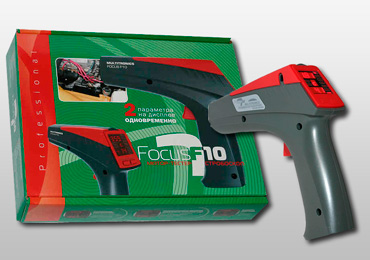
Focus F1.
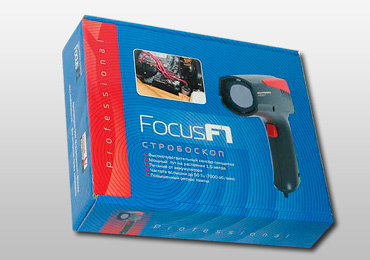
Multitronics C2.
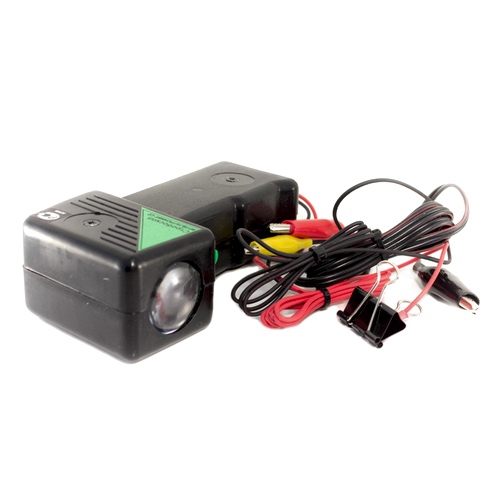
Mitsumi 6-289
The cost of such devices reaches six thousand rubles. With independently manufacturing stroboscope, it will cost you about 600-700 rubles. So, saving funds actually ten times stimulates to make such a device with their own hands.
Spare parts and details for the manufacture of stroboscope do it yourself
- Diode lantern.
- Wires of copper.
- Capacitors C1.
- Specialized clamps.
- Low frequency diode V2.
- Resistors 0.125 V.
- Thyristor KY112A.
- Relay with RWH-SH-112D index.
- Meter cord.
Such details and parts can be purchased at any electronics store or Radiorenka. The case of a small device. You can even take advantage of the old lantern.
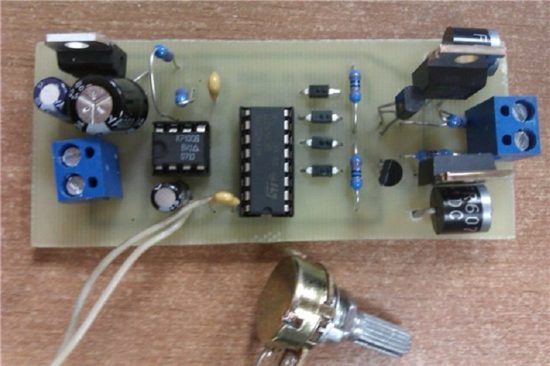
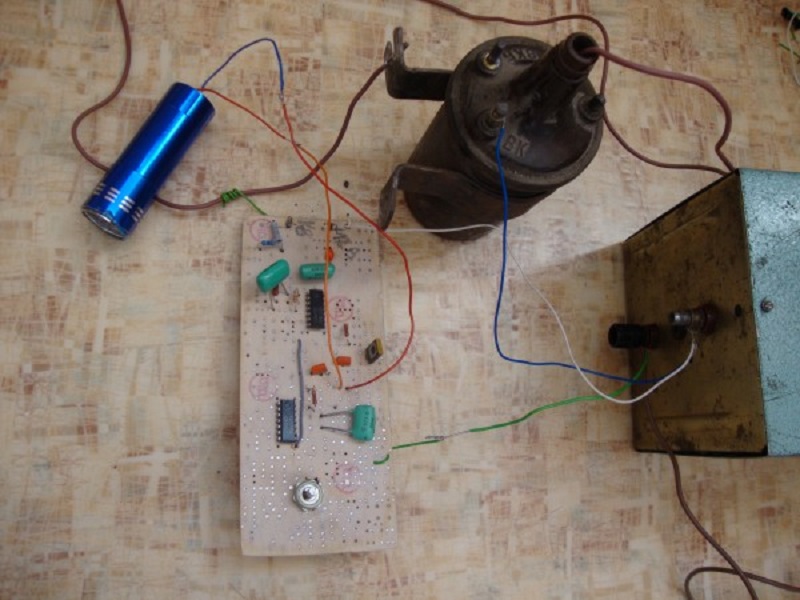
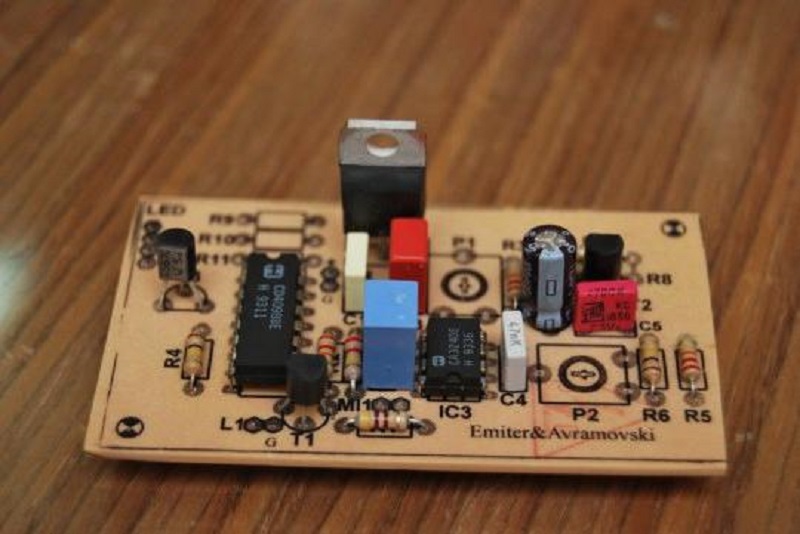
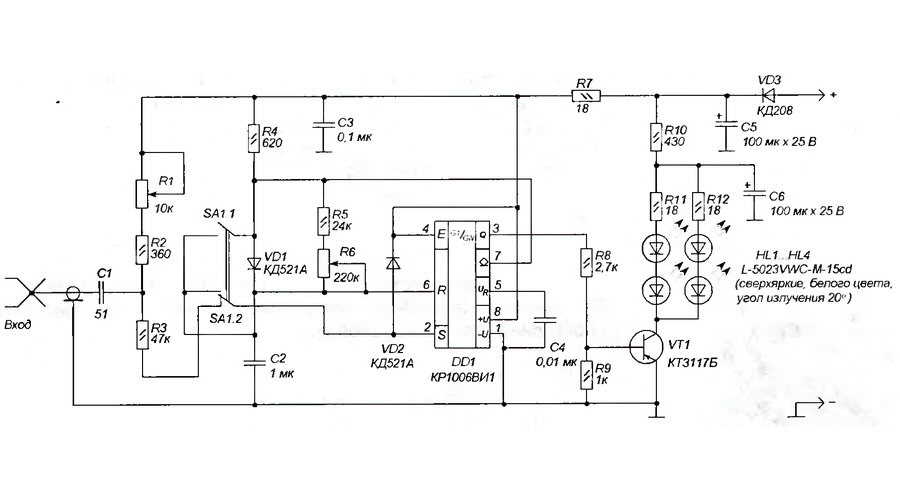
Strobe designer scheme
On the Internet there is a lot of schemes, how to independently create a simple strobe. Most of them are easy and quickly going, without requiring significant financial investments.
Assembling strobe with your own hands, step by step, the easiest option
Sequencing:
- For the power wire, we drill the hole.
- Observing polarity, solder the clips to the tips of the wires.
- The sensor can be installed on the right either on the left.
- Copper wire is soldered to the main core.
- Isolate all contacts.
The present invention is applicable for testing the regulator and the spark plug.
Strobe Based on Timer, Pros and Cons
To independently make an appliance using the timer, you need to make more effort than for a conventional strobe. The key advantage of such an instrument is constant light pulses that do not depend on the battery voltage. It is used as a stroboscope as a tachometer. To do this, switch the regulator.
Stroboscope on LEDs, pros and cons
The basis for such devices is 155AG1 chip which need to start with pulses of negative polarity. In such schemes, R1 the resistance should be applied, R2, R3. They limit the input wobble signal. Eat this scheme will be the battery. Pulse duration can provide capacitance C4 to a resistor R6. By classical setting this value will be equal to 2 ms.
How to use homemade strobe
For correct functioning of the homemade device, it must be checked. With an existing instrument is necessary to put the lead angle:
- First, we warm up the powerplant and leave it to operate at idle.
- We connect the device to the battery.
- Copper wire is wound on the sensor cylinder.
- The following is to orient the light source for special signs on the body.
- We seek at the flywheel fixed point.
- To the two points coincide, turn the ignition body and keep it in the desired position.
The key point in self manufacturing this device is the correct assembly of the electrical circuit. That is why before production is mandatory, you must first make a detailed scheme which will help to avoid mistakes when assembling the device.
Do not forget about safety. Any stroboscope operating voltage. It must not be allowed to touch the internal elements of the device of his body, particularly metal.
Tips Prof.
Desirably, the variable resistor is protected plastic handle. A well-insulated wire supply must necessarily be male. All items must be mounted on a special board made of an insulating material. Details are mounted under the special scheme, but the location does not matter. You need to very carefully to strengthen all the elements.
Related Materials
- Stove 2110, bad warm stove 2110, VAZ 2110 heating system, repairing the heating system VAZ 2110 with their own hands
- VAZ 2114 stove blows with cold air, stove 2114, bad warm stove VAZ 2114, device and repair of heating VAZ 2114 do-it-yourself, removing the stove VAZ 2114
- How to subdominize the car. How to put a jack. Types of jacks for cars.
- VAZ 2109 Fuse Block, VAZ 2109 Fuse Block Carburetor, VAZ 2109 Fuse Block Injector, Old VAZ 2109 Fuse Block, VAZ 2109 Fuse Block, VAZ Fuse Block 2109
- Car exhaust gas catalyst, faulty catalyst, pluses and cons of the catalyst, how to change the catalyst for the planeencitel
- Stove blowing cold air VAZ 2114, badly blowing the stove VAZ 2114, why badly blowing the stove VAZ 2114
- How to find out the owner of the car by the number of his car, check the car by the number of the traffic police machine, check the car by the state number of the car for free
- How to choose Used tires, Useful Tips
- Winter car road, pressure in passenger car tires in winter, good battery for the car in winter, whether to warm the car in winter
- In winter, the car is poorly started. How to make a car in winter, do you need to warm up the car in winter, useful tips
- Economy fuel consumption machines, the most economical car consumption
- Tires brands for passenger cars, labeling of car tire labeling, residual passenger car tire protector, how to pick a tire on a car brand, car tire tread pattern
- Working transmission operation, mechanical gearbox clutch work, driving with manual gearbox, useful tips
- Rear beam Peugeot 206 sedan, rear beam device Peugeot 206. Rear beam Peugeot 206 Malfunction, repair of the rear beam Peugeot 206
- Diesel fuel in winter, additive for diesel fuel in winter, how to choose the best diesel fuel
- Diesel winter does not start. How to start diesel in winter, heating diesel in winter.
- Japanese bridgestone tires, winter studded bridgestone tires, bridgestone tires brand
- Tire marking decoding for passenger cars, labeling wheels, how to choose the right tires on the disks
- Diesel engine in winter, launch of the diesel engine in winter, what oil to fill in a diesel engine in winter, useful tips
- LED backlight of the car, the backlight of the bottom of the car, the backlight of the legs in the car, the backlight in the door of the car, the backlight of the car is fine
- Recovered tires, bus tire, restored tire protector, can I use them
- Choose winter tires, which is a winter tires, which pressure in winter tires should be marked with winter tires, how to choose the right winter tires, the best winter tires 2019
- Steering rail rail, knock of steering rack, reasons for the knock and repair of the steering rack do it yourself
- Cameless car tires, a set for repair of tubeless tires, repair of the cannon-free tire do it yourself
- Russian tires, Russian tires Winter, Russian All-season tires, Voronezh AMTEL tires, Tires "Matador Omsk Tire", Kama-tires are world-class bus
- How to open a car without a key. Lost the key from the car what to do, the key from the car inside the car
- Silent tires, quiet winter tires, quiet studded bus, which tires to choose, overview tires
- Tires and safety, safety of the bus, why it is necessary to constantly monitor car tires
- Rules of safe driving of the car in the rain and slush, safe driving of the car for beginners
- Rust converter which is better for cars, rust converters to choose how to use rust transducer, professionals
- Polishing the body of the car do it yourself, how to choose a polishing paste, useful tips
- Engine durability, engine life, how to extend engine life
- Knock in the car. Knock when moving the car. What can knock in the car. How to determine the cause of the knock.
- ABS car, what is ABS car, ABS system malfunction, ABS diagnostics
- Overtaking a car when you can start overtaking a car, rules of traffic rules
- Fuel pump VAZ 2110, VAZ 2110 gas station scheme, VAZ 2110 fuel pump device, VAZ 2110 gas station repair,
- Automotive antennas for radio, automotive antenna device, car antenna do it yourself
- Front suspension Kalina, device front suspension Kalina, knock in front suspension Kalina, repair of front suspension Kalina
- Shock absorber Oil, best oil shock absorbers, pumping oil shock absorbers, how to properly pump oil shock absorber
- Clutch malfunctions, touches clutch, causes a clutch malfunction, how to eliminate


Comments