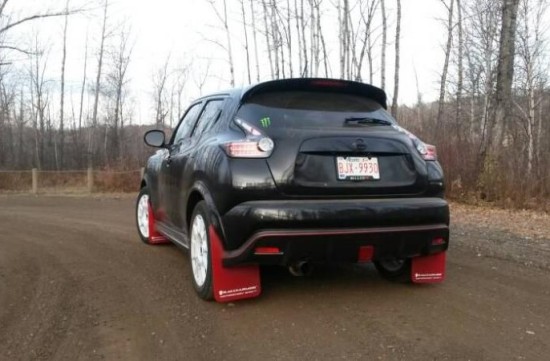
Mud flaps, wheel arch called the apron or "apron of dirt", because its main purpose is protection from various dirt or stones, which often depart from the wheels.
Content
- Why mudguards
- Model and configuration mudguards
- front mudguards
- rear mudguards
- Preparation tools and materials for the installation of mudguards of their own hands.
- Dismantling of old Fenders - progress in stages
- Preparatory work and installation of new mudguards - progress step by step.
- Installation features front and rear mudguards.
Why mudguards
They can be found not only in cars, but also scooters and bicycles. They are attached to the rear portion of the wing, immediately behind the wheel (in the wheel arches). By the way, "aprons" must mounted on all four wheels of the car.

Most drivers think that if mud flaps set at the factory are not all the machines, which means they do not need. I have to disappoint you. In fact, on cars "aprons" in its classical form is not always there, but that does not mean that they are not just in place of the necessary functions are performed by the wings, which for this purpose have a special shape.
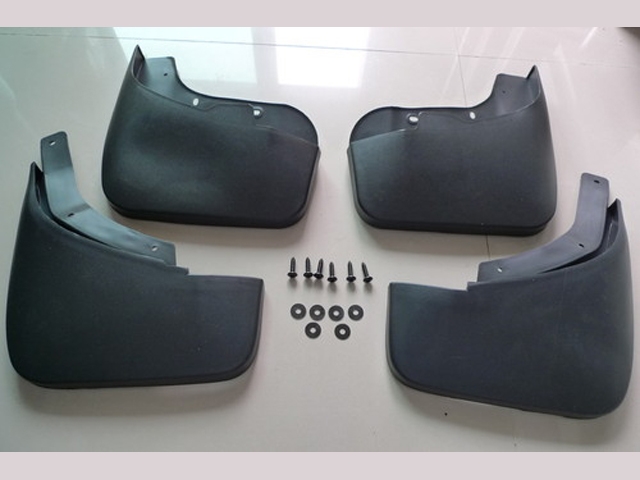
Also, I would like to say that disregard for the drivers to the mud flaps are not deserved, because in accordance with the laws and basic technical requirements they need to be on each machine.
Model and configuration mudguards
Today, mudguards are produced in a wide variety of variations. There are multifunctional and universal models, as well as those that are specifically designed for specific car brands. Of course, if you have the opportunity to purchase original "Aprons", designed for your model and car brand, it is desirable to do so. Also, they differ from the various materials and their value. If we talk about materials, you can divide them into the following categories:
- Rubber;
- Plastic;
- Metal;
- Combination of rubber and plastic.
So, I propose to consider them in more detail.
- Rubber mudguards are the most simple and inexpensive. They are quite flexible and easily mounted, and at the same time, carefully perform their main functions. But they have one big drawback, however, as in total rubber equipment - they cannot withstand low temperatures and on a strong frost become rigid and fragile, and therefore quickly break. Thus, they often have to be replaced with new ones.

- Plastic "Aprons" are highlighted with good strength and are not amenable to the action of cold temperatures. But they have cons: if you are careless to go and accidentally hooked for some big stone or border, then your mudguard can fly into small pieces. They can be different colors, in contrast to rubber, which are only black.
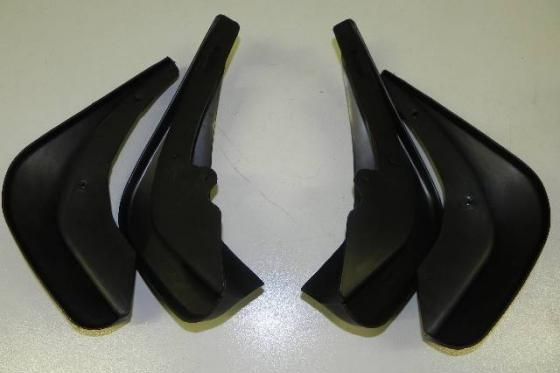
- Metal mudguards are installed quite rarely, usually on trailers or trucks.
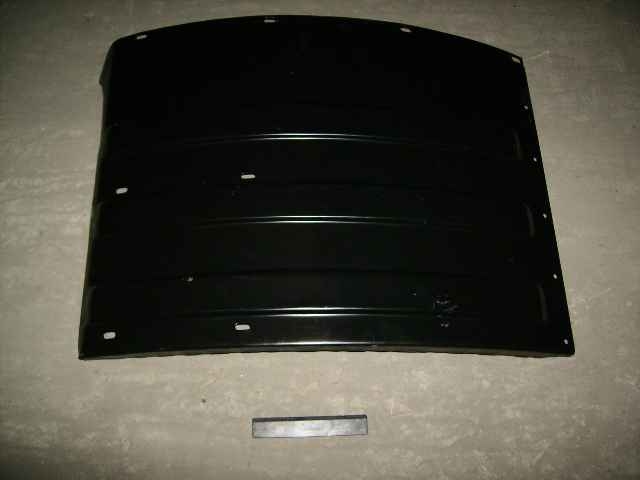
- "Aprons" from rubber and plastic are the most convenient, persistent and reliable, as they possess the main advantages of rubber and plastic mudguards and they have no major flaws. They have become relatively recently producing them, they are more expensive, but at the same time they will serve a much longer time. You can order them in any color decision, according to your preferences. They are quite flexible, do not break about the pit and borders, as well as, are able to maintain their properties and in the cold season.

Front mudguards
The front "Aprons" obscure the bottom of the car from the dirt, dust and pebbles and spray in it, it makes it possible to prevent corrosion and early wear of the body.
Rear mudguards
The rear mudguards not only protect the body from the harmful effect of flying particles, and cover the machines that go behind you.

Dirt that flies out from under the wheels, hits the windshield of the car, which travels behind you, so it can greatly reduce the visibility of the driver and create an emergency situation. Also do not forget that the stones or ice may damage the glass and car headlights.
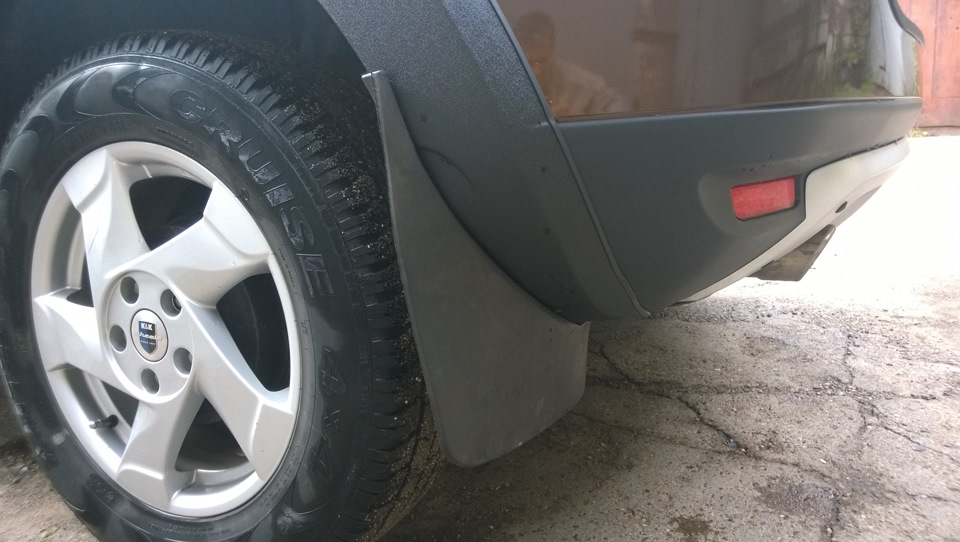
operation of the car without mudguards are strictly prohibited, and no car will not pass inspection without this important element.
Preparation tools and materials for the installation of mudguards of their own hands.
If you choose to install universal mud flaps on my car, it is not necessary to consult specialists, you can easily do it yourself. This task is quite easy and will allow you to save money. To start, you need to prepare such tools and materials:
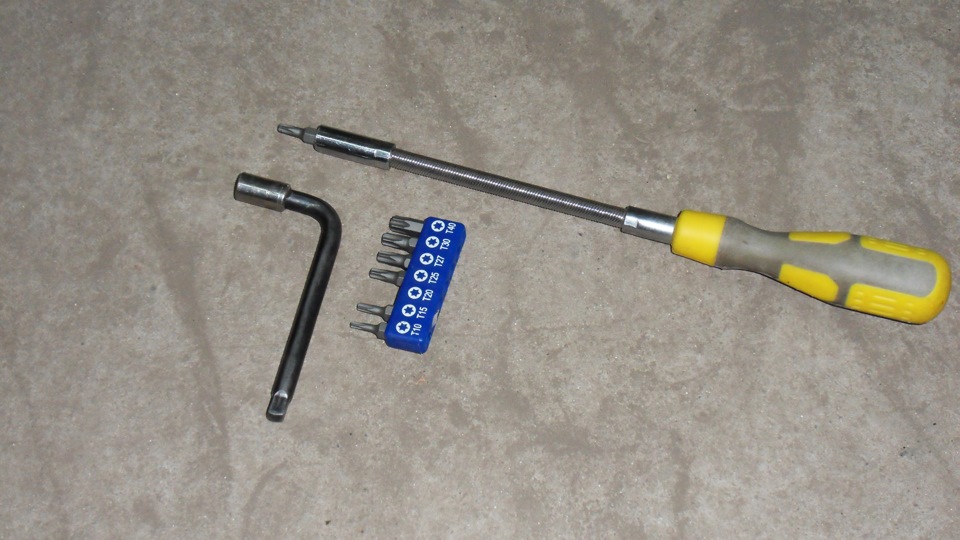
- Phillips screwdriver.
- Actually mudguards.
- Plastic plugs.
- Drill and drill bits.
- A sharp knife.
- Spanner.
- Screws (their length should be two centimeters).
- Washers that match the diameter of the screws.
- Jack.
- Spare wheel.
- Special brace. The last three tools we will need to order to remove the wheel.
Dismantling of old Fenders - progress in stages
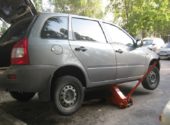
- You must first remove the wheel. To do this, set the machine parking brake and engage reverse gear, this procedure is necessary to ensure that the car would not roll off the jack. Prop up the ramps chocks, if any. Otherwise, you can use ordinary stones. It should be recalled that to crawl under the car, standing on a jack is extremely dangerous, as it may fall on you. Jack set up in such a way that he would have propped up the car and firmly rested on two points - lifting point and the point on the ground. Then it is necessary to remove the hub cap and significantly weaken the clamping nut, with a balloon or a cruciform key is pivoted counterclockwise. Then, using the jack, wheel lift and remove it.
- Often the mudguard holds on two screws in the wheeled arch and on the plastic screw, which is located below the hole. First you need to shift that self-sufficiency, which is farther, then you must unscrew the screwdriver and the other. At the same time you need to unscrew the screw, slowly pressing the apron down to avoid scrolling. Pull the plastic sleeve and insert a special plug into it. After unscrewing the screws, we clean the required area from the mud. The dismantling of the mudguards is over and we can safely start installing new ones.
Preparatory work and the installation of new mudguards - the course of work in stages.
First, we need to adjust the size of the "apron for dirt" under the one that stood before. To do this, you need to attach them one to one and gently trim the new item along the outside of the Rubber. Next, compare the new and old details to determine where exactly the hole must be drilled. Then we screw the new item to the required place. Make it is necessary as much as possible.
Try to trim the extra edges under the beautiful angle, to make the appearance more aesthetic, and so that the contours of the mudguards repeated the contours of the suburbs. Do not leave unnecessary edges, because they will collect snow and dirt.

The last step is the return of the wheel back and check the work done. For example, you can ride in the sand, if you do not hear the shore of sand on the threshold, then the work is done on perfectly.
Features of the installation of the front and rear mudguards.
It is worth saying that professionals are recommended when replacing the front mudguard on the left side, turn the steering wheel to the left. And to replace the right - unscrew the steering wheel on the right side. And the rear, and the front aprons are fixed on three self-masses, but some motorists advise to fix new parts into four or five self-tapping parts. Such manipulations will allow significantly to increase their strength and reliability, as well as, they will actually not have a chance to tear off. When replacing the rear aprons, the process with rotating the steering wheel is not required.
I think you realized that the change of mudguards is independently not a complicated procedure. And if you adhere to our recommendations, you will have everything without any problems. If, after reading the article, you still have any questions, you can watch a video on how to replace universal mud flaps on your own. Wish you luck.
Related Materials
- Stove 2110, bad warm stove 2110, VAZ 2110 heating system, repairing the heating system VAZ 2110 with their own hands
- VAZ 2114 stove blows with cold air, stove 2114, bad warm stove VAZ 2114, device and repair of heating VAZ 2114 do-it-yourself, removing the stove VAZ 2114
- How to subdominize the car. How to put a jack. Types of jacks for cars.
- VAZ 2109 Fuse Block, VAZ 2109 Fuse Block Carburetor, VAZ 2109 Fuse Block Injector, Old VAZ 2109 Fuse Block, VAZ 2109 Fuse Block, VAZ Fuse Block 2109
- Car exhaust gas catalyst, faulty catalyst, pluses and cons of the catalyst, how to change the catalyst for the planeencitel
- Stove blowing cold air VAZ 2114, badly blowing the stove VAZ 2114, why badly blowing the stove VAZ 2114
- How to find out the owner of the car by the number of his car, check the car by the number of the traffic police machine, check the car by the state number of the car for free
- How to choose Used tires, Useful Tips
- Winter car road, pressure in passenger car tires in winter, good battery for the car in winter, whether to warm the car in winter
- In winter, the car is poorly started. How to make a car in winter, do you need to warm up the car in winter, useful tips
- Economy fuel consumption machines, the most economical car consumption
- Tires brands for passenger cars, labeling of car tire labeling, residual passenger car tire protector, how to pick a tire on a car brand, car tire tread pattern
- Working transmission operation, mechanical gearbox clutch work, driving with manual gearbox, useful tips
- Rear beam Peugeot 206 sedan, rear beam device Peugeot 206. Rear beam Peugeot 206 Malfunction, repair of the rear beam Peugeot 206
- Diesel fuel in winter, additive for diesel fuel in winter, how to choose the best diesel fuel
- Diesel winter does not start. How to start diesel in winter, heating diesel in winter.
- Japanese bridgestone tires, winter studded bridgestone tires, bridgestone tires brand
- Tire marking decoding for passenger cars, labeling wheels, how to choose the right tires on the disks
- Diesel engine in winter, launch of the diesel engine in winter, what oil to fill in a diesel engine in winter, useful tips
- LED backlight of the car, the backlight of the bottom of the car, the backlight of the legs in the car, the backlight in the door of the car, the backlight of the car is fine
- Recovered tires, bus tire, restored tire protector, can I use them
- Choose winter tires, which is a winter tires, which pressure in winter tires should be marked with winter tires, how to choose the right winter tires, the best winter tires 2019
- Steering rail rail, knock of steering rack, reasons for the knock and repair of the steering rack do it yourself
- Cameless car tires, a set for repair of tubeless tires, repair of the cannon-free tire do it yourself
- Russian tires, Russian tires Winter, Russian All-season tires, Voronezh AMTEL tires, Tires "Matador Omsk Tire", Kama-tires are world-class bus
- How to open a car without a key. Lost the key from the car what to do, the key from the car inside the car
- Silent tires, quiet winter tires, quiet studded bus, which tires to choose, overview tires
- Tires and safety, safety of the bus, why it is necessary to constantly monitor car tires
- Rules of safe driving of the car in the rain and slush, safe driving of the car for beginners
- Rust converter which is better for cars, rust converters to choose how to use rust transducer, professionals
- Polishing the body of the car do it yourself, how to choose a polishing paste, useful tips
- Engine durability, engine life, how to extend engine life
- Knock in the car. Knock when moving a car. What can knock in the car. How to determine the cause of the knock.
- ABS car, what is ABS car, ABS system malfunction, ABS diagnostics
- Overtaking a car when you can start overtaking a car, rules of traffic rules
- Fuel pump VAZ 2110, VAZ 2110 gas station scheme, VAZ 2110 fuel pump device, VAZ 2110 gas station repair,
- Automotive antennas for radio, automotive antenna device, car antenna do it yourself
- Front suspension Kalina, device front suspension Kalina, knock in front suspension Kalina, repair of front suspension Kalina
- Shock absorber Oil, best oil shock absorbers, pumping oil shock absorbers, how to properly pump oil shock absorber
- Clutch malfunctions, touches clutch, causes a clutch malfunction, how to eliminate

Comments